
















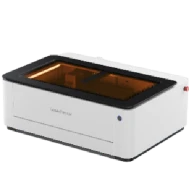
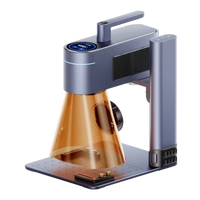
























Les panneaux en bois sont un projet de bricolage très apprécié des décorateurs d’intérieur, des propriétaires de petites entreprises, des artisans créateurs et des passionnés de travail du bois partout en Europe. Que vous créiez des panneaux de bienvenue rustiques, des présentoirs pour boutique ou des cadeaux personnalisés, ils offrent une finition intemporelle et professionnelle. Grâce aux outils modernes comme les découpeuses laser, produire des panneaux en bois de haute qualité est désormais plus facile que jamais, même pour les débutants.
Ce guide explique comment fabriquer des panneaux en bois, quels types de bois sont les plus adaptés et pourquoi la découpe laser est l’une des méthodes les plus précises et efficaces pour obtenir des résultats nets et réguliers.

Dans cet article :
- Partie 1 : Pourquoi fabriquer soi-même des panneaux en bois ?
- Partie 2 : Les meilleurs types de bois pour les panneaux en bois
- Partie 3 : Quatre méthodes populaires pour fabriquer des panneaux en bois
- Méthode 1 : Panneaux en bois peints à la main
- Méthode 2 : Panneaux en bois réalisés au pochoir et à la peinture
- Méthode 3 : Panneaux en bois sculptés avec une CNC ou une défonceuse
- Méthode 4 : Panneaux en bois découpés et gravés au laser
- Partie 4 : Comment fabriquer des panneaux en bois avec la découpe laser
- Partie 5 : Conseils pour fabriquer des panneaux en bois avec la découpe laser
- Partie 6 : FAQ sur la fabrication de panneaux en bois
Partie 1 : Pourquoi fabriquer soi-même des panneaux en bois ?
Créer ses propres panneaux en bois est bien plus qu’une simple activité de bricolage : c’est une manière pratique et créative de transformer des idées en réalisations concrètes.
Une liberté créative totale
Concevoir soi-même des panneaux en bois permet de contrôler chaque aspect, de la taille et de la typographie à la mise en page, aux finitions et au message. Que ce soit pour la décoration intérieure, la signalétique commerciale ou des cadeaux personnalisés, chaque pièce reflète votre propre style.
Une solution économique
Commander des panneaux en bois personnalisés partout en Europe peut coûter cher, en particulier pour les productions personnalisées ou en petites quantités. Les fabriquer soi-même permet de réduire les coûts, de réutiliser les matériaux et d’augmenter plus efficacement la production.
Accessible aux débutants grâce aux outils modernes
Grâce à des outils comme les découpeuses et graveuses laser, les débutants peuvent obtenir des résultats nets et professionnels sans expérience avancée en menuiserie. Le processus devient ainsi accessible aux amateurs, aux créateurs et aux passionnés de bricolage.
Possibilités de croissance pour une petite entreprise
Les panneaux en bois personnalisés restent très demandés sur les marchés européens, notamment pour les maisons, les cafés, les événements et les boutiques indépendantes. Développer cette compétence peut ouvrir des possibilités de revenus complémentaires ou permettre de lancer une petite activité artisanale.
Partie 2 : Les meilleurs types de bois pour les panneaux en bois
Choisir le bon type de bois joue un rôle essentiel dans l’apparence, la durabilité et la qualité globale de votre panneau. Voici quelques-unes des options les plus adaptées, notamment pour la découpe et la gravure laser :
1. Contreplaqué (contreplaqué de bouleau ou de tilleul)
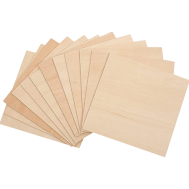
Économique, stable et facile à traiter avec des machines laser. Il est largement utilisé pour la signalétique intérieure et les motifs peints. Opter pour du contreplaqué de qualité laser permet d’obtenir des découpes plus nettes et une meilleure régularité.
2. Tilleul
Un bois tendre à la texture lisse et uniforme, idéal pour les gravures détaillées. Il est couramment utilisé pour les enseignes décoratives et les projets créatifs, mais convient mieux aux environnements intérieurs.
3. Pin
Un matériau abordable et facilement disponible en Europe. Il convient aux enseignes de style rustique, bien que les variations du grain puissent affecter la précision de la gravure.
4. Cèdre
Naturellement résistant aux intempéries et à l’humidité, ce qui en fait une option fiable pour les enseignes extérieures. La gravure sur le cèdre produit généralement un contraste visuel marqué.
5. Érable
Un bois dense et à grain fin qui permet d’obtenir une gravure nette et très contrastée. Il est souvent privilégié pour les projets d’enseignes intérieures haut de gamme.
Conseil rapide :
Pour les enseignes découpées au laser, évitez les bois très résineux ou présentant des couches de colle irrégulières, car cela peut provoquer des marques de brûlure, une découpe irrégulière et des résultats de moindre qualité.
Partie 3 : Quatre méthodes populaires pour fabriquer des enseignes en bois
Il existe plusieurs façons de fabriquer des enseignes en bois, des méthodes artisanales traditionnelles à la fabrication numérique avancée. Chaque approche présente ses propres avantages, selon votre expérience, votre équipement et le résultat souhaité.
Méthode 1 : Enseignes en bois peintes à la main
La peinture à la main est une technique classique qui permet d’obtenir une finition entièrement personnalisée et artistique. Elle est abordable et flexible, mais exige du temps, de la maîtrise et des compétences de base en peinture pour obtenir des résultats homogènes et nets.
Méthode 2 : Enseignes en bois peintes au pochoir
L’utilisation de pochoirs améliore la régularité par rapport à la peinture à main levée. Elle permet d’obtenir un lettrage net et des motifs reproductibles avec moins d’effort, ce qui en fait un choix populaire pour les débutants. Cependant, obtenir des bords nets et des motifs multicouches demande encore de la pratique.
Méthode 3 : Enseignes en bois sculptées à la CNC ou à la défonceuse
Les machines CNC et les défonceuses sculptent le bois avec précision. Elles sont idéales pour les découpes profondes et les enseignes en relief, notamment pour les applications extérieures. Cela dit, la complexité de la configuration, le bruit des machines et la production de poussière sont des facteurs courants à prendre en compte.
Méthode 4 : Enseignes en bois découpées et gravées au laser
Bien qu’elles soient souvent utilisées ensemble, la gravure et la découpe laser remplissent des fonctions différentes :
- La gravure laser retire la couche superficielle pour créer des motifs détaillés, du texte, des logos et des effets d’ombrage sans traverser le matériau.
- La découpe laser traverse entièrement le bois, permettant de créer des formes, des lettrages ajourés, des bordures et des enseignes superposées aux bords nets et précis.
La combinaison de ces deux techniques permet de produire des enseignes en bois de haute qualité, aux dimensions précises, aux détails fins et aux résultats homogènes.
Comparaison des méthodes de fabrication d’enseignes en bois
| Méthode | Résultat typique | Idéal pour | Vitesse et reproductibilité |
|---|---|---|---|
| Peint à la main | Finitions uniques, texturées et artisanales, avec des coups de pinceau visibles. | Panneaux décoratifs uniques ou pièces artistiques. | Plus lent ; faible régularité, car chaque pièce est réalisée à la main. |
| Pochoir & peinture | Lettrage net et régulier, aux bords propres lorsqu’il est appliqué avec soin. | Production en série nécessitant une typographie uniforme. | Vitesse moyenne ; bonne régularité avec des pochoirs durables. |
| CNC / défonceuse | Lettrage en relief ou sculpté, avec profondeur et précision mécanique. | Panneaux nécessitant une sculpture en relief ou une installation robuste. | Vitesse moyenne ; bonne régularité, mais temps de préparation plus long. |
| Découpe / gravure laser | Détails extrêmement fins, découpes précises, gravure de qualité photo et bords nets. | Logos détaillés, petits textes, images photoréalistes et productions en grande série. | Rapide pour les reproductions ; très grande régularité une fois les réglages optimisés. |
Quelle méthode vous convient le mieux ?
Le meilleur choix dépend de vos besoins de production et de votre niveau d’expérience. La peinture à la main et les techniques au pochoir conviennent aux designs créatifs et uniques, tandis que la sculpture CNC est efficace pour une signalétique plus épaisse et plus résistante.
Partout en Europe, de nombreux créateurs et petites entreprises privilégient la découpe et la gravure laser pour leur précision, leur efficacité et leur évolutivité. Ces méthodes offrent des résultats détaillés, des finitions nettes et une grande régularité, ce qui les rend idéales aussi bien pour les projets personnalisés que pour la production à petite échelle.
Partie 4 : Comment fabriquer des panneaux en bois avec la découpe laser
La découpe et la gravure laser permettent de transformer des designs numériques en panneaux en bois précis et homogènes. Le processus comprend généralement la préparation du design, la sélection du matériau, la configuration de la machine, la découpe ou la gravure, puis les finitions. Voici un guide simple utilisant une découpeuse et graveuse laser de bureau.
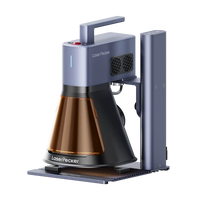
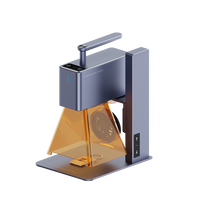
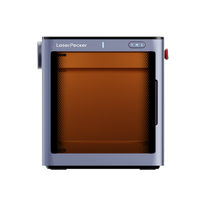
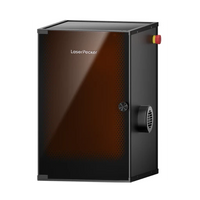
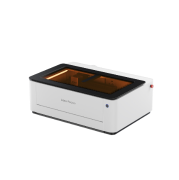
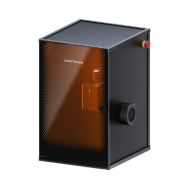
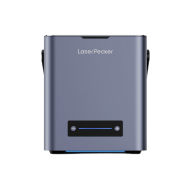
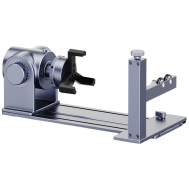
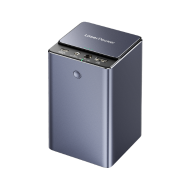
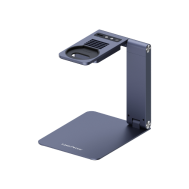
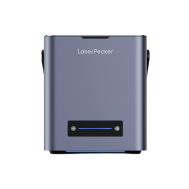
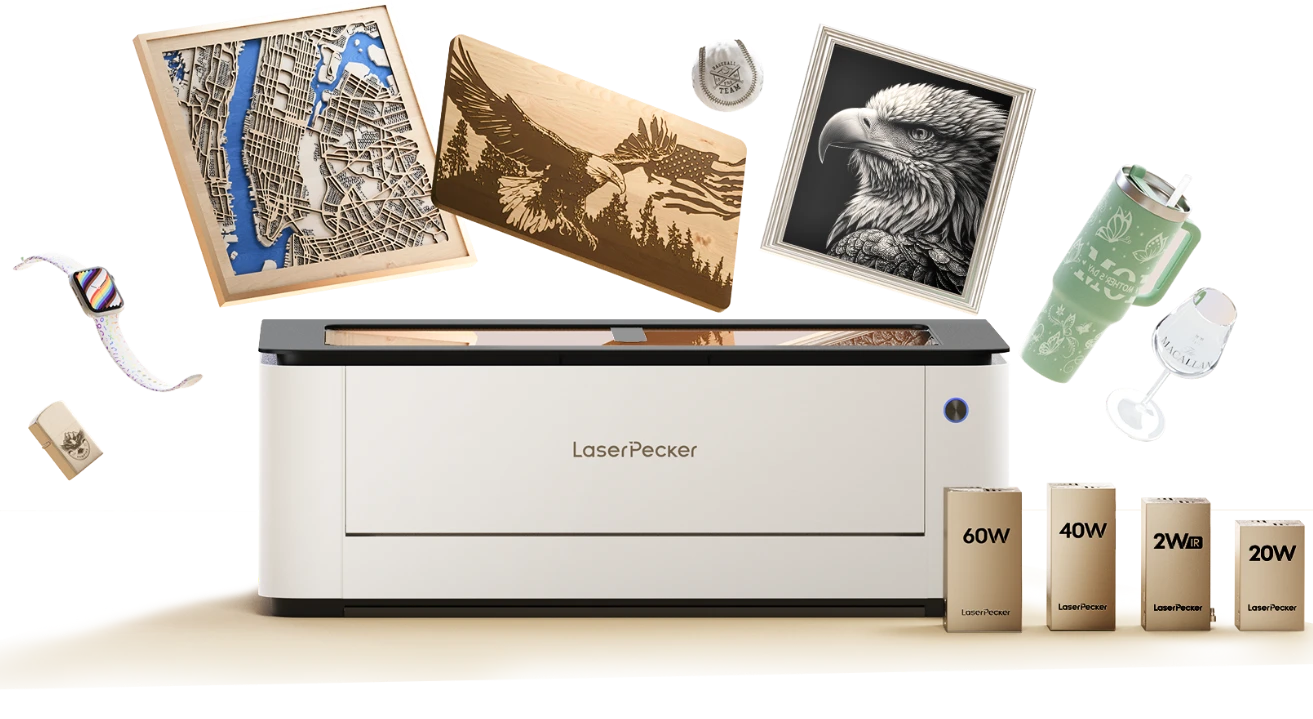
Meilleure découpeuse laser pour les panneaux en bois : LaserPecker LX2
La production de panneaux en bois de haute qualité exige précision, régularité et adaptabilité. Le LaserPecker LX2 répond à ces besoins grâce à son système de modules Quick-Swap, qui permet de passer d’un laser diode de 20 W à un laser diode de 60 W selon le matériau et son épaisseur. Il convient ainsi à une grande variété de bois, du contreplaqué aux bois durs de densité moyenne.
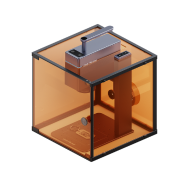
Le LX2 offre un excellent équilibre entre vitesse et contrôle. Les utilisateurs peuvent ajuster avec précision la puissance, la vitesse et les paramètres de passes afin d’obtenir des découpes nettes et des résultats de gravure homogènes. Sa grande surface de travail et sa structure à double porte prennent en charge les projets de plus grande taille et facilitent l’alignement pour les designs superposés ou complexes.
Équipé d’un système de positionnement par caméra et d’un logiciel intuitif, le LX2 convient aussi bien aux particuliers qu’aux petites entreprises partout en Europe. Il offre une solution fiable et efficace pour produire des panneaux en bois de qualité professionnelle.
Matériel à préparer avant la découpe
Avant de commencer votre projet, préparez les éléments suivants :
- Matériaux en bois (contreplaqué adapté à la découpe laser, tilleul ou placage)
- Un espace de travail propre et bien ventilé
- Une machine laser et des équipements de sécurité
- Ruban de masquage pour réduire les marques de brûlure
- Fichiers de conception au format vectoriel
- Fournitures de finition (papier abrasif, teinture ou peinture, revêtement protecteur, matériel de montage)
- Outils de nettoyage tels qu’une brosse ou un chiffon antistatique
- Serre-joints ou aimants pour fixer les matériaux fins
(Guide étape par étape :) Comment fabriquer des panneaux en bois avec LX2
Étape 1 : Concevoir votre mise en page
Créez votre modèle à l’aide d’un logiciel vectoriel. Convertissez le texte en contours et séparez les tracés de gravure et de découpe sur des calques différents.
Étape 2 : Importer le fichier
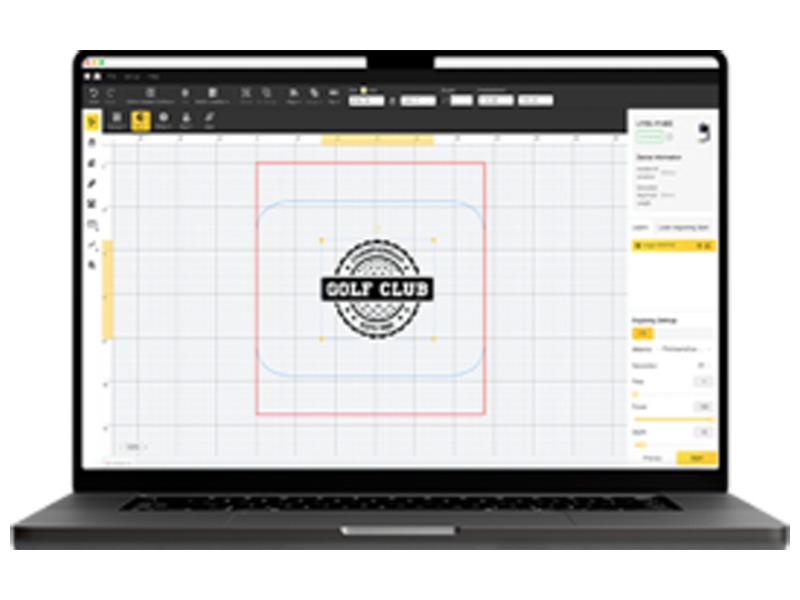
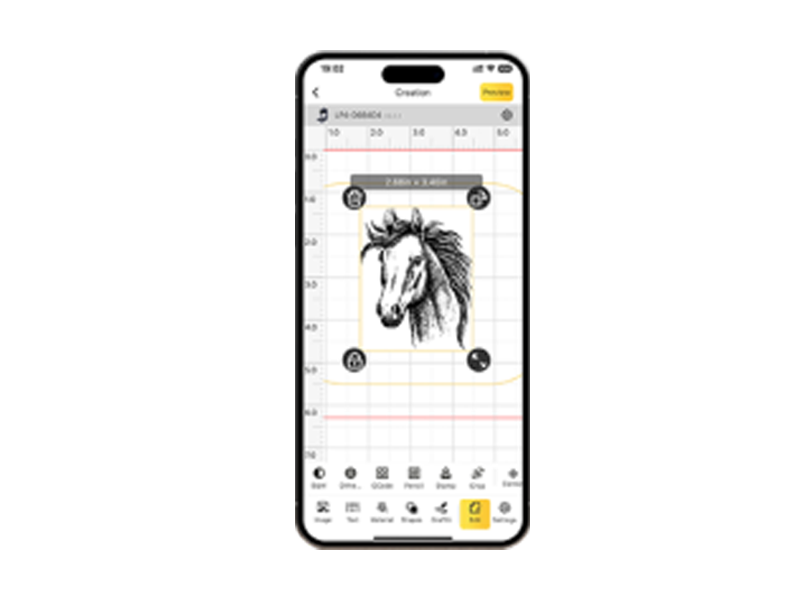
Importez votre modèle dans le logiciel LX2. Vérifiez les dimensions et le positionnement, puis prévisualisez le résultat.
Étape 3 : Fixer le matériau en place
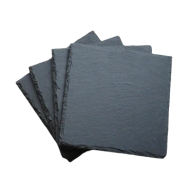
Fixez le bois dans la machine à l’aide de serre-joints ou de ruban adhésif. Pour les matériaux fins, utilisez une planche de support afin de réduire les marques de brûlure sur la face inférieure.
Étape 4 : Ajuster les réglages du laser
Réglez la puissance et la vitesse en fonction du type de matériau :
- Gravure : puissance modérée, vitesse plus élevée
- Découpe de bois plus épais : puissance plus élevée, vitesse plus faible
Étape 5 : Effectuer un essai
Testez les réglages sur un matériau de rechange et ajustez les paramètres pour garantir des bords nets et une gravure uniforme.
Étape 6 : Effectuer la découpe et la gravure
Lancez la machine et surveillez le processus. Utilisez plusieurs passes pour les matériaux plus épais afin d’améliorer la qualité de coupe et de réduire les brûlures.
Étape 7 : Appliquer les finitions
Poncez légèrement les bords, éliminez la poussière, puis appliquez de la peinture, de la teinture ou un revêtement protecteur. Terminez le panneau en fixant les éléments de montage nécessaires, le cas échéant.
Partie 5 : Conseils pour fabriquer des panneaux en bois avec la découpe laser
Pour une meilleure précision et des résultats plus nets lors de la découpe laser du bois, tenez compte des conseils suivants :
1. Sélectionner des essences de bois adaptées
Le bouleau baltique et le tilleul sont largement utilisés en Europe en raison de leur faible teneur en résine et de leur capacité à produire des coupes nettes avec un minimum de brûlures.
2. Appliquer du ruban de masquage
Recouvrez la surface de ruban de masquage avant la découpe pour réduire les marques de brûlure. Retirez-le ensuite pour obtenir des bords plus nets et une finition plus propre.
3. Tester et ajuster les réglages
Chaque type de bois réagit différemment. Tester et ajuster les réglages de puissance et de vitesse garantit des détails de gravure optimaux et une grande précision de coupe.
4. Effectuer plusieurs passes pour les matériaux plus épais
Effectuer plusieurs passes légères plutôt qu’une seule coupe profonde améliore la qualité des bords et réduit le risque de brûlure.
5. Assurer une ventilation adéquate
L’utilisation d’un système d’extraction d’air aide à éliminer la fumée et les particules, améliorant ainsi la sécurité et la qualité de la surface finale, en particulier dans les ateliers intérieurs.
6. Optimiser la préparation de l’image
Convertissez les images en niveaux de gris à contraste élevé et testez différentes techniques de tramage ou de demi-teintes afin d’obtenir des résultats de gravure détaillés.
Partie 6 : FAQ sur la fabrication de panneaux en bois
Q1. Le contreplaqué peut-il être utilisé pour des panneaux en bois ?
Oui, le contreplaqué est largement utilisé partout en Europe pour les enseignes en bois en raison de son prix abordable et de sa stabilité. Le contreplaqué de bouleau est particulièrement adapté à la gravure laser, car il offre une surface lisse et des résultats uniformes. Choisir du contreplaqué adapté au laser, avec des couches régulières, permet d’éviter les découpes irrégulières ou les marques de brûlure.
Q2. Comment transférer des lettres sur du bois ?
Les lettres peuvent être transférées à l’aide de pochoirs, de papier carbone, de vinyle ou de gravure laser. Parmi ces méthodes, la gravure laser offre la plus grande précision, en transférant directement les motifs numériques sur la surface. La découpe laser permet également de produire des lettres en bois séparées pour des enseignes superposées.
Q3. Quels types de bois résistent le mieux aux déformations ?
Les bois durs denses, comme l’érable, le noyer et le cerisier, sont moins susceptibles de se déformer. Le contreplaqué de bouleau de la Baltique est également très stable grâce à sa structure en couches. Pour réduire les déformations, stockez les matériaux à plat, laissez-les s’acclimater à leur environnement et appliquez un revêtement protecteur sur les deux faces après le traitement.
Q4. Quels types d’enseignes en bois conviennent le mieux à la découpe laser ?
La découpe laser convient à un large éventail d’applications, notamment les enseignes décoratives, les présentoirs de magasins, les décorations de mariage, les enseignes 3D superposées et le lettrage. Les bois plus tendres, comme le tilleul et le contreplaqué, sont plus faciles à découper, tandis que les bois durs conviennent mieux à la gravure de motifs détaillés.
Q5. La découpe laser est-elle une méthode sûre et fiable pour les enseignes en bois ?
Oui, la découpe laser est sûre et efficace lorsque la ventilation et les réglages appropriés sont utilisés. Le LaserPecker LX2, avec sa conception de sécurité fermée de classe 1, convient à une utilisation en intérieur partout en Europe. Ses modules diode interchangeables (20W, 40W, 60W) et son système Air Assist contribuent à garantir des découpes nettes et des performances uniformes.
Q6. Comment éviter les marques de brûlure lors de la découpe laser du bois ?
Pour minimiser les marques de brûlure, utilisez du ruban de masquage sur la surface, optimisez les réglages de puissance et de vitesse, et assurez une bonne circulation de l’air avec un système d’extraction. Effectuer plusieurs passes légères plutôt qu’une seule coupe profonde peut également améliorer la qualité des bords et réduire les marques de brûlure.
Conclusion
La création d’enseignes en bois allie créativité et application pratique, et la meilleure méthode dépend de votre expérience, de vos objectifs et de l’échelle de production. Les techniques traditionnelles, comme la peinture à la main et l’utilisation de pochoirs, offrent flexibilité et contrôle artistique, tandis que le fraisage CNC convient particulièrement aux enseignes durables et en relief. Chaque approche répond à un objectif différent.
Pour les artisans et les petites entreprises partout en Europe, la découpe et la gravure laser offrent le meilleur équilibre entre précision, efficacité et évolutivité. Avec une machine de découpe et de gravure laser de bureau, il devient possible de produire du texte net, des graphiques détaillés et des résultats uniformes avec une préparation minimale et moins de gaspillage de matériaux. Qu’il s’agisse de créations uniques ou d’une production à petite échelle, la technologie laser offre un moyen fiable de créer des enseignes en bois professionnelles.