





















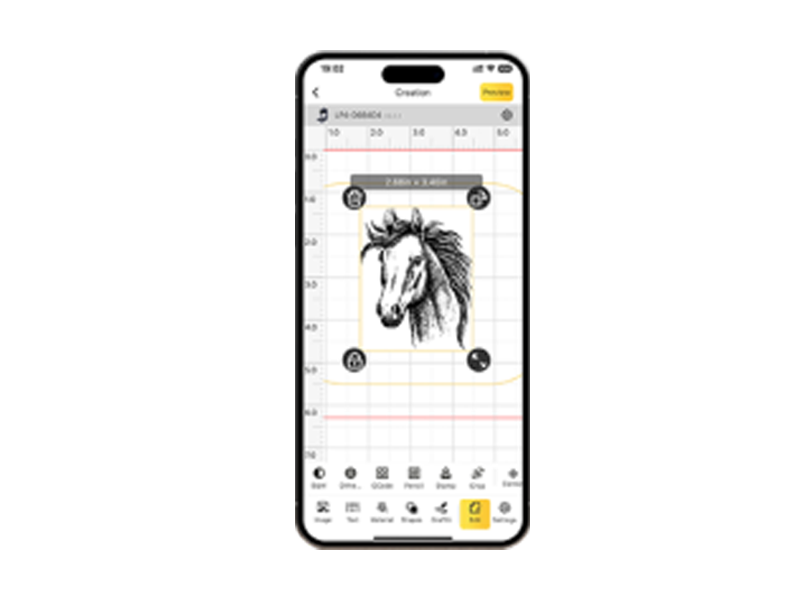



















Les tampons de gaufrage sont couramment utilisés en Europe pour créer des motifs en relief sur des matériaux tels que le papier, le cuir et le métal. Ils sont populaires dans la conception de papeterie, l’emballage, l’image de marque et la production artisanale à petite échelle. Autrefois, la fabrication de tampons de gaufrage reposait sur des techniques exigeantes en main-d’œuvre, comme la gravure manuelle ou le travail du métal, et nécessitait une expertise importante. Grâce aux technologies modernes de gaufrage laser, il est désormais possible de produire des tampons de gaufrage 3D précis et reproductibles de manière beaucoup plus efficace.
Ce guide présente les bases des tampons de gaufrage, les outils dont vous avez besoin et des méthodes pratiques pour les fabriquer chez vous ou dans un petit atelier.

Dans cet article :
- Partie 1 : De quoi avez-vous besoin pour fabriquer un tampon de gaufrage
- Partie 2 : Quatre façons pratiques de fabriquer un tampon de gaufrage
- Méthode 1 : Gaufrage laser (gravure laser 3D)
- Méthode 2 : Travail traditionnel du métal
- Méthode 3 : Impression 3D
- Méthode 4 : Gravure manuelle
- Partie 3 : Pourquoi choisir le LP5 pour le gaufrage laser ?
- Partie 4 : FAQ sur la fabrication de tampons de gaufrage
Partie 1 : De quoi avez-vous besoin pour fabriquer un tampon de gaufrage ?
Si vous prévoyez de fabriquer votre propre tampon de gaufrage, disposer des bons matériaux et outils est essentiel pour obtenir des résultats constants et de haute qualité.
Les matériaux couramment utilisés dans l’UE comprennent :
- Feuilles de métal (par exemple en laiton ou en acier inoxydable) pour une performance durable
- Acrylique pour les applications détaillées et légères
- Argile polymère pour le prototypage ou les projets de petite envergure
- Matériaux dédiés au gaufrage pour des résultats plus précis et reproductibles
Outils recommandés :
- Outils de gravure manuelle pour les designs simples ou personnalisés
- Machines CNC pour une production contrôlée et reproductible
- Graveurs laser pour un gaufrage 3D efficace et extrêmement précis
Pour les flux de travail numériques, un logiciel de conception est nécessaire pour créer et préparer vos fichiers.
La sécurité est tout aussi importante : portez des gants et des lunettes de protection, et assurez-vous que la ventilation est suffisante, en particulier lorsque vous travaillez à l’intérieur ou avec des matériaux synthétiques. Une préparation adéquate contribue à améliorer à la fois l’efficacité et la qualité finale du gaufrage, que vous travailliez chez vous ou dans un petit atelier.
Partie 2 : Quatre façons pratiques de fabriquer un tampon de gaufrage
Il existe plusieurs façons de produire un tampon de gaufrage, et la méthode la mieux adaptée dépend de facteurs tels que le budget, l’équipement disponible, les exigences de précision et le volume de production. Voici quatre approches couramment utilisées en Europe, combinant fabrication numérique et techniques traditionnelles.
Méthode 1 : Gaufrage au laser (gravure laser 3D)
Le gaufrage au laser utilise une gravure laser contrôlée pour retirer de la matière à différentes profondeurs, formant ainsi des designs 3D précis en relief ou en creux. Cette méthode offre une grande précision et des contours nets, ce qui la rend idéale pour les logos, les éléments de marque et les motifs détaillés.
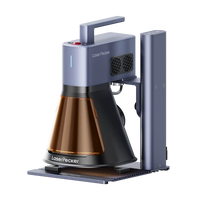
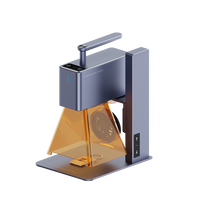
Elle est très efficace, reproductible et convient parfaitement au prototypage ainsi qu’à la production en petite série. Avec des machines telles que la LaserPecker LP5, les utilisateurs peuvent obtenir des résultats fiables sur des matériaux tels que l’acrylique, le caoutchouc, le cuir et certains plastiques.
Principaux avantages :
- Grande précision et contrôle de la profondeur
- Adaptée aux designs complexes et aux petits textes
- Processus de production rapide et uniforme
- Permet de créer des effets de gaufrage 3D professionnels
Méthode 2 : Travail traditionnel du métal
Avec cette méthode, les tampons de gaufrage sont fabriqués par usinage ou par gravure à l’aide de métaux tels que le laiton ou l’acier. Ces tampons sont extrêmement durables et largement utilisés dans les environnements industriels et commerciaux à travers l’UE.
Cependant, ce processus nécessite un équipement spécialisé et une expertise technique, ce qui le rend souvent plus coûteux et plus long.
Principaux avantages :
- Excellente durabilité pour une utilisation à long terme
- Adaptée aux applications exigeantes et à haute pression
Limites :
- Coût de production plus élevé et délais plus longs
- Flexibilité limitée pour les designs très détaillés ou complexes
Méthode 3 : Impression 3D
L’impression 3D permet de produire des tampons de gaufrage à partir de matériaux comme la résine ou le PLA. Elle est couramment utilisée pour le prototypage, la validation des designs et les petites séries de production.
Principaux avantages :
- Prototypage et itérations rapides
- Capable de produire des géométries complexes
- Une solution accessible pour les débutants et les créateurs
Limites :
- Durabilité inférieure à celle des tampons en métal ou gravés au laser
- Peut nécessiter des opérations de finition
- Moins adaptée à la production en grande série
Méthode 4 : Gravure manuelle
La gravure manuelle consiste à façonner le tampon à la main à l’aide d’outils de gravure. Il s’agit d’une méthode traditionnelle qui offre une grande liberté créative et qui est souvent utilisée pour des applications artistiques ou personnalisées.
Principaux avantages :
- Contrôle créatif maximal
- Pas besoin de machines avancées
- Idéal pour les pièces uniques ou personnalisées
Limites :
- Exigeant en main-d’œuvre et chronophage
- Résultats irréguliers pour les détails fins
- Nécessite de l’expérience et de la précision
Vue d’ensemble comparative des méthodes
| Méthode | Précision | Vitesse | Options de matériaux |
|---|---|---|---|
| Gaufrage laser | Très élevée | Rapide | Polymère, acrylique, métal |
| Travail des métaux | Élevée | Moyenne | Métal |
| Impression 3D | Moyenne | Moyenne | Résine, PLA |
| Gravure à la main | Moyenne | Lent | Polymère, métaux tendres, bois |
Quelle méthode vous convient le mieux ?
Le choix de la méthode appropriée dépend de votre cas d’utilisation spécifique :
- La gravure à la main convient aux créations artistiques et aux pièces uniques, mais pas à la production répétitive.
- Le travail des métaux est idéal pour une durabilité industrielle, mais nécessite un investissement dans des outils ou le recours à la sous-traitance.
- L’impression 3D convient parfaitement au prototypage et aux tests de conception, mais peut ne pas répondre aux exigences de durabilité à long terme.
- Le gaufrage laser offre un excellent équilibre entre précision, efficacité et polyvalence, ce qui le rend adapté aussi bien aux amateurs qu’aux environnements de production à petite échelle.
Dans de nombreux cas, le gaufrage laser est le choix le plus pratique pour obtenir des résultats détaillés, reproductibles et professionnels.
Partie 3 : Pourquoi choisir le LP5 pour le gaufrage laser ?
Pour les utilisateurs de l’UE souhaitant adopter le gaufrage laser, le LaserPecker LP5 est une solution polyvalente qui combine précision, efficacité et facilité d’utilisation. Il convient aussi bien aux créateurs qu’aux environnements de production à petite échelle.
Caractéristiques principales :
- Système laser double (fibre + diode) pour travailler une grande variété de matériaux, notamment les polymères, l’acrylique et les métaux
- Contrôle précis de la profondeur pour obtenir des résultats de gaufrage 3D détaillés et reproductibles
- Espace de travail extensible (extension en option) pour les grands formats ou la production par lots
- Grande constance entre les travaux répétés, idéale pour les petites entreprises
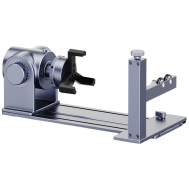
- Possibilité de graver sur des surfaces courbes ou irrégulières
- Conception portable et compacte, adaptée aux configurations d’atelier flexibles
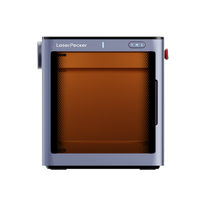
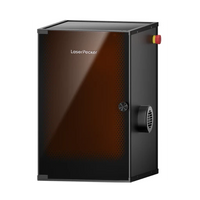
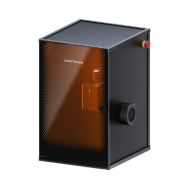
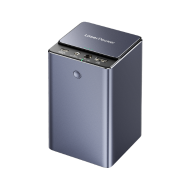
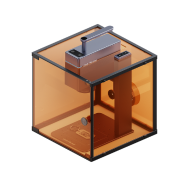
En matière de sécurité, l’utilisation du LP5 avec le caisson Safeguard permet d’atteindre la classe 1 de sécurité laser, ce qui est important pour une utilisation en intérieur conforme dans de nombreux environnements de l’UE. Pour améliorer la qualité de l’air, il peut être associé au purificateur d’air de bureau LaserPecker afin de filtrer efficacement les fumées et les odeurs générées lors de la gravure et de la découpe.
Cela fait du LP5 une solution fiable pour produire efficacement des tampons à gaufrer de haute qualité, tout en garantissant un espace de travail plus sûr.
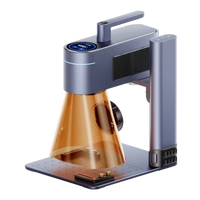
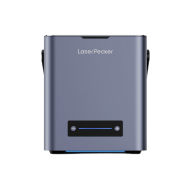
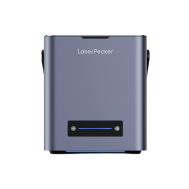
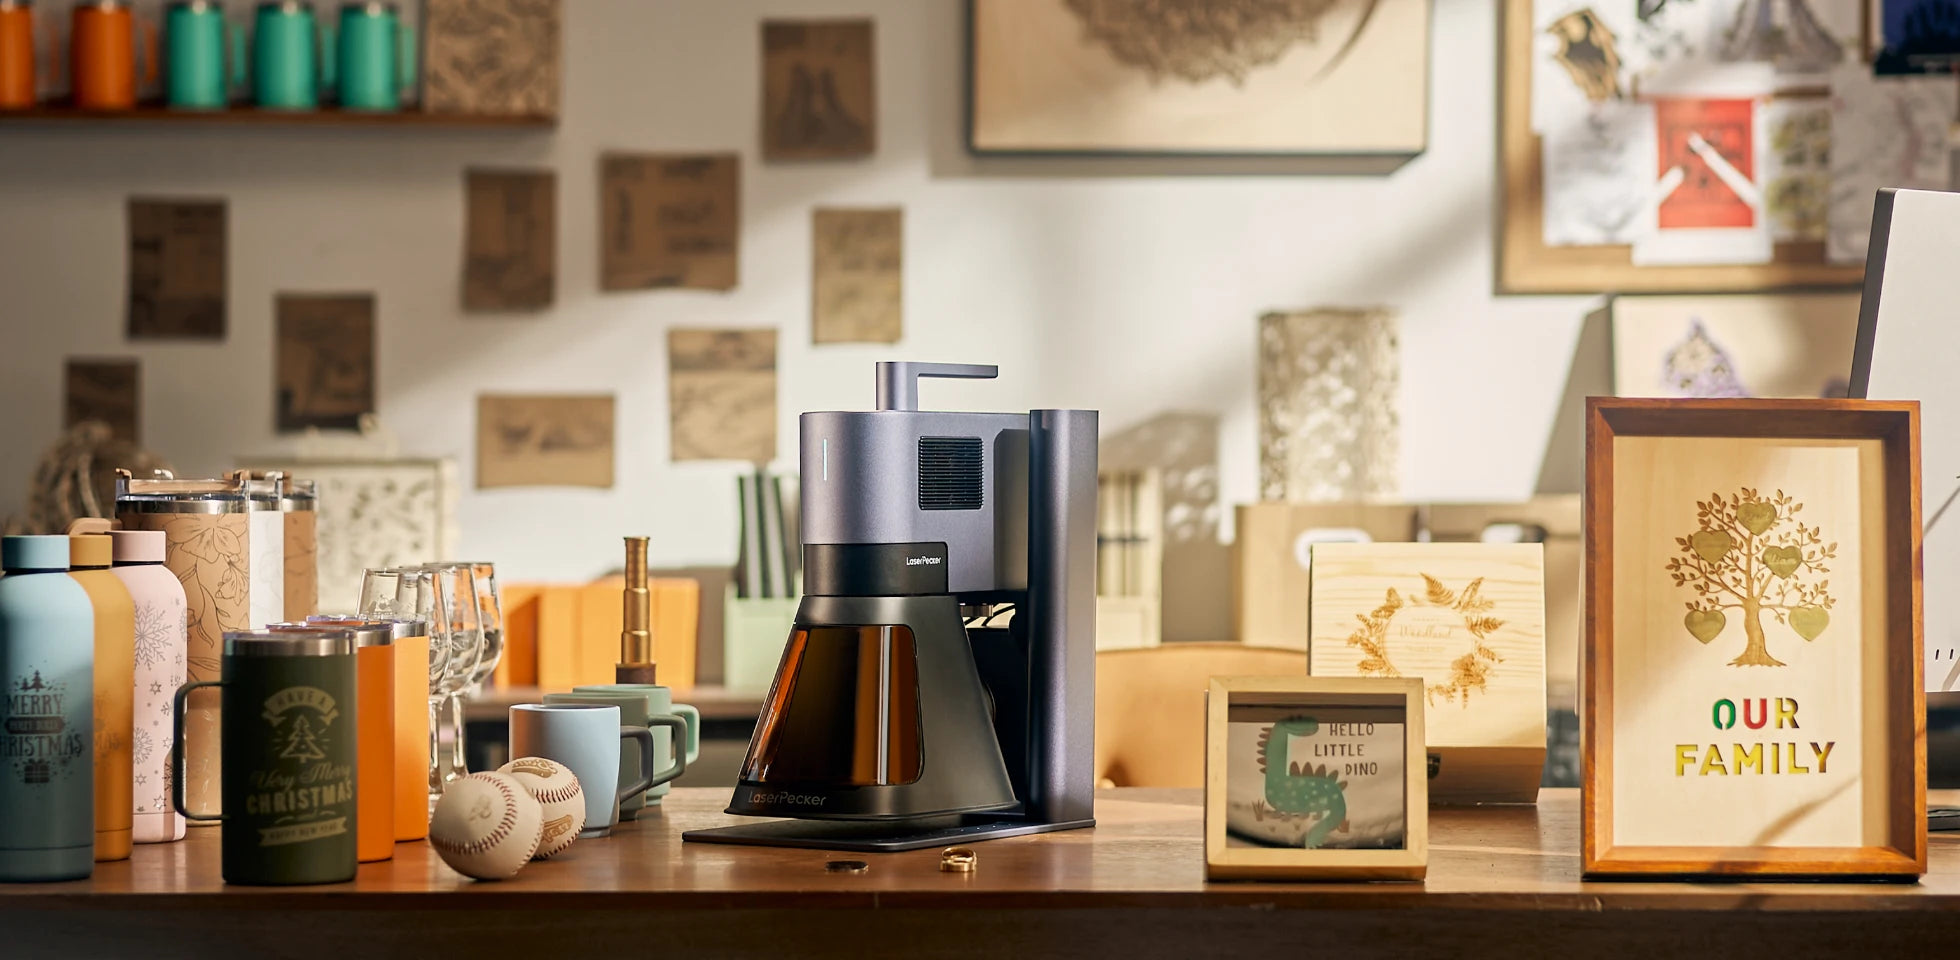
Graveur laser recommandé pour la fabrication de tampons à gaufrer : LaserPecker LP5
Le LaserPecker LP5 est une machine de gravure laser double haute précision conçue pour créer des tampons de gaufrage personnalisés, des matrices métalliques, des outils de marquage, des tampons en cuir et des produits artisanaux personnalisés.
-
Système laser double (fibre + diode)
Pour traiter une grande variété de matériaux, notamment les polymères, l’acrylique et les métaux. -
Contrôle précis de la profondeur
Pour produire des résultats de gaufrage 3D détaillés et reproductibles. -
Espace de travail extensible
Extension en option pour les formats plus grands ou la production par lots. -
Grande constance entre les travaux répétés
Idéal pour les applications des petites entreprises.
Étapes pour fabriquer un tampon de gaufrage 3D avec le LaserPecker LP5
Étape 1 : préparer votre dessin
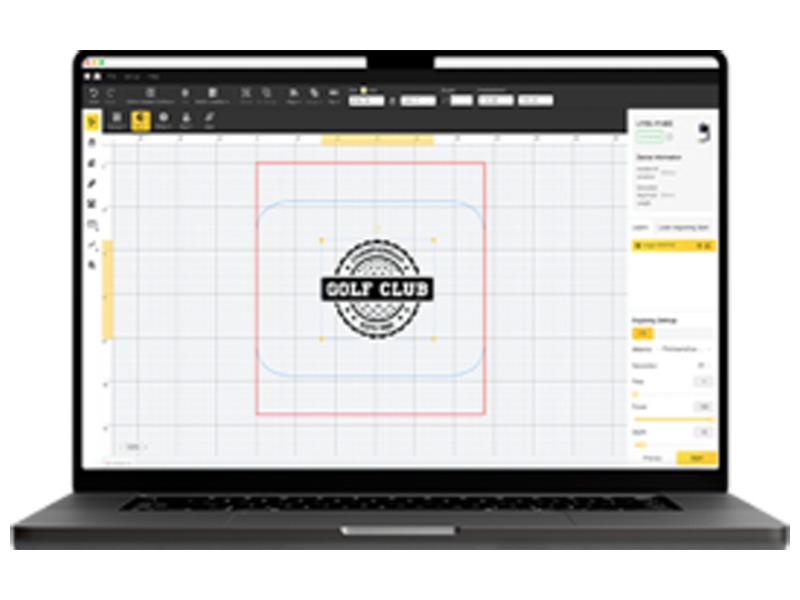
Créez ou importez un dessin vectoriel et ajustez les couches de profondeur pour définir la structure du gaufrage 3D.
Étape 2 : choisir un matériau adapté
Sélectionnez des matériaux tels que le polymère, l’acrylique ou les métaux compatibles, selon les exigences de durabilité et d’utilisation.
Étape 3 : fixer le matériau en place
Fixez fermement le matériau sur le plateau de la machine afin de garantir la précision pendant le fonctionnement.
Étape 4 : ajuster les paramètres du laser
Définissez le type de laser, la puissance, la vitesse et la résolution appropriés. Optimisez les paramètres de profondeur pour la gravure multicouche.
Étape 5 : lancer le processus de gravure
Effectuez un essai si nécessaire, puis lancez la gravure en surveillant les performances.
Étape 6 : vérifier le résultat final
Inspectez le tampon fini pour vérifier sa précision et éliminez tout résidu.
Étape 7 : tester et affiner
Testez l’effet de gaufrage et effectuez des ajustements si nécessaire.
Conseils de conception et de processus pour un tampon de gaufrage 3D parfait
- Utilisez des illustrations haute résolution pour préserver la qualité des détails
- Renforcez les éléments de conception fins ou fragiles
- Testez les paramètres du laser avant la production complète
- Nettoyez les surfaces du matériau entre les passes
- Appliquez des traitements de finition (par exemple, un revêtement ou un polissage) pour prolonger la durée de vie
Partie 4 : FAQ sur la fabrication de tampons de gaufrage
Q1. Quelle est la différence entre le gaufrage laser et la gravure laser standard ?
Le gaufrage laser enlève de la matière par couches afin de créer une structure 3D bien définie, tandis que la gravure laser standard produit généralement des marques superficielles. Pour les tampons de gaufrage, un contrôle précis de la profondeur est essentiel pour garantir des résultats cohérents et professionnels.
Q2. Quelle est la profondeur recommandée pour un tampon de gaufrage 3D ?
Les plages de profondeur typiques varient selon le matériau :
- Papier et carton : 1–3 mm
- Cuir : 2–4 mm
- Métaux tendres (p. ex. aluminium) : 1,5–3 mm
- Matériaux plus épais : jusqu’à 5 mm
Il est fortement recommandé de faire des essais sur le matériau choisi avant la production finale.
Q3. Quels matériaux conviennent aux tampons de gaufrage au laser ?
Les matériaux couramment utilisés dans l’UE comprennent :
- Caoutchouc
- Cuir
- Bois dur
- Acrylique
- Métaux tendres sélectionnés
La combinaison de lasers à fibre et à diode permet de traiter efficacement une gamme plus étendue de matériaux, des métaux aux polymères et au bois.
Q4. Est-il sûr de fabriquer des tampons de gaufrage à la maison avec une graveuse laser ?
Oui, à condition de respecter les mesures de sécurité appropriées. L’utilisation du LP5 avec l’enceinte Safeguard garantit une sécurité laser de classe 1, ce qui est important dans les environnements intérieurs. L’ajout d’un système de purification de l’air aide à gérer les fumées et les odeurs pendant le fonctionnement.
Q5. Combien de temps faut-il pour fabriquer un tampon de gaufrage ?
La durée de production dépend de la complexité du design, du matériau et des réglages de la machine. Les designs simples peuvent ne prendre que quelques minutes, tandis que les tampons de gaufrage 3D détaillés peuvent demander plus de temps en raison des multiples passes de gravure.
Q6. Les tampons de gaufrage peuvent-ils être utilisés pour la production d’une petite entreprise ?
Oui, notamment avec le gaufrage au laser. Le processus est hautement répétable et efficace, ce qui le rend adapté à la production à petite échelle, aux commandes personnalisées et aux produits personnalisés sur différents marchés de l’UE.
Conclusion
Il existe plusieurs façons de fabriquer des tampons de gaufrage, notamment la gravure manuelle traditionnelle, le travail des métaux, l’impression 3D et la gravure laser en relief. Bien que chaque méthode ait sa place, le gaufrage au laser est souvent la solution la plus efficace grâce à sa précision, sa rapidité et sa capacité à travailler sur différents matériaux.
L’utilisation d’un système comme le LaserPecker LP5 permet de créer des tampons de gaufrage personnalisés avec une grande précision et une excellente répétabilité, ce qui le rend adapté aussi bien à un usage personnel qu’à une production à petite échelle. Associé au LP5 Safeguard (sécurité laser de classe 1) et au purificateur d’air de bureau LaserPecker, il favorise également une utilisation en intérieur plus sûre en réduisant l’exposition aux fumées et aux odeurs.
Pour les artisans, les designers et les petites entreprises de toute l’UE, choisir la bonne méthode garantit des résultats fiables et de haute qualité, répondant à la fois aux besoins créatifs et aux exigences de production.