








































Les pochoirs personnalisés sont largement utilisés par les décorateurs amateurs, les artistes aérographes, les créateurs de T-shirts, les passionnés et les créateurs de petites entreprises dans toute l’Europe. Ces feuilles pratiques aux motifs découpés permettent à la peinture ou à l’encre de passer à travers, garantissant des résultats nets et réguliers à chaque utilisation. Grâce à l’amélioration des matériaux, aux outils de découpe faciles à utiliser et aux solutions avancées comme les machines de découpe laser, la création de pochoirs personnalisés à domicile est devenue plus efficace et plus accessible.
Dans ce guide, vous découvrirez comment choisir les bons matériaux, comprendre les différentes techniques de découpe et créer des motifs nets et de qualité professionnelle du début à la fin.

Dans cet article :
- Partie 1 : Choisir le bon matériau pour votre pochoir personnalisé
- Partie 2 : Meilleurs outils pour créer un pochoir personnalisé
- Méthode 1 :Outils manuels pour débutants
- Méthode 2 :Machines de découpe courantes
- Méthode 3 : Machines de découpe laser avancées
- Partie 3 : Pourquoi choisir une machine de découpe laser pour créer des pochoirs personnalisés
- Partie 4 : Comment créer des pochoirs personnalisés avec LX2
- Partie 5 : Conseils de pro pour de meilleurs résultats avec vos pochoirs
- Partie 6 : FAQ sur la création de pochoirs personnalisés
Partie 1 : Choisir le bon matériau pour votre pochoir personnalisé
Choisir le matériau approprié est une étape essentielle pour produire un pochoir fiable et de haute qualité. Le matériau influe directement sur la durabilité, la flexibilité et la précision du motif final.
Lors du choix d’un matériau pour pochoir, concentrez-vous sur :
- Durabilité : aptitude à résister à une utilisation répétée
- Flexibilité : capacité à s’adapter à différentes surfaces
- Précision : régularité et netteté des bords découpés
Matériau 1 : Papier cartonné ou carton
Le papier cartonné est une option accessible et économique, particulièrement adaptée aux débutants. Il se découpe facilement à la main et convient bien aux projets simples ou temporaires. Cependant, il ne résiste pas à l’eau et a tendance à se détériorer après un usage limité.
Matériau 2 : Feuilles d’acrylique
Les feuilles d’acrylique offrent rigidité et durabilité à long terme. Elles sont idéales pour les applications nécessitant un support stable et des bords précis. Elles sont également très compatibles avec la découpe au laser et l’aérographe, notamment pour une utilisation répétée ou professionnelle.
Matériau 3 : Bois ou MDF
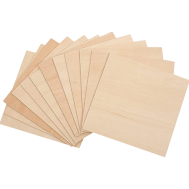
Le bois et le MDF sont des matériaux durables adaptés aux projets nécessitant une plus grande résistance, comme la création de panneaux ou les applications décoratives utilisant des peintures plus épaisses. Ils nécessitent généralement une découpe au laser ou des outils mécaniques pour obtenir des résultats précis.
Matériau 4 : Feuilles de métal
Les feuilles de métal offrent une durabilité maximale et sont largement utilisées dans les environnements industriels ou professionnels. Leur résistance à l’usure les rend adaptées à une utilisation répétée, bien qu’elles nécessitent un équipement spécialisé pour la découpe.
Matériau 5 : Mylar
Le Mylar est un matériau polyvalent et largement utilisé pour les pochoirs, grâce à sa flexibilité, sa durabilité et sa facilité de nettoyage. Il convient aussi bien aux débutants qu’aux professionnels et fonctionne bien pour la peinture au spray, la décoration murale, l’impression textile et les applications de logos.
Partie 2 : Les meilleurs outils pour créer un pochoir personnalisé
L’utilisation des bons outils joue un rôle essentiel pour obtenir des découpes précises et une qualité de pochoir uniforme. Le meilleur choix dépend de votre niveau, des matériaux sélectionnés et de la complexité de votre design.
Méthode 1 : Outils manuels pour débutants
Pour les applications de bricolage simples, des outils basiques suffisent souvent. Un équipement de départ typique comprend :
- Cutter de précision
- Tapis de découpe
- Ruban de masquage
- Adhésif en spray
Ces outils sont économiques et accessibles, ce qui les rend idéaux pour les débutants. Cependant, obtenir une grande précision exige un contrôle stable et une exécution minutieuse.

Méthode 2 : Machines de découpe courantes
Outil 1 : Cricut pour les pochoirs personnalisés
Les machines Cricut sont largement utilisées pour la création de pochoirs par les débutants. Elles sont faciles à utiliser et conviennent à la découpe de formes simples dans des matériaux plus fins tels que le papier cartonné, le vinyle et le Mylar (dans les limites d’épaisseur prises en charge). Leur logiciel convivial en fait une option pratique pour les loisirs créatifs ou les petits projets.
Elles présentent notamment des performances réduites avec les matériaux plus épais et une production plus lente lors de la réalisation de plusieurs pochoirs. Elles conviennent mieux aux designs souples et peu détaillés.
Outil 2 : Silhouette pour les pochoirs personnalisés
Les machines Silhouette offrent un meilleur contrôle des réglages tels que la force de découpe et les ajustements des détails. Elles sont donc mieux adaptées aux motifs complexes et aux textes fins.
Cependant, comme les machines Cricut, elles ne sont pas conçues pour les matériaux plus épais et peuvent nécessiter plusieurs passes de découpe. Silhouette est une bonne option pour les utilisateurs qui recherchent davantage de précision sans investir dans un équipement de qualité industrielle.
Méthode 3 : Découpeuses laser avancées
Les découpeuses laser offrent une précision, une efficacité et une compatibilité maximales avec les matériaux. Elles peuvent traiter une grande variété de matériaux, notamment l’acrylique, le bois, le Mylar épais et le métal fin, tout en maintenant une grande précision.
Les principaux avantages comprennent :
- Bords nets et précis
- Grande répétabilité pour des résultats uniformes
- Production efficace pour les volumes importants
Sur le marché de l’UE, les découpeuses laser sont couramment privilégiées par les créateurs professionnels et les petites entreprises en raison de leur efficacité, de leur fiabilité et de leur conformité aux normes de sécurité modernes. Pour les applications avancées ou la production fréquente, elles représentent la solution la plus évolutive et la plus durable.

Partie 3 : Pourquoi choisir une découpeuse laser pour créer des pochoirs personnalisés ?
Un découpeur laser est largement reconnu comme l’un des outils les plus efficaces et précis pour produire des pochoirs personnalisés, que ce soit pour des projets personnels, de petites entreprises ou une production à plus grande échelle. Comparé à la découpe manuelle ou aux machines conventionnelles, il offre plusieurs avantages importants :
1. Découpes ultra-précises pour des designs détaillés
Un découpeur laser permet de découper avec une grande précision des textes fins, des ponts étroits, des angles nets et des motifs complexes. Cette précision garantit des résultats uniformes et de haute qualité, difficiles à obtenir avec des méthodes manuelles ou à base de lame.
2. Compatible avec une large gamme de matériaux
Les systèmes de découpe laser peuvent traiter facilement des matériaux tels que le Mylar, le PET, le papier kraft, le papier cartonné, l’acrylique et le cuir. Cette polyvalence permet de choisir le matériau le plus approprié, sans les limites liées à la découpe mécanique.
3. Efficacité accrue et production plus rapide
Avec un découpeur laser, les designs peuvent être réalisés en quelques minutes. Aucun travail manuel chronophage ni entretien de lame n’est nécessaire. Il suffit de téléverser le design, d’ajuster les paramètres et de commencer la découpe, ce qui convient aussi bien aux débutants qu’aux petites opérations de production.
4. Répétabilité fiable pour la production en série
Pour les créateurs et les petites entreprises basés dans l’UE, la régularité est essentielle. Un découpeur laser garantit que chaque pochoir est produit avec une précision identique, ce qui est particulièrement important pour l’image de marque, la cohérence des produits et la production à grande échelle.
5. Découpes nettes sans déformation du matériau
Comme il s’agit d’un procédé sans contact, un découpeur laser empêche le matériau de bouger pendant la découpe. Il en résulte des bords lisses, sans effilochage, pliage ni déformation.
6. Accessible aux débutants, évolutif pour les professionnels
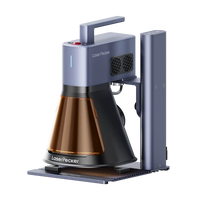
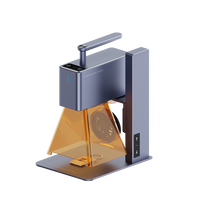
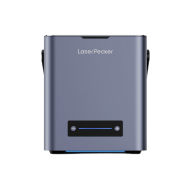
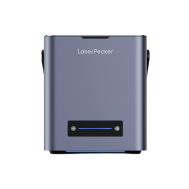
Les solutions modernes telles que le LX2 associent un logiciel intuitif à des options de contrôle avancées. Les débutants peuvent commencer rapidement, tandis que les professionnels peuvent optimiser les réglages pour des applications plus complexes ou des volumes élevés.
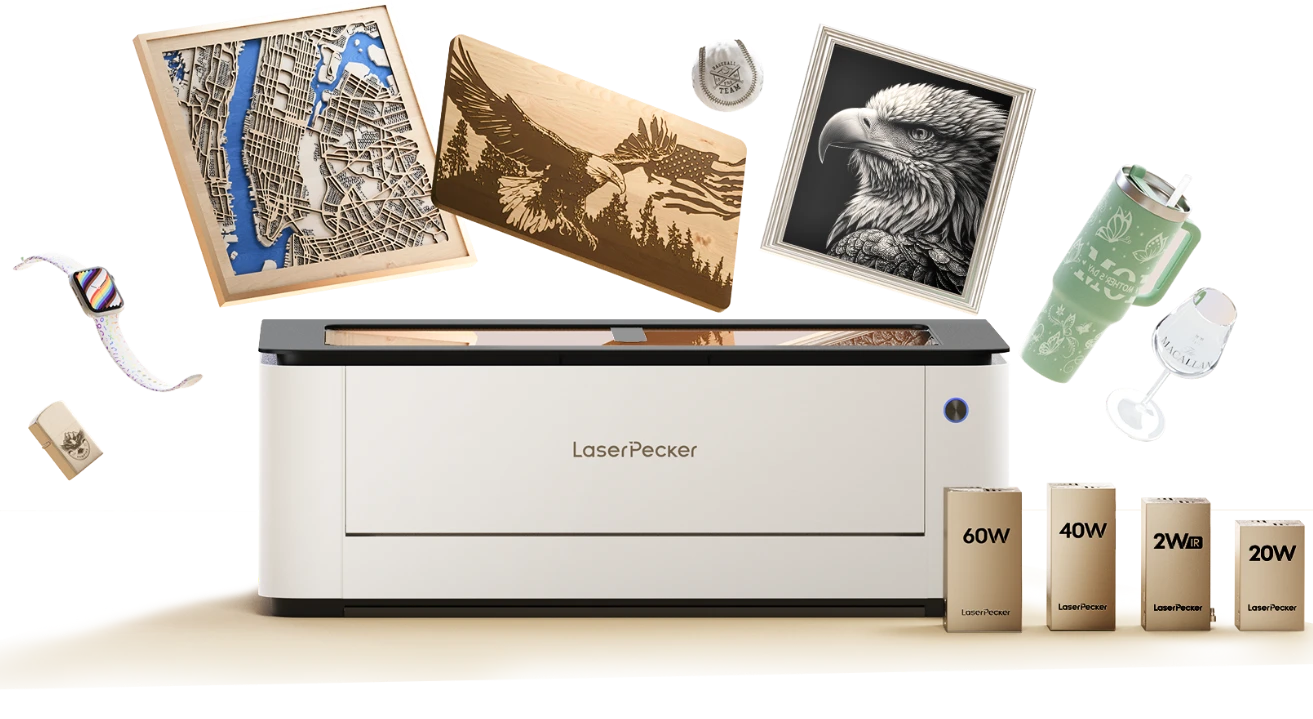
Partie 4 : Comment fabriquer des pochoirs personnalisés avec le LX2
La production de pochoirs personnalisés avec le LX2 est efficace, précise et adaptée aux débutants comme aux utilisateurs expérimentés. Suivez ces étapes pour obtenir des pochoirs nets et uniformes.
Étape 1 : Préparer et importer le design
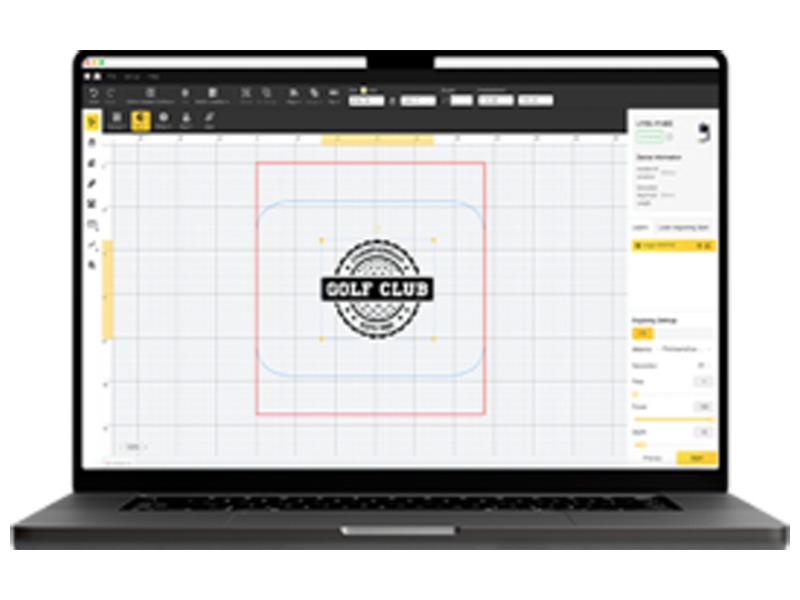
Concevez votre pochoir à l’aide d’un logiciel tel qu’Adobe Illustrator, CorelDRAW, Inkscape ou LaserPecker Design Space. Enregistrez le fichier au format SVG, DXF, AI ou EPS afin de préserver la précision de la découpe.
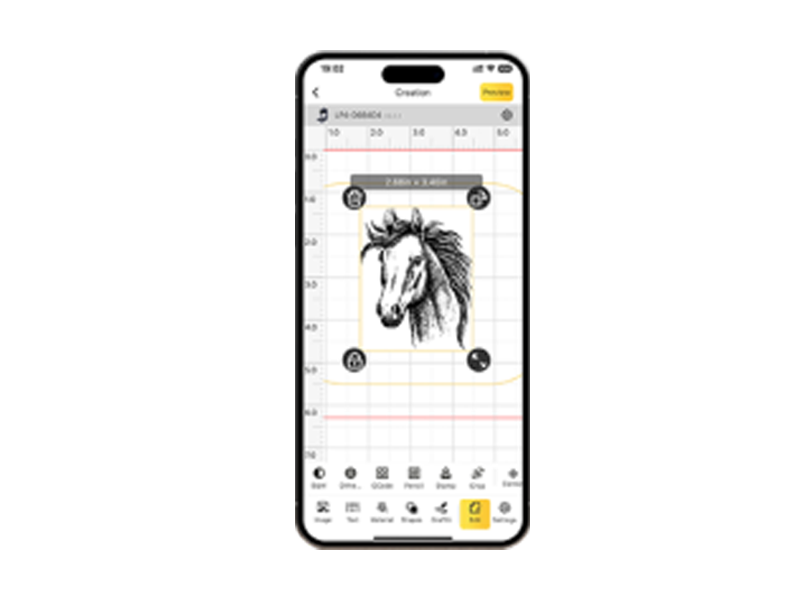
Importez le fichier dans le système LX2 et ajustez la taille et le positionnement si nécessaire. La caméra intégrée de 12 mégapixels et la fonction de repérage de la forme permettent un alignement précis sur la surface du matériau.
Étape 2 : Fixer le matériau et commencer la découpe
Placez votre matériau pour pochoir — tel que du Mylar, de l’acrylique, du bois ou du métal fin — sur la surface de travail, en vous assurant qu’il est plat et stable. Fixez-le avec des aimants ou du ruban adhésif si nécessaire.
Appliquez les paramètres appropriés au matériau et lancez le processus de découpe. Le LX2 garantit des bords précis et nets grâce à son laser haute performance, à son contrôle logiciel intelligent et à son système d’assistance pneumatique, qui réduit les débris pendant le fonctionnement.
Étape 3 : nettoyez et testez le pochoir
Une fois la découpe terminée, retirez soigneusement le pochoir et enlevez les éventuelles pièces internes restantes. Nettoyez les bords si nécessaire.
Testez le pochoir sur une surface d’essai afin de vérifier l’uniformité des ouvertures et la netteté des lignes avant l’application finale.
Considérations relatives à la sécurité et à l’espace de travail
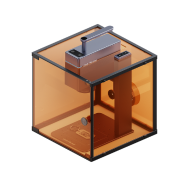
Dans l’UE, le LX2 est conforme à la classe 1 de sécurité laser, ce qui le rend adapté à une utilisation en intérieur et conforme aux exigences de sécurité courantes.
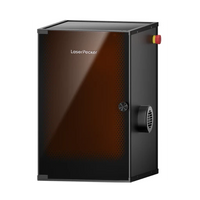
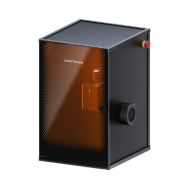
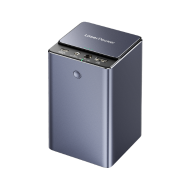
Il peut également être associé au purificateur de fumée de bureau LaserPecker pour filtrer les fumées et les odeurs produites pendant la découpe. Cela améliore la qualité de l’air et favorise un fonctionnement plus sûr dans les espaces de travail fermés ou intérieurs.
Partie 5 : conseils de pro pour de meilleurs résultats avec les pochoirs
La réalisation de pochoirs de haute qualité nécessite non seulement le bon équipement, mais aussi une technique appropriée et une attention particulière aux détails. Les conseils suivants peuvent contribuer à améliorer la précision et la régularité :
Ajoutez des ponts pour préserver l’intégrité structurelle
Pour les caractères tels que O, A ou D, ajoutez de petits ponts pour relier les éléments intérieurs. Cela garantit que toutes les parties restent intactes et améliore la solidité globale du pochoir.
Utilisez de l’adhésif en spray pour réduire les bavures de peinture
Une légère application d’adhésif en spray temporaire maintient fermement le pochoir en place pendant l’utilisation. Cela réduit les infiltrations de peinture et contribue à conserver des bords nets et bien définis.
Nettoyez les pochoirs après chaque utilisation
Nettoyer le pochoir après chaque utilisation empêche les résidus de peinture de s’accumuler et d’altérer les résultats futurs. Des matériaux comme le Mylar et l’acrylique bénéficient d’un entretien régulier, ce qui prolonge leur durée de vie et préserve leur précision.
Effectuez un test avant l’utilisation finale
Tester le pochoir sur une surface d’essai permet de vérifier l’alignement, la répartition de la peinture et la netteté des bords avant de l’appliquer au projet final.
Partie 6 : FAQ sur la fabrication de pochoirs personnalisés
Q1. Quelle est l’épaisseur idéale pour un pochoir réutilisable ?
Le Mylar est largement utilisé pour les pochoirs réutilisables, car il est flexible, durable et facile à découper. Une épaisseur courante se situe entre 125 et 250 microns (5 à 10 mil), selon l’utilisation prévue.
- Environ 125 microns : idéal pour les motifs détaillés et les surfaces courbes ou flexibles
- Environ 250 microns : mieux adapté à la peinture au pistolet répétée et à l’utilisation intensive de pochoirs
Parmi les autres matériaux couramment utilisés pour la fabrication de pochoirs, on trouve :
- Acrylique : généralement de 0,3 à 0,8 mm, offrant une structure de pochoir plus rigide et durable
- Tôles métalliques : généralement de 0,1 à 0,3 mm, adaptées aux applications industrielles ou nécessitant une grande durabilité
- Bois : généralement supérieur à 1,5 mm, souvent choisi pour les projets de pochoirs décoratifs ou créatifs
Pour travailler avec des matériaux plus épais tels que l’acrylique, le métal ou le bois, la découpe laser est généralement la méthode privilégiée pour obtenir des découpes précises et des bords de pochoir nets.
Q2. Peut-on fabriquer des pochoirs sans machine ?
Oui, les pochoirs peuvent être fabriqués manuellement à l’aide d’un cutter de précision et d’un motif imprimé. Cette méthode convient aux conceptions simples ou à une utilisation occasionnelle. Cependant, elle manque de précision et d’efficacité. Pour les conceptions complexes ou une production fréquente, il est recommandé d’utiliser une découpeuse numérique ou laser.
Q3. Comment empêcher la peinture de baver sous un pochoir ?
Pour minimiser les bavures de peinture :
- S’assurer que le pochoir est fermement fixé à la surface
- Utiliser un adhésif en spray temporaire
- Appliquer la peinture en couches légères et uniformes
- Retirer l’excédent de peinture des outils avant l’application
- Maintenir une distance et une pression de pulvérisation constantes
Q4. Quels formats de fichier sont les mieux adaptés à la découpe de pochoirs ?
Les formats vectoriels tels que SVG, DXF, AI et EPS sont privilégiés, car ils fournissent des lignes nettes et redimensionnables pour une découpe précise. Les formats matriciels comme PNG peuvent être utilisés pour des conceptions simples, mais ne conviennent pas aux travaux détaillés.
Q5. Quel matériau pour pochoir est le plus polyvalent ?
Le Mylar est considéré comme l’un des matériaux les plus polyvalents grâce à son équilibre entre flexibilité, durabilité et facilité de nettoyage. Il est largement utilisé dans les domaines du DIY, des loisirs créatifs et des applications professionnelles à petite échelle.
Q6. Quand devrais-je envisager d’utiliser une découpeuse laser ?
Une découpeuse laser est recommandée lorsqu’une grande précision, une parfaite reproductibilité et une grande flexibilité au niveau des matériaux sont nécessaires. Elle est particulièrement avantageuse pour les petites entreprises, les créateurs professionnels ou les utilisateurs qui produisent des pochoirs en grande quantité.
Conclusion
La création de pochoirs personnalisés est un processus simple lorsqu’elle s’appuie sur les bons outils et un flux de travail structuré. Qu’il s’agisse d’utiliser des techniques manuelles ou une découpeuse laser axée sur la précision comme la LX2, les utilisateurs peuvent garder un contrôle total sur la conception et transformer des concepts créatifs en résultats concrets.
En choisissant des matériaux appropriés, en utilisant des méthodes de découpe efficaces et en appliquant des techniques éprouvées, il est possible de produire des pochoirs durables, précis et de qualité professionnelle. Avec une pratique régulière, les résultats deviennent plus homogènes et efficaces, ce qui rend la création de pochoirs adaptée aux projets créatifs comme aux besoins de production à grande échelle.