
















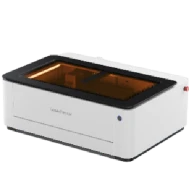
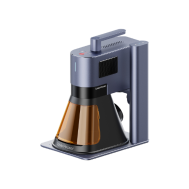
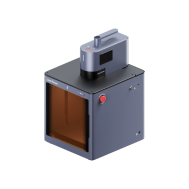
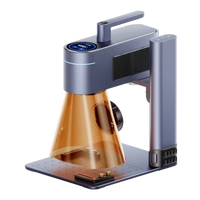
























Les inserts en mousse sur mesure jouent un rôle important dans la protection des outils, des appareils électroniques, des objets de collection et des équipements, tout en les maintenant bien organisés. Ils contribuent à protéger les objets fragiles, à limiter les mouvements pendant le transport et à donner aux mallettes de rangement une apparence soignée et professionnelle. Que vous soyez un amateur de DIY ou que vous gériez une petite entreprise en Europe, les inserts en mousse sur mesure peuvent rendre le rangement des équipements plus efficace et plus fiable.
Dans ce guide, nous expliquons comment fabriquer des inserts en mousse sur mesure chez soi, présentons les avantages et les inconvénients de chaque méthode et proposons un aperçu étape par étape pour obtenir des résultats précis grâce à la découpe laser.

Dans cet article :
- Partie 1 : Cinq méthodes courantes pour fabriquer des inserts en mousse sur mesure
- Méthode 1 : Traçage et découpe manuelle (méthode DIY)
- Méthode 2 : Coulage de mousse liquide
- Méthode 3 : Mousse à cubes prédécoupés
- Méthode 4 : Découpe de mousse CNC
- Méthode 5 : Découpe laser d’inserts en mousse
- Partie 2 : Comment fabriquer des inserts en mousse sur mesure par découpe laser
- Partie 3 : Six conseils essentiels pour les inserts en mousse sur mesure découpés au laser
- Partie 4 : FAQ sur la fabrication d’inserts en mousse sur mesure
Partie 1 : Cinq méthodes courantes pour fabriquer des inserts en mousse sur mesure
Les inserts en mousse sur mesure sont largement utilisés partout en Europe pour protéger les outils, les équipements et les produits pendant leur stockage et leur transport. Des méthodes DIY aux procédés de production industriels, plusieurs approches permettent de créer des inserts en mousse, chacune présentant des avantages et des compromis différents. Voici cinq méthodes couramment utilisées.
Méthode 1 : Traçage et découpe manuelle (méthode DIY)
Il s’agit de la méthode la plus élémentaire. Placez l’objet sur la mousse, tracez-en le contour, puis découpez-le à l’aide d’un cutter ou d’un coupe-mousse à fil chaud.
Elle est abordable et facile à mettre en œuvre, ce qui la rend adaptée aux amateurs et aux projets de petite envergure. Cependant, les résultats dépendent fortement de la précision manuelle, et il peut être difficile d’obtenir des bords lisses ou une profondeur uniforme.
Méthode 2 : Coulage de mousse liquide
La mousse liquide est versée dans un moule ou un contenant, puis se dilate autour de l’objet en durcissant pour former un insert parfaitement ajusté. Cette méthode est souvent utilisée pour les objets fragiles ou de forme irrégulière.
Bien qu’elle offre une bonne protection, cette méthode peut être longue et salissante, et sa réutilisation peut être difficile si le contenu change.
Méthode 3 : Mousse à cubes prédécoupés
La mousse à cubes prédécoupés se compose de cubes pouvant être retirés à la main pour former des cavités. Elle est largement utilisée dans les mallettes pour équipements et les boîtes de rangement.
Cette méthode est rapide et ne nécessite aucun outil, mais elle offre une précision limitée et peut produire des bords irréguliers, notamment pour les agencements détaillés.
Méthode 4 : Découpe CNC de la mousse
La découpe CNC utilise des outils de fraisage automatisés pour donner forme à la mousse avec une grande précision. Elle est couramment utilisée dans les environnements industriels et pour les matériaux plus épais.
Bien qu’elle garantisse des résultats réguliers, cette méthode nécessite un équipement plus volumineux, sa configuration peut prendre du temps et il peut être plus difficile d’obtenir des détails fins ou des angles internes nets.
Méthode 5 : Découpe laser des inserts en mousse
La découpe laser utilise un faisceau laser focalisé pour découper la mousse avec précision tout en produisant des bords nets et lisses. Elle convient parfaitement aux agencements personnalisés en mousse, aux inserts personnalisés avec marque, aux tolérances serrées et à la production répétée.
Par rapport aux méthodes de découpe traditionnelles, la découpe laser offre plusieurs avantages :
- Haute précision pour les conceptions complexes en mousse
- Excellente répétabilité pour une production régulière
- Bords nets avec un post-traitement minimal
- Flux de travail efficace pour la fabrication en série et les projets commerciaux
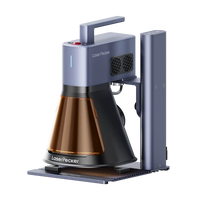
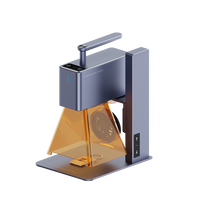
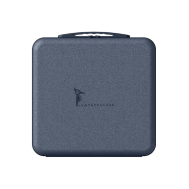
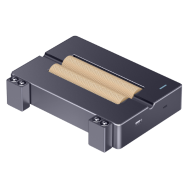
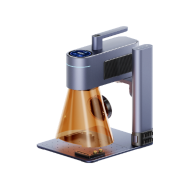
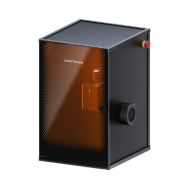
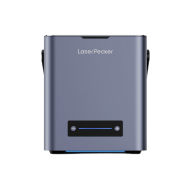
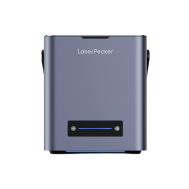
Des machines telles que la graveuse laser double LP4 sont particulièrement polyvalentes pour la production d’inserts en mousse, car elles prennent en charge les mousses souples et denses, avec des vitesses de traitement élevées et une découpe détaillée.
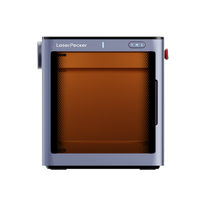
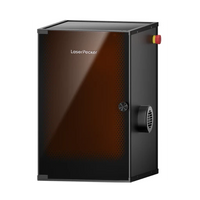
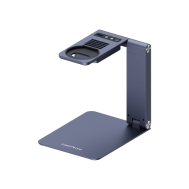
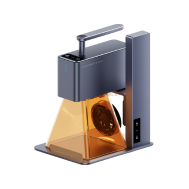
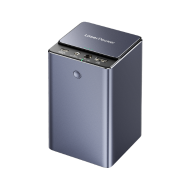
Pour les utilisateurs qui ont besoin d’un traitement grand format et d’une capacité de production accrue, le LX2 offre des avantages supplémentaires pour la découpe d’inserts en mousse.
Avantages du LX2 pour la production d’inserts en mousse
- Performances à haute vitesse : Vitesse de gravure jusqu’à 1 000 mm/s et accélération de 10 000 mm/s² pour une production plus rapide
- Remplacement du module laser sans outil : Passez facilement d’un laser à diode de 20 W, 40 W ou 60 W à un module infrarouge de 2 W pour différents matériaux en mousse
- Système d’assistance à l’air : Réduit les marques de brûlure, la fusion et les résidus de fumée pour obtenir des bords de mousse plus nets
- Système d’alignement avancé : Le positionnement Point-To-Shape avec une caméra 12 MP / 6K améliore la précision de la configuration et l’utilisation des matériaux
- Prise en charge des grands formats : L’accès par les deux portes et par le côté facilite la manipulation des feuilles de mousse surdimensionnées
- Certification de sécurité de classe 1 : Conçu pour une utilisation plus sûre en intérieur et dans les ateliers professionnels
Le LX2 est particulièrement adapté aux emballages de protection, au rangement personnalisé des outils, aux mallettes pour équipements et à la fabrication en grande série d’inserts en mousse, lorsque la précision et la régularité sont essentielles.
| Caractéristique | Traçage et découpe manuelle | Moulage de mousse liquide | Mousse à picots détachables | Découpe CNC | Découpe laser (LP4) |
|---|---|---|---|---|---|
| Précision | Faible | Modérée | Faible | Élevée | Extrêmement élevée |
| Répétabilité | Médiocre | Modérée | Modérée | Élevée | Parfaite |
| Vitesse de production | Lente | Modérée | Rapide | Modérée | Très rapide |
| Compétences requises | Faible | Moyenne | Faible | Élevée | Faible à moyen |
| Coût | Minimale | Modérée | Faible | Élevée | Modérée |
| Utilisation recommandée | Projet DIY unique | Inserts rembourrés | Boîtiers pour plusieurs articles | Lots complexes | Inserts professionnels ou détaillés |
| Épaisseur de la mousse | De mince à moyenne | Moyenne | Moyenne | De mince à épaisse | De mince à épaisse, possibilité de plusieurs couches |
Quelle méthode vous convient le mieux ?
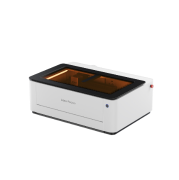
La découpe laser est l’une des solutions les plus équilibrées pour produire des inserts en mousse sur mesure, en combinant flexibilité et grande précision. Elle élimine bon nombre des limites associées à la découpe manuelle et aux méthodes utilisant de la mousse pré-rainurée.
Comparées à la découpe CNC, les machines de découpe laser de la mousse sont souvent plus efficaces pour les mousses de faible à moyenne densité et produisent des bords plus lisses, ce qui réduit le besoin de finitions supplémentaires.
Le graveur à double laser LP4 est une option très performante pour la découpe laser de la mousse. Avec un laser à diode de 10 W et un laser IR de 2 W, il permet une découpe précise de différents matériaux en mousse. Ses angles réglables et sa vitesse de gravure pouvant atteindre 4 000 mm/s le rendent adapté aussi bien à la production en petite série qu’à la production en série.
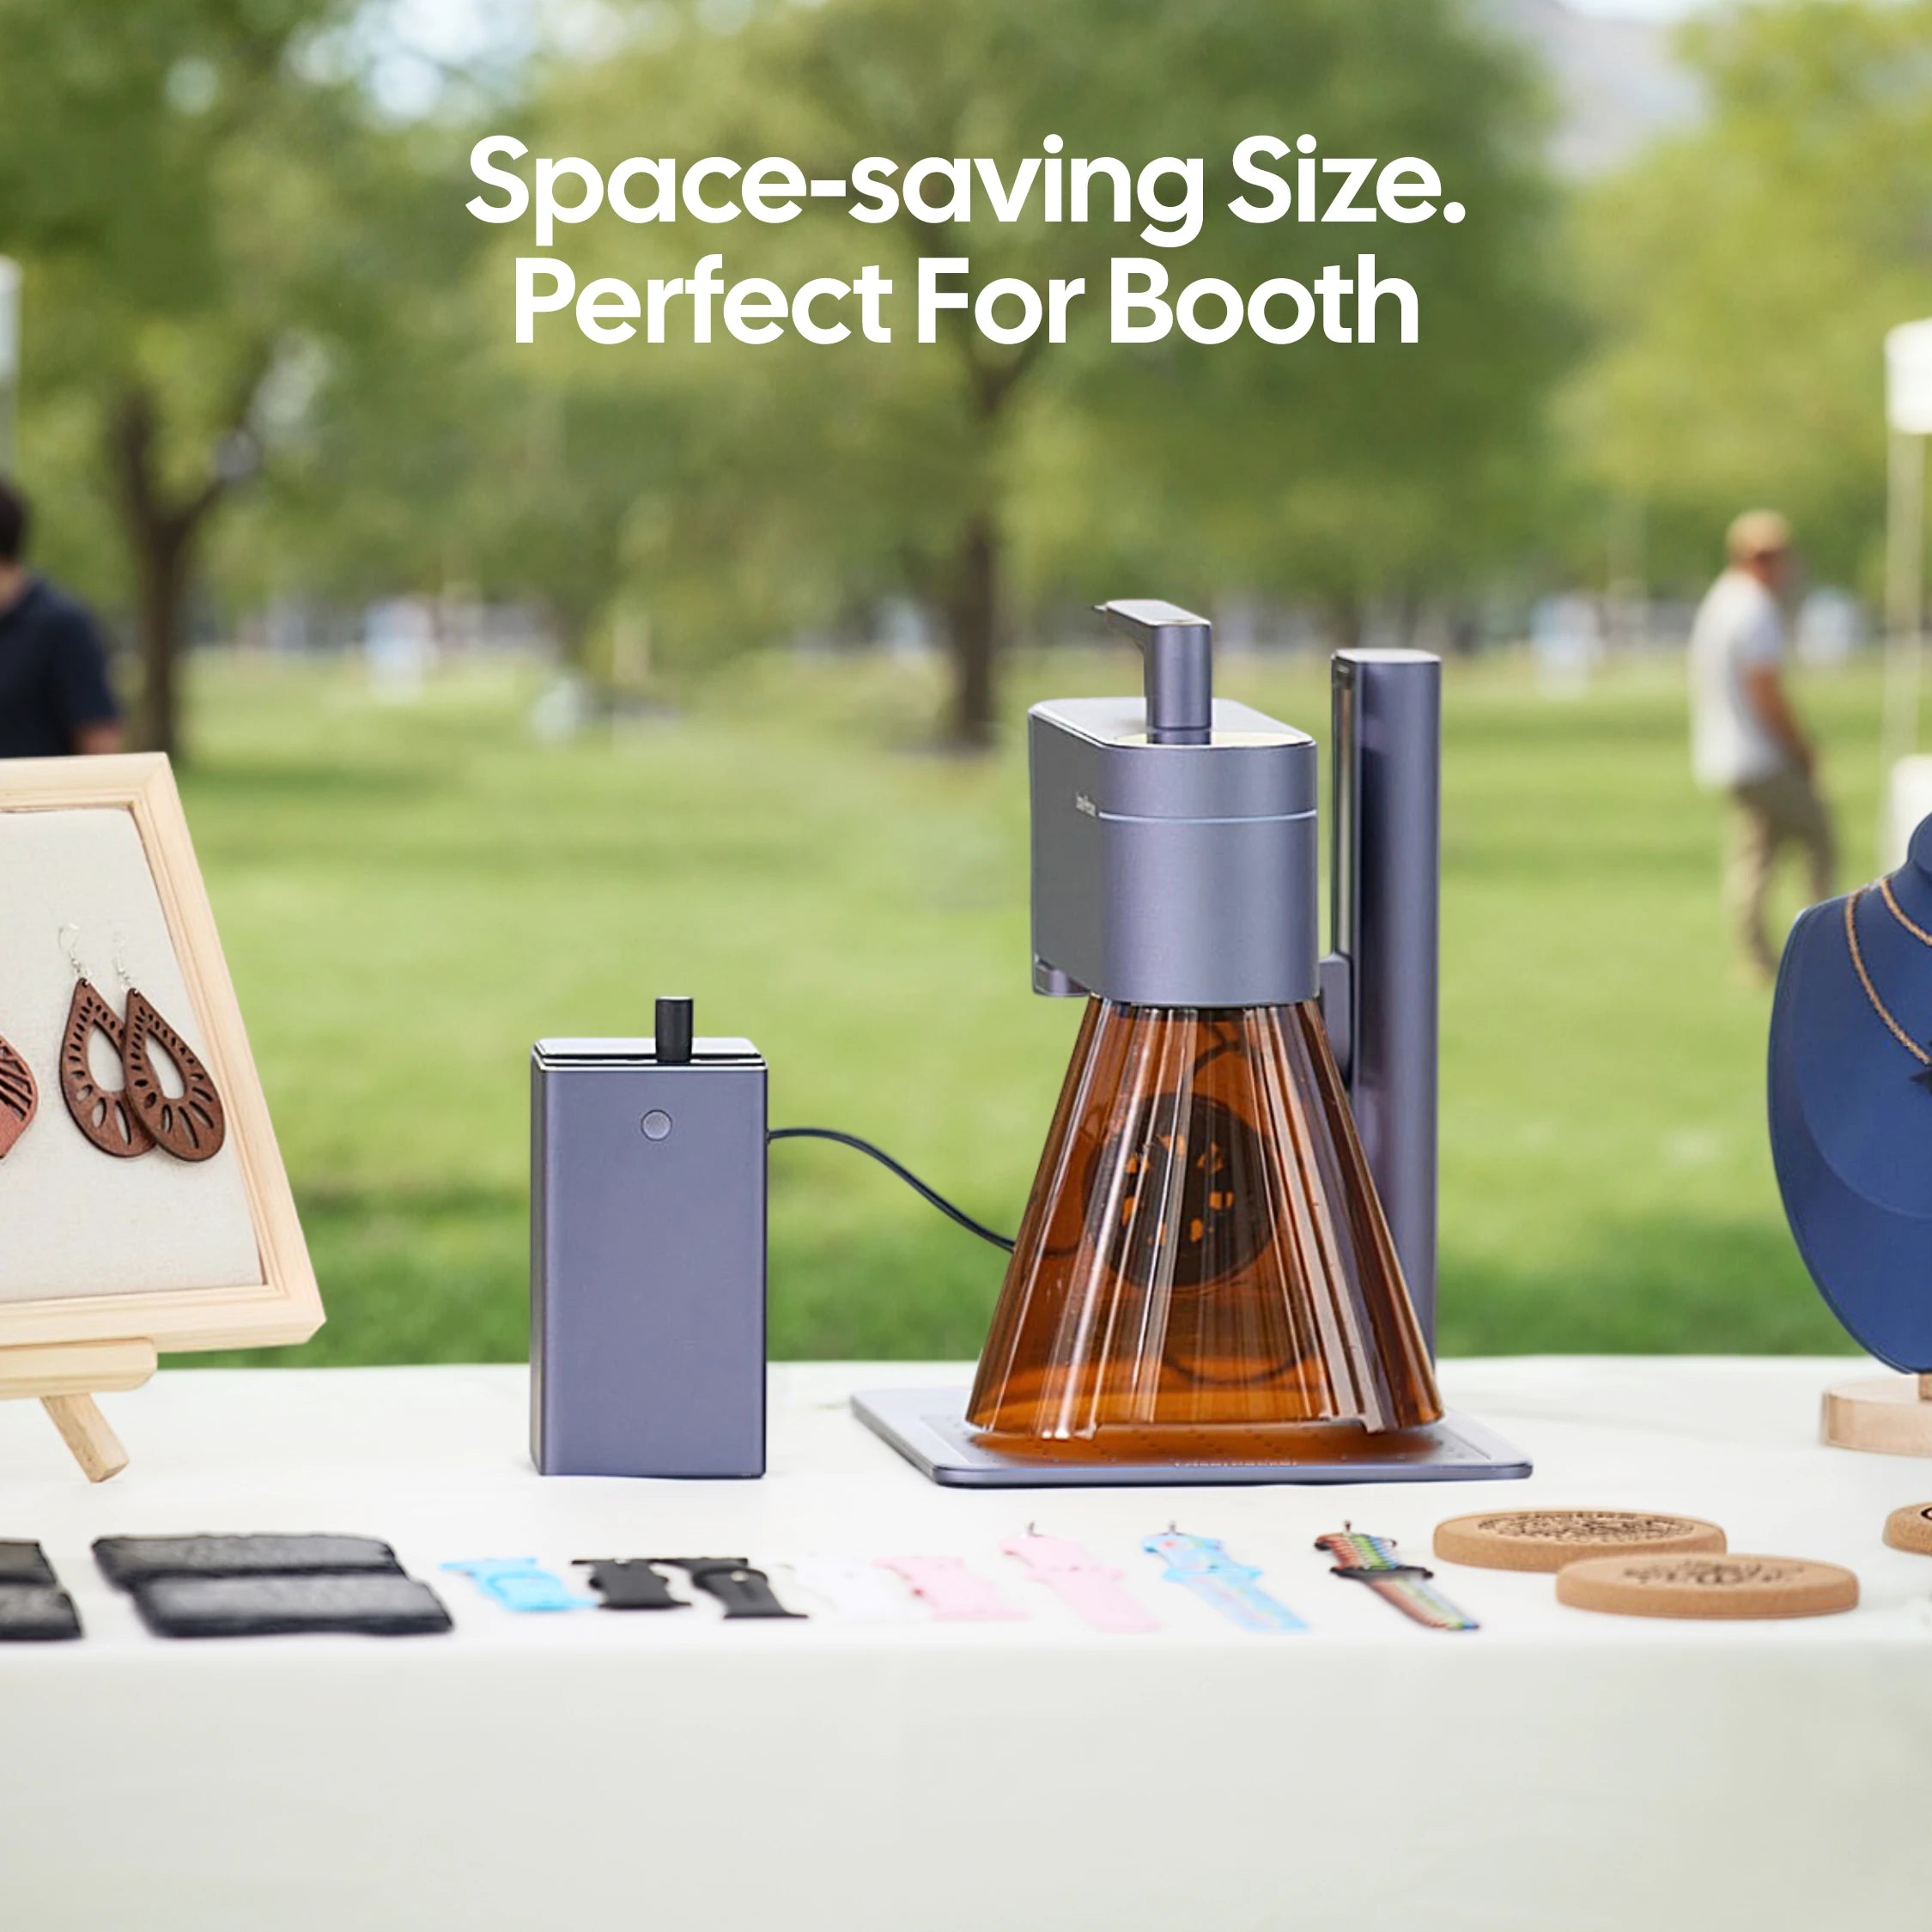
Pour les utilisateurs à la recherche d’une production plus rapide, d’une découpe plus nette et d’un traitement de plus grands formats, le LX2 offre plusieurs avantages pour les applications de découpe d’inserts en mousse.
Avantages du LX2 pour la découpe d’inserts en mousse
- Capacité de production à grande vitesse : Jusqu’à 1 000 mm/s de vitesse de gravure et 10 000 mm/s² d’accélération pour une production en série efficace
- Changement de module laser sans outil : Remplacez facilement les lasers à diode de 20 W, 40 W et 60 W ainsi que le module IR de 2 W selon les exigences de découpe de la mousse
- Système d’assistance à l’air : Réduit les marques de brûlure, la fusion et les résidus de fumée pour obtenir des bords de mousse plus nets
- Technologie d’alignement avancée : Le positionnement Point-To-Shape associé à une caméra 12 MP / 6K améliore la précision du placement et l’efficacité du flux de travail
- Prise en charge des grands formats dans un encombrement réduit : L’accès par les deux portes et les ouvertures latérales simplifie la manipulation des grandes plaques de mousse
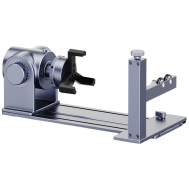
- Support de gravure rotative 3D : Compatible avec des extensions rotatives pour les projets de gravure sur surfaces courbes ou irrégulières
- Certification de sécurité de classe 1 : Convient aux ateliers intérieurs, aux studios et aux environnements de production professionnels
Le LX2 est particulièrement efficace pour les inserts en mousse sur mesure, les emballages de protection, les mallettes pour équipements et les projets d’organisation industrielle où la précision, la rapidité et une découpe nette sont importantes.
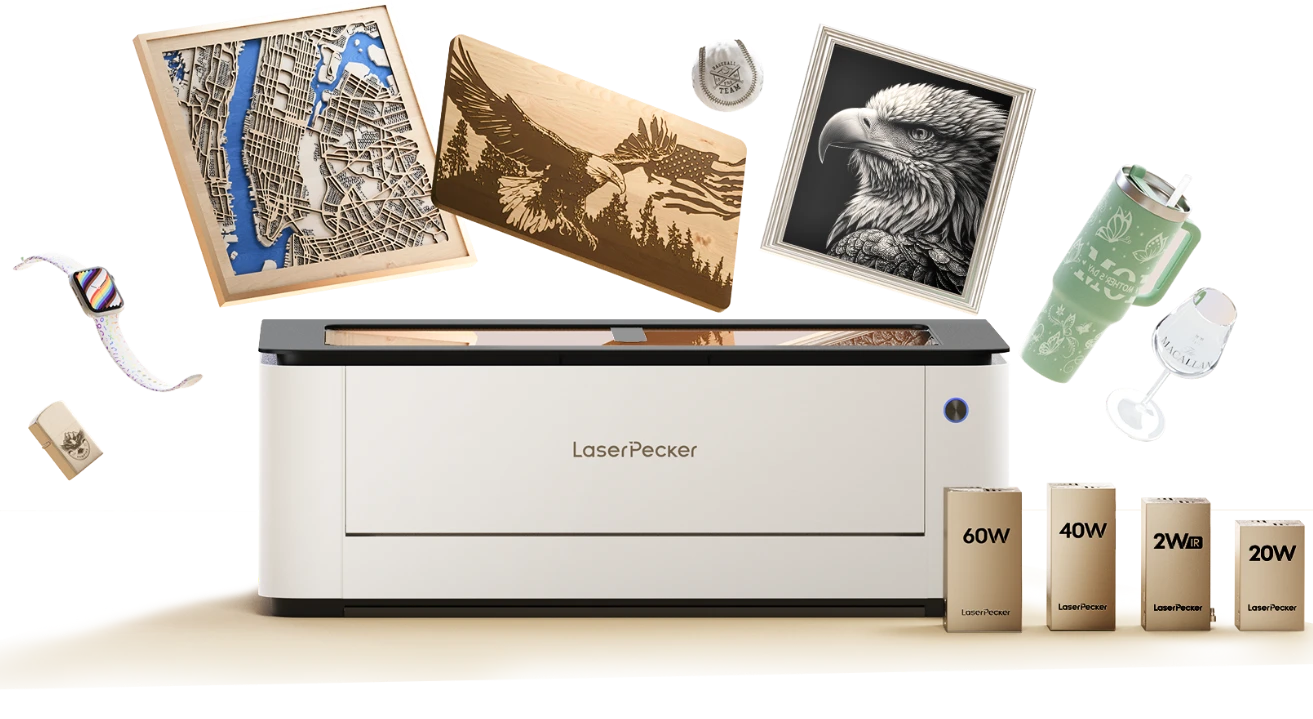
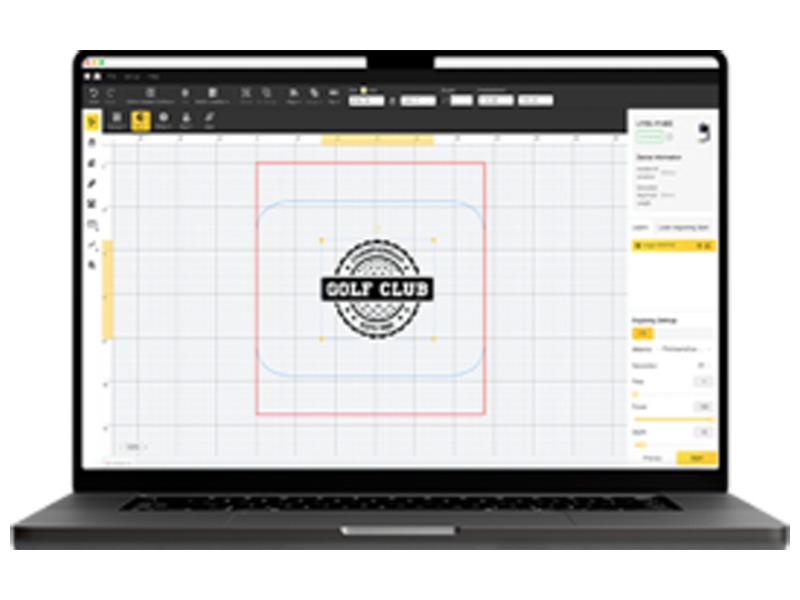
De plus, des logiciels intuitifs tels que LaserPecker Design Space ou LightBurn permettent de créer des designs précis et de les reproduire de manière cohérente, même avec une expérience limitée.
Partie 2 : Comment fabriquer des inserts en mousse sur mesure avec la découpe laser
La découpe laser est l’une des méthodes les plus efficaces et précises pour produire des inserts en mousse sur mesure. Elle offre une excellente répétabilité et permet de réaliser des designs détaillés et maîtrisés. Voici un guide pratique étape par étape utilisant le système à double laser LP4.
Matériel à préparer
Avant de commencer, préparez les éléments suivants :
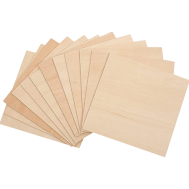
- Des feuilles de mousse compatibles avec la découpe laser, comme la mousse EVA, le polyéthylène ou le polyuréthane
- Un logiciel de commande laser, notamment LightBurn ou LaserPecker Design Space
- Un fichier de conception numérique avec un espacement et une configuration de profondeur précis
- Équipement de sécurité, notamment des gants, des lunettes de protection et une ventilation adéquate
- Ruban de masquage (facultatif), pour réduire les marques de brûlure et conserver une finition de surface propre
Étapes pour créer des inserts en mousse personnalisés avec le LP4
Étape 1 : Concevoir votre modèle
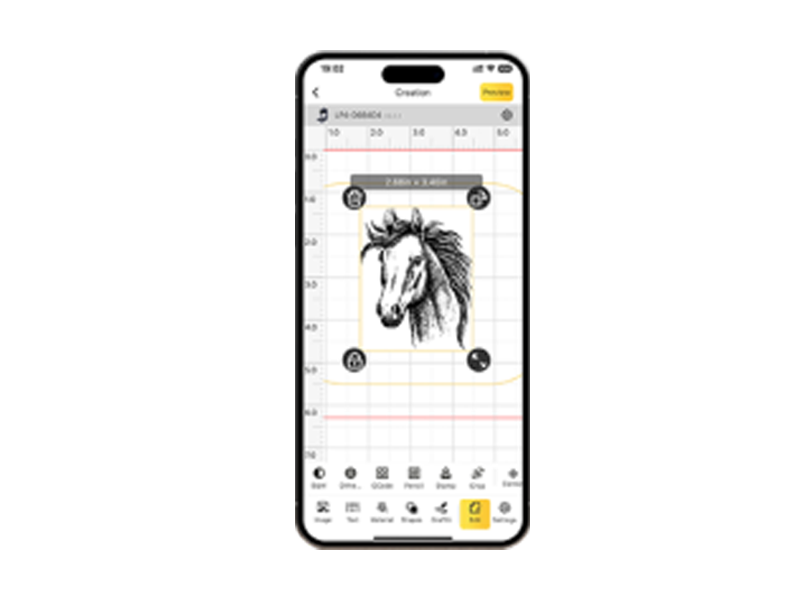
Créez une mise en page numérique à l’aide de votre logiciel préféré. Positionnez soigneusement chaque objet en veillant à laisser suffisamment d’espace pour préserver la solidité et la durabilité de la mousse.
Étape 2 : Effectuer un test de découpe
Effectuez un petit test de découpe sur une chute de mousse afin d’étalonner les réglages du laser. Ajustez la puissance, la vitesse et la profondeur jusqu’à obtenir une découpe nette, sans fusion ni résidus de brûlure.
Étape 3 : Préparer la découpeuse laser
Placez la feuille de mousse dans la graveuse laser double faisceau LP4. Réglez la hauteur et la mise au point appropriées à l’aide du système à double laser, puis sélectionnez le module adapté à l’épaisseur du matériau.
Étape 4 : Découper la mousse
Lancez le processus de découpe. Pour les inserts plus épais, découpez chaque couche séparément, puis assemblez-les. Le LP4 offre des résultats de découpe précis, avec des bords lisses et des dimensions uniformes.
Étape 5 : Retirer et inspecter
Après la découpe, retirez soigneusement l’insert et vérifiez l’ajustement de chaque objet. Effectuez de petites modifications si nécessaire. Le résultat final doit offrir un maintien sûr et une apparence propre et professionnelle.
Partie 3 : Six conseils essentiels pour créer des inserts en mousse personnalisés découpés au laser
1. Maintenir un espacement approprié entre les éléments
Veillez à laisser un espace de 2 à 3 mm entre chaque découpe afin d’éviter les déchirures et de préserver la durabilité de la mousse au fil du temps.
2. Utiliser une découpe par couches pour mieux contrôler la profondeur
Pour les matériaux en mousse plus épais, découpez en plusieurs couches plutôt qu’en un seul passage. Cette méthode améliore la précision de la profondeur et permet d’obtenir un assemblage final plus propre.
3. Effectuer d’abord un test de découpe
Testez toujours les réglages de votre laser sur un petit morceau de mousse avant de commencer. Cela permet de réduire les déchets et d’assurer une qualité de découpe constante.
4. Éviter les formes extrêmement fines ou pointues
Les éléments fins ou pointus peuvent s’affaiblir ou se déformer lors de la découpe. Des bords arrondis et des formes simplifiées améliorent la solidité et la durabilité.
5. Ajouter des encoches pour les doigts ou des zones d’accès
Concevez de petits points d’accès ou des encoches pour les doigts afin de faciliter et de rendre plus pratique le retrait des objets.
6. Utiliser des étiquettes ou des zones gravées
La gravure laser vous permet de créer des étiquettes ou des zones permanentes dans la mousse, améliorant ainsi l’organisation et la facilité d’utilisation.
Partie 4 : FAQ sur la fabrication d'inserts en mousse sur mesure
Q1. Quelle épaisseur de mousse faut-il pour les inserts destinés aux outils ?
L'épaisseur de la mousse dépend de la taille, du poids et de la fragilité des articles. Les objets légers nécessitent une mousse plus fine, tandis que les outils plus lourds ou délicats bénéficient de couches plus épaisses pour une protection accrue.
La graveuse laser double LP4 permet une découpe multicouche, offrant un contrôle précis de la profondeur et un meilleur amortissement pour les articles sensibles pendant le stockage et le transport.
Q2. Peut-on découper de la mousse EVA au laser ?
Oui, la mousse EVA est l'un des matériaux les plus couramment utilisés pour la découpe au laser. L'ajustement des paramètres du laser en fonction de l'épaisseur garantit des résultats précis et nets.
Le système à double laser du LP4 et son assistance par flux d'air contribuent à réduire les marques de brûlure et à garantir une qualité de découpe constante. La mousse EVA prend également en charge la gravure pour les étiquettes et les motifs personnalisés.
Q3. Quelle est la meilleure mousse pour la découpe ?
Les mousses EVA, en polyéthylène et en polyuréthane sont largement recommandées pour leur durabilité et leurs performances de découpe.
Évitez les matériaux trop souples ou hautement inflammables, sauf si des mesures de sécurité appropriées sont mises en place. Le choix de la mousse adéquate améliore la longévité et préserve l'intégrité structurelle au fil du temps.
Q4. Combien coûte la mousse sur mesure ?
Le prix de la mousse sur mesure dépend de facteurs tels que le matériau, l'épaisseur, la quantité produite et la technologie de découpe utilisée. La découpe manuelle et les solutions en mousse à picots sont généralement moins coûteuses, mais elles peuvent prendre du temps et être moins précises.
Les systèmes CNC et les machines de découpe laser nécessitent un investissement initial plus élevé, mais offrent une meilleure efficacité, des découpes plus nettes et une réduction des déchets de matériaux. Pour une production fréquente ou des applications commerciales, les systèmes de découpe laser offrent souvent une meilleure rentabilité à long terme.
Q5. Comment concevoir efficacement des inserts en mousse sur mesure ?
Une conception efficace implique :
- Mesurer les articles avec précision
- Prévoir un espacement suffisant entre les découpes
- Planifier la profondeur et la superposition des couches
- Ajouter des points d'accès, comme des encoches pour les doigts
Une conception bien planifiée garantit à la fois la fonctionnalité et une apparence professionnelle.
Q6. Les inserts en mousse découpés au laser peuvent-ils être réutilisés ou modifiés ?
Dans la plupart des cas, les inserts en mousse découpés au laser sont conçus pour des articles spécifiques et ne sont pas facilement modifiables. Toutefois, les conceptions en couches peuvent parfois être ajustées ou remplacées individuellement.
Une planification flexible au stade de la conception peut faciliter les futures mises à jour si vos besoins de rangement évoluent.
Conclusion
Les inserts en mousse sur mesure constituent une solution pratique pour améliorer le rangement, la protection et la présentation. Parmi les méthodes de fabrication disponibles, la découpe au laser se distingue par sa précision, sa rapidité et sa régularité.