








































Les écouteurs ne sont plus de simples accessoires audio pratiques : ils sont devenus un moyen d’expression personnelle pour de nombreux amateurs et créateurs à travers l’Europe. Grâce à des finitions personnalisées et à des designs créatifs en surface, il est possible d’améliorer à la fois leur attrait visuel et l’expérience d’écoute au quotidien.
Dans ce guide, nous présentons quatre méthodes efficaces pour personnaliser des écouteurs : la peinture, l’hydro-trempage, l’impression 3D et la gravure laser. Vous apprendrez également à personnaliser vos propres écouteurs étape par étape avec le LaserPecker LP4, une solution compacte adaptée aux espaces de travail à domicile et aux ateliers créatifs dans toute l’UE.

Dans cet article :
- Partie 1 : Pourquoi avez-vous besoin d’écouteurs personnalisés ?
- Partie 2 : Quatre méthodes pour personnaliser des écouteurs
- Méthode 1 : Peinture
- Méthode 2 : Hydro-trempage
- Méthode 3 : Impression 3D
- Méthode 4 : Gravure laser
- Partie 3 : Comment personnaliser des écouteurs avec le LaserPecker LP4
- Partie 4 : FAQ sur la personnalisation des écouteurs
Partie 1 : Pourquoi avez-vous besoin d’écouteurs personnalisés ?
Dans toute l’Europe, les écouteurs personnalisés gagnent en popularité auprès des amateurs, des navetteurs, des étudiants et des utilisateurs créatifs qui recherchent à la fois des performances fonctionnelles et un style personnel. La personnalisation permet d’améliorer l’apparence, le confort et l’adaptation des appareils aux habitudes quotidiennes.
Voici trois avantages clés de la personnalisation des écouteurs :
Avantage 1 : Une apparence unique
En ajoutant des noms, du texte, des logos, des motifs créatifs ou de légers éléments décoratifs en 3D, les écouteurs personnalisés deviennent plus distinctifs et expressifs sur le plan visuel. Au lieu de reprendre des designs standards produits en série, ils reflètent les goûts personnels de chacun et peuvent compléter les accessoires utilisés au quotidien à la maison, dans des espaces de travail partagés ou en voyage.
Avantage 2 : Une option de cadeau pratique et pleine de sens
Les écouteurs personnalisés sont des cadeaux idéaux pour des occasions telles que les anniversaires, les anniversaires de mariage, les remises de diplôme ou les fêtes de fin d’année. Ajouter des dates, des initiales ou de courts messages leur confère une valeur émotionnelle tout en préservant leur utilité au quotidien, ce qui les rend à la fois fonctionnels et mémorables.
Avantage 3 : Meilleur ajustement et confort d’écoute accru
Des écouteurs conçus en fonction de la forme de chaque oreille et des habitudes d’utilisation peuvent améliorer considérablement le confort de port. Un ajustement plus sûr aide à réduire la pression lors des longues sessions d’écoute et favorise une meilleure isolation sonore, ce qui est particulièrement utile pour les trajets, les études ou le travail dans des environnements bruyants.
Partie 2 : Quatre méthodes pour personnaliser les écouteurs
Si les avantages des écouteurs personnalisés vous ont incité à explorer la personnalisation, plusieurs méthodes pratiques sont disponibles selon vos outils, votre niveau d’expérience et les objectifs de votre projet. De nombreux amateurs et makers en Europe personnalisent avec succès leurs écouteurs à l’aide de techniques simples utilisant des outils de bureau.
Voici quatre méthodes couramment utilisées.
Méthode 1 : Peinture
La peinture est l’une des façons les plus simples de personnaliser des écouteurs et convient particulièrement aux utilisateurs créatifs qui aiment les projets de bricolage réalisés manuellement. L’application de couleurs personnalisées ou d’œuvres décoratives directement sur les coques permet à chaque paire de refléter les préférences stylistiques de chacun.
La peinture à la main permet :
- un contrôle artistique précis
- des possibilités de mise en page flexibles
- des effets visuels expressifs
L’utilisation de peintures durables et respectueuses de l’environnement, associée à une couche de finition protectrice transparente, aide à préserver la qualité des couleurs et améliore la résistance à l’usure quotidienne.
Cette approche est idéale pour les débutants travaillant dans un atelier à domicile ou un espace créatif.
Méthode 2 : Hydrographie
L’hydrographie transfère des motifs décoratifs sur la surface des écouteurs à l’aide d’un film flottant placé sur l’eau. Lorsque l’objet traverse la couche imprimée, le motif épouse harmonieusement les formes courbes et irrégulières.
Après le processus de transfert, les écouteurs sont :
- rincés
- séchés
- protégés par une couche de finition transparente
Cette technique convient particulièrement à l’application de textures visuelles complexes et de designs couvrant toute la surface. Elle nécessite toutefois généralement une préparation minutieuse et une manipulation contrôlée pour obtenir des résultats homogènes.
Méthode 3 : Impression 3D
L’impression 3D permet de créer des coques d’écouteurs entièrement personnalisées à partir des mesures de chaque oreille. Contrairement aux méthodes uniquement décoratives, ce procédé produit de nouveaux composants structurels conçus pour améliorer l’ajustement et le confort.
Les coques personnalisées créées à partir de données de numérisation des oreilles peuvent :
- améliorer la stabilité au quotidien
- augmenter le confort lors des longues sessions
- améliorer l’isolation passive contre le bruit
Des matériaux tels que le PLA et l’ABS permettent de créer des structures légères et polyvalentes, ce qui fait de l’impression 3D une solution intéressante pour les amateurs expérimentés et les makers utilisant des outils de fabrication de bureau.
Méthode 4 : Gravure laser
La gravure laser crée des marquages permanents à l’aide d’un faisceau laser focalisé qui retire la matière avec une grande précision. Il s’agit de l’une des méthodes les plus efficaces et fiables pour ajouter des détails personnalisés aux boîtiers d’écouteurs.
La gravure laser permet facilement d’appliquer :
- initiales
- noms
- textes courts
- logos
- éléments graphiques minimalistes
Comme les marquages sont gravés plutôt que peints, ils résistent fortement à l’usure et à la décoloration. Cette technique prend également en charge une large gamme de matériaux couramment utilisés pour les boîtiers d’écouteurs, notamment les métaux revêtus et les plastiques.
| Méthode | Difficulté | Coût | Durabilité | Avantage unique |
|---|---|---|---|---|
| Peinture | Facile | Faible | ★★★ | Designs colorés, créations personnalisées |
| Hydro dipping | Élevée | Moyenne | ★★★ | Ajoute des motifs sur des surfaces courbes complexes et des objets irréguliers |
| Impression 3D | Moyenne | Élevée | ★★★★★ | Crée de puissants effets décoratifs en 3D |
| Gravure laser | Moyenne | Moyenne à élevée | ★★★★★ | Des motifs très détaillés et précis avec une excellente homogénéité |
Pour les utilisateurs à la recherche d’une solution de personnalisation fiable et rapide, la gravure laser est souvent la méthode la plus pratique disponible. Comparée à la peinture, à l’hydro dipping et à l’impression 3D, elle produit des résultats homogènes avec une préparation minimale tout en garantissant une excellente durabilité à long terme.
Sa courbe d’apprentissage modérée le rend adapté aussi bien aux débutants qu’aux créateurs expérimentés travaillant dans des ateliers à domicile ou des studios.
Partie 3 : Comment personnaliser des écouteurs avec le LaserPecker LP4
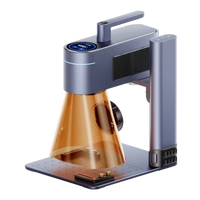
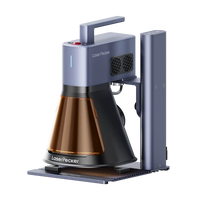
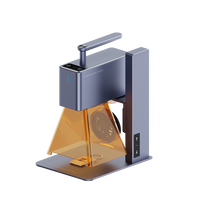
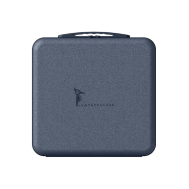
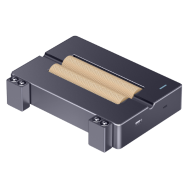
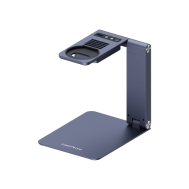
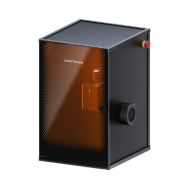
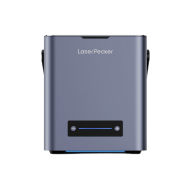
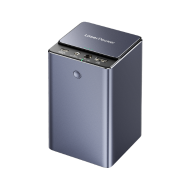
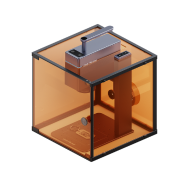
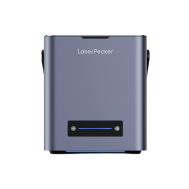
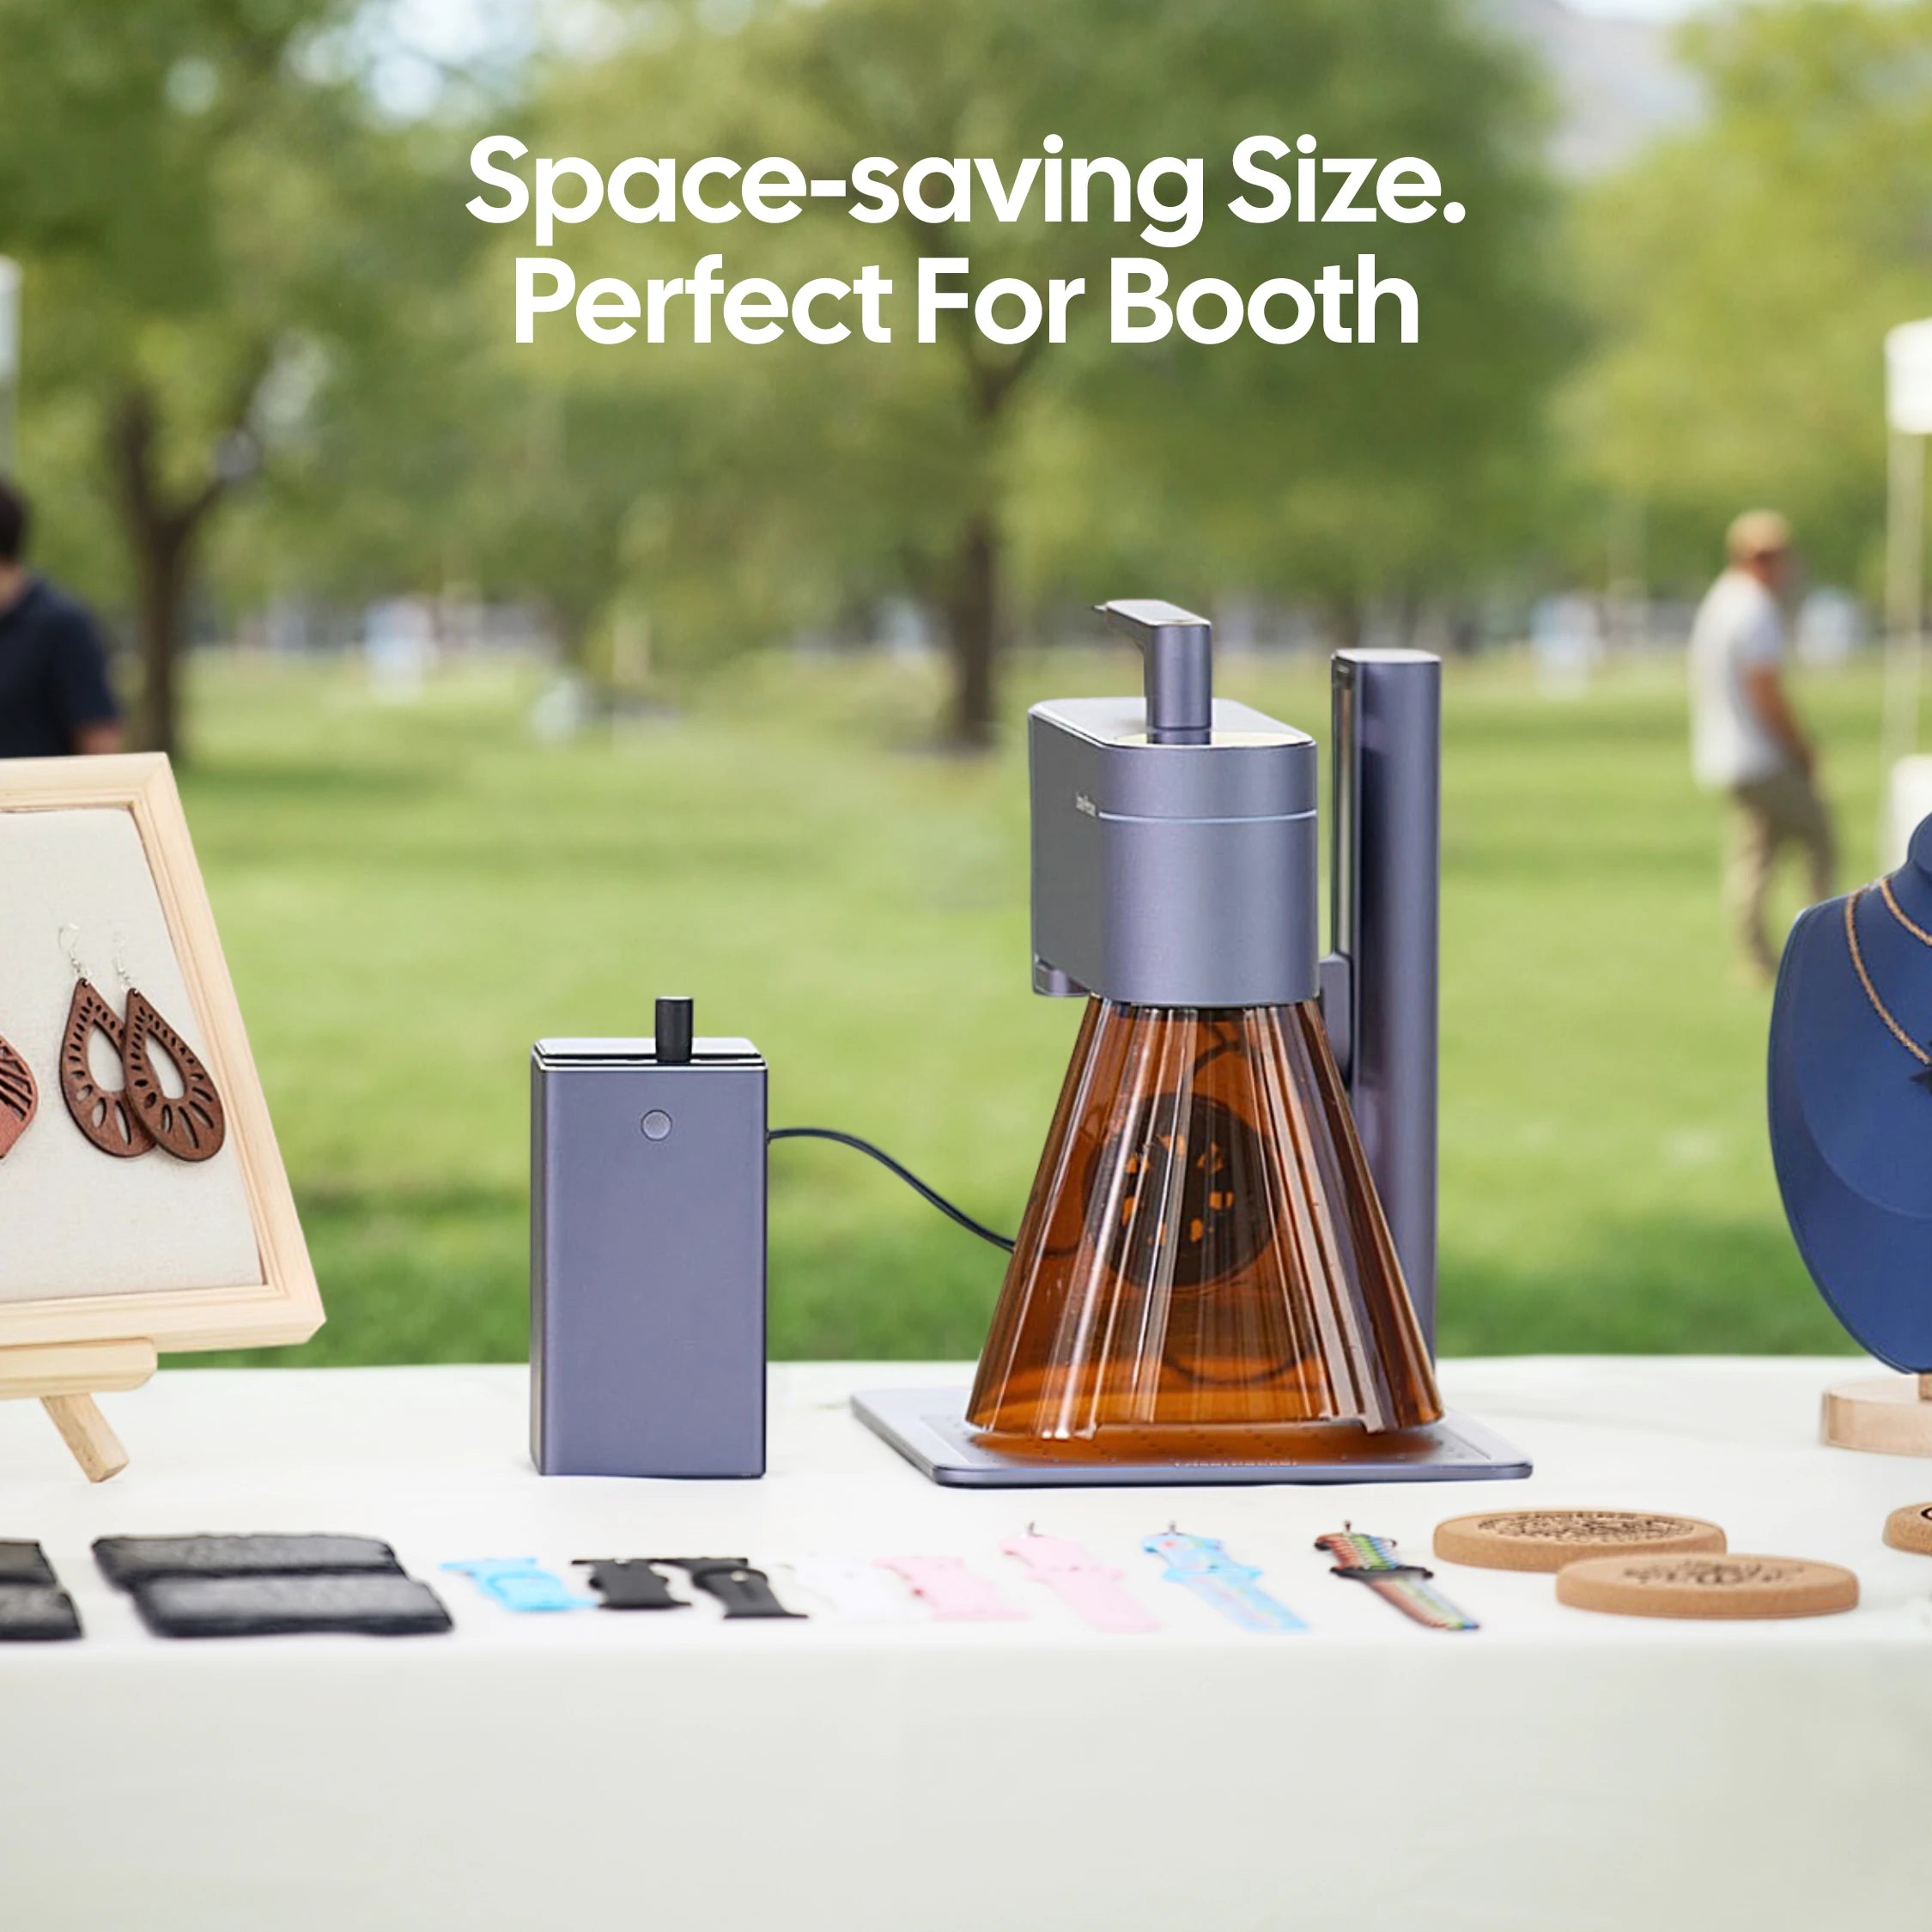
Utiliser une graveuse laser compacte telle que le LaserPecker LP4 est l’un des moyens les plus efficaces de personnaliser des écouteurs avec des résultats précis et durables. Grâce à son système laser double (laser bleu de 10 W et laser infrarouge de 2 W), il prend en charge une large gamme de matériaux couramment utilisés pour les boîtiers d’écouteurs modernes.
Le LaserPecker LP4 prend en charge la gravure sur :
- des coques d’écouteurs en plastique
- des boîtiers d’écouteurs en métal
- des matériaux ABS et PBT
- des surfaces métalliques revêtues
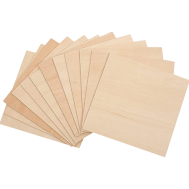
- des feuilles fines telles que le tilleul et l’acrylique
Son écran tactile intégré permet de basculer facilement entre les modes laser, tandis que sa capacité à graver sur des surfaces courbes le rend adapté aux structures arrondies des écouteurs. Avec des vitesses de gravure atteignant 4 000 mm/s, l’appareil offre des flux de travail efficaces aux amateurs et aux créateurs travaillant dans des studios à domicile ou de petits ateliers partout dans l’UE.
Liste de préparation pour la gravure laser d’écouteurs
Avant de commencer le processus de gravure, préparez les éléments suivants :
- Graveuse laser : LaserPecker LP4
- Matériaux : écouteurs en plastique ou en métal
- Éléments du motif : initiales, logos, texte court, icônes ou motifs décoratifs
Étape 1 : Sélectionner l’emplacement de la gravure
Les coques d’écouteurs en plastique ou en métal se prêtent particulièrement bien à la gravure laser, car elles offrent des surfaces stables pour des marquages détaillés.
Les zones de gravure typiques comprennent :
- surfaces de la coque extérieure
- couvercles de l’étui de chargement
- panneaux latéraux de l’arceau
Les petits éléments personnalisés, tels que les initiales ou les motifs minimalistes, conviennent particulièrement bien à ces emplacements.
Étape 2 : Préparer la surface
Nettoyez la surface des écouteurs avec un chiffon doux et humide pour éliminer la poussière et la graisse. Une surface propre améliore la précision de la gravure et contribue à maintenir une qualité de marquage constante.
Lorsque cela est possible :
- retirer les coussinets
- débrancher les câbles
Cela réduit le risque de déplacement pendant la gravure.
Étape 3 : Configurer la mise au point et les paramètres de gravure
Fixez soigneusement les écouteurs sur la plateforme de travail avant de commencer la gravure. Ajustez ensuite :
- mise au point du laser
- vitesse de gravure
- profondeur du marquage
Une configuration correcte garantit des résultats de gravure stables et reproductibles.
Étape 4 : Prévisualiser la zone de gravure
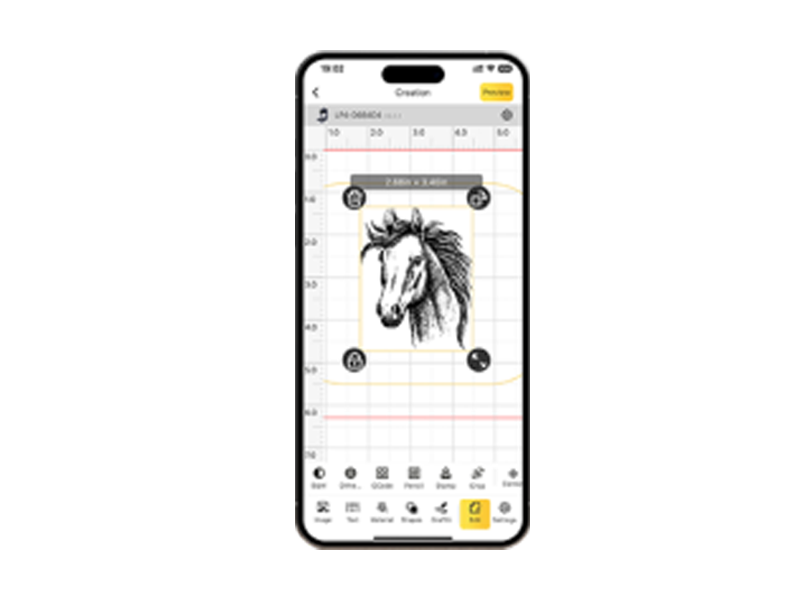
La plupart des graveuses laser disposent d’une fonction de cadrage ou d’aperçu. Utilisez cette fonction pour vérifier l’alignement avant de commencer la gravure et éviter les erreurs de positionnement.
Étape 5 : Commencer la gravure
Après avoir confirmé l’emplacement, commencez la gravure. Le laser modifie directement la surface du matériau, créant des marquages nets sans augmenter l’épaisseur ni altérer la structure d’origine.
Étape 6 : Nettoyer et vérifier le résultat final
Une fois la gravure terminée :
- retirer tout résidu restant
- inspecter la surface gravée
La gravure laser crée des marquages durables qui résistent à la décoloration et au décollement lors d’une utilisation quotidienne.
Partie 4 : FAQ sur la personnalisation des écouteurs
Q1. Comment rendre mes motifs personnalisés durables ?
Pour améliorer la durabilité, il est important de choisir des matériaux de haute qualité et d’appliquer, lorsque cela est approprié, des couches de finition protectrices. La gravure laser est particulièrement fiable, car elle crée des marquages directement dans la surface du matériau.
Les motifs gravés au laser peuvent rester visibles pendant de nombreuses années et résistent fortement à la décoloration, au décollement et à l’usure liée à la manipulation quotidienne.
Q2. Un débutant peut-il utiliser une graveuse laser ?
Oui. De nombreux systèmes modernes de gravure laser incluent un logiciel intuitif qui permet d’importer des fichiers de conception et d’appliquer rapidement des paramètres de gravure prédéfinis.
Les débutants doivent néanmoins suivre quelques mesures de sécurité essentielles :
- veiller à assurer une bonne ventilation de l’espace de travail
- vérifier la compatibilité du matériau avant la gravure
- commencer par de petits modèles de test
Avec de la pratique, la gravure laser devient une méthode accessible pour personnaliser des écouteurs et des accessoires similaires.
Q3. Les AirPods peuvent-ils être personnalisés ?
Les AirPods peuvent effectivement être personnalisés, notamment par gravure laser, une méthode précise également proposée par le service de gravure d’Apple.
Les écouteurs Bluetooth AirPods étant des appareils compacts, l’espace disponible pour la décoration est limité. Toutefois, la gravure laser peut ajouter de manière permanente des initiales, un court texte ou de petits symboles graphiques sur le boîtier de charge et parfois sur les écouteurs eux-mêmes, sans nuire à leur utilisation.
Q4. La gravure laser endommage-t-elle les écouteurs ?
Lorsque les réglages de gravure appropriés sont utilisés, la gravure laser ne modifie que la couche superficielle et n’affecte pas les composants électroniques internes.
Sélectionner les réglages appropriés pour le matériau et effectuer un test au préalable contribue à garantir des résultats sûrs et précis.
Q5. Ai-je besoin d’un logiciel spécial pour personnaliser des écouteurs avec une machine de gravure laser ?
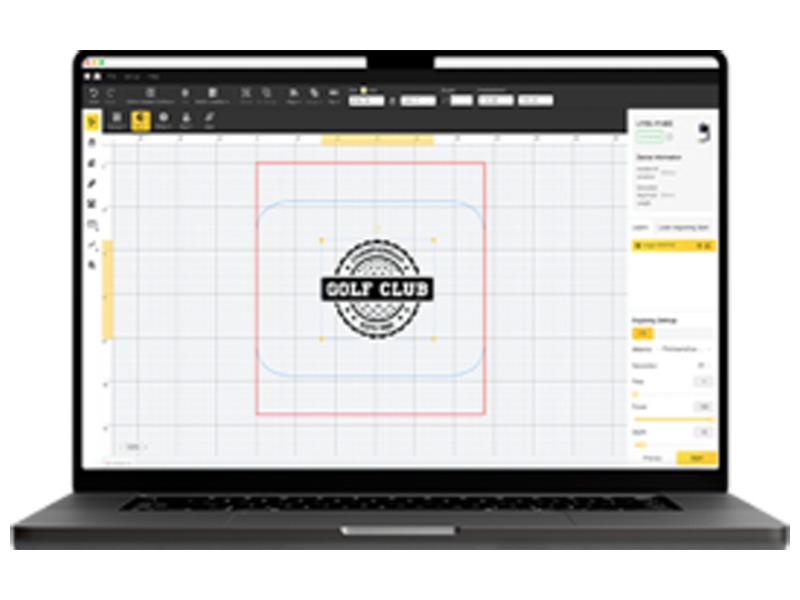
La plupart des machines de gravure laser modernes incluent un logiciel dédié prenant en charge les formats de conception courants tels que les fichiers SVG, PNG et DXF.
Ces outils permettent aux utilisateurs de :
- importer une illustration
- ajuster la taille de la gravure
- prévisualiser le positionnement avant la gravure
Cela rend le processus accessible même aux débutants.
Q6. Les écouteurs personnalisés peuvent-ils être une bonne idée de cadeau en Europe ?
Oui. Les écouteurs personnalisés sont de plus en plus populaires comme cadeaux pratiques et significatifs partout en Europe.
Ajouter des initiales, des dates ou de petits motifs symboliques permet de créer un objet utile au quotidien, qui revêt également une valeur personnelle, idéal pour les anniversaires, les remises de diplôme et les fêtes.
Conclusion
Que vous choisissiez la peinture, l’hydrographie, l’impression 3D ou la gravure laser, chaque méthode permet de personnaliser efficacement vos écouteurs et de créer un design qui reflète vos préférences personnelles.
Personnaliser ses écouteurs peut être un projet à la fois créatif et pratique. Grâce à des outils accessibles et à une préparation simple, les passionnés et les créateurs de toute l’Europe peuvent obtenir des résultats fiables, même dans un espace de travail réduit. Explorer différentes techniques est un excellent moyen de développer de nouvelles compétences tout en créant des écouteurs qui correspondent à votre style personnel.