








































Les tabourets en bois sont à la fois pratiques et décoratifs, apportant chaleur et caractère à tout intérieur. En fabriquant le vôtre, vous contrôlez entièrement sa conception, ses dimensions et sa finition, afin qu’il s’intègre parfaitement à votre espace.
Dans ce guide, nous présentons deux méthodes efficaces : le travail du bois traditionnel et la découpe laser moderne. Que vous aimiez les techniques classiques de bricolage ou que vous préfériez la fabrication numérique de précision, vous trouverez une approche adaptée aux ateliers domestiques en Europe.

Dans cet article :
- Partie 1 : Deux façons pratiques de fabriquer un tabouret en bois
- Méthode 1 : fabriquer un tabouret en bois grâce au travail du bois traditionnel
- Méthode 2 : fabriquer un tabouret en bois grâce à la découpe laser
- Partie 2 : Travail du bois ou découpe laser : quelle méthode choisir ?
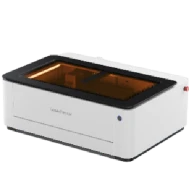
- Partie 3 : Comment fabriquer un tabouret en bois avec la découpeuse laser LX2
- Partie 4 : Questions fréquentes sur la fabrication d’un tabouret en bois
Partie 1 : deux façons pratiques de fabriquer un tabouret en bois
Il existe deux principales façons de fabriquer un tabouret en bois : le travail du bois traditionnel ou l’utilisation de découpeuses laser modernes. Chaque méthode possède ses propres atouts, et comprendre ces différences vous aidera à choisir l’approche la mieux adaptée à vos outils, votre expérience et les objectifs de votre projet.
Méthode 1 : fabriquer un tabouret en bois grâce au travail du bois traditionnel
Le travail du bois traditionnel repose sur l’utilisation d’outils manuels tels que les scies, les ciseaux à bois et les marteaux. Il offre une grande liberté de conception et convient parfaitement à la création de tabourets durables, capables de résister à une utilisation prolongée.
Les méthodes d’assemblage courantes comprennent :
- Assemblages à tenon et mortaise pour une résistance structurelle accrue
- Chevilles pour l’alignement et la stabilité
- Vis de renforcement
Ces techniques permettent de construire un tabouret fiable sans machines spécialisées.
Cela dit, cette méthode exige des mesures précises, une expérience pratique et une attention particulière aux détails afin de garantir la stabilité et la sécurité. Les étapes de finition, comme le ponçage et l’application d’un revêtement, sont également importantes pour obtenir un aspect soigné.
Méthode 2 : fabriquer un tabouret en bois grâce à la découpe laser
Les découpeuses laser offrent un moyen précis et efficace de produire des composants de tabouret en bois d’une qualité constante. Elles sont donc idéales pour les designs reproductibles et la production en petite série.
Ils permettent également une personnalisation détaillée, notamment :
- Motifs décoratifs
- Texte gravé
- Logos ou éléments de marque
L’un des principaux avantages est la facilité d’utilisation. Même les utilisateurs ayant une expérience limitée en travail du bois peuvent créer des pièces précises en téléchargeant un fichier de conception prêt à l’emploi.
Plutôt que de se concentrer sur la découpe et la mesure, le processus s’oriente vers l’assemblage de composants prédécoupés. Bien que la découpe laser ne puisse pas entièrement remplacer l’artisanat traditionnel, elle se distingue par sa précision, son taux d’erreur réduit et sa rapidité de production.
Tableau comparatif : fabrication de tabourets traditionnelle et par découpe laser
| Méthode | Précision | Rapidité | Compétences requises | Idéal pour | Personnalisation |
|---|---|---|---|---|---|
| Travail du bois traditionnel | Moyenne à élevée | Modérée | Élevée | Tabourets robustes, fabrication de qualité mobilier | Modérée – principalement sculptée ou peinte à la main |
| Découpe laser | Très élevée | Rapide | Faible à moyenne | Tabourets décoratifs ou production par lots | Excellente – prend en charge la gravure, le texte et les logos |
| Combinaison | Élevée | Moyenne à élevée | Moyenne | Tabourets durables avec des détails personnalisés | Élevée – motifs et gravures faciles à ajouter |
Le travail du bois traditionnel convient mieux à la solidité et à la durabilité à long terme. En revanche, les découpeuses laser sont idéales lorsque la rapidité, la précision et la personnalisation sont des priorités essentielles.
Partie 2 : Travail du bois ou découpe laser : quelle méthode choisir ?
Si vous débutez dans le travail du bois ou si vous fabriquez principalement des meubles pour votre usage personnel, la fabrication traditionnelle de tabourets constitue une base solide. Elle permet de développer des compétences essentielles telles que les techniques d’assemblage, l’équilibre et la stabilité structurelle. Toutefois, lorsque vous recherchez des résultats plus soignés ou personnalisés, la découpe laser représente une amélioration puissante plutôt qu’un remplacement.
Voici pourquoi associer les méthodes traditionnelles à la découpe laser, notamment avec le LaserPecker LX2, peut améliorer votre projet :
Raison 1 : Accessible aux débutants, avec une expérience minimale
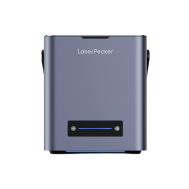
Il n’est pas nécessaire de posséder de solides connaissances en travail du bois pour fabriquer des pièces précises. En utilisant un fichier de conception préparé, le LaserPecker LX2 peut découper les composants avec précision, éliminant une grande partie des efforts manuels liés aux mesures et au sciage.
Raison 2 : Une précision constante sans retouches
Le travail du bois manuel nécessite souvent des ajustements répétés pour obtenir un alignement correct. La découpe laser garantit des pièces uniformes, réduisant les erreurs et économisant les matériaux, ce qui est particulièrement utile pour les débutants.
Raison 3 : Personnalisation simple grâce à la gravure laser
Le LaserPecker LX2 vous permet de graver des éléments décoratifs tels que du texte, des motifs ou des logos directement sur le tabouret. Il est ainsi facile de créer des designs personnalisés ou aux couleurs de votre marque sans compliquer la fabrication.
Raison 4 : Efficace pour la production à petite échelle
La découpe laser est idéale pour fabriquer un ou plusieurs tabourets avec une qualité constante. Elle convient aux projets de bricolage, aux cadeaux personnalisés et aux petits ateliers partout en Europe, qui accordent de l’importance à la fois à l’efficacité et à la flexibilité.
Considérations supplémentaires pour les utilisateurs de l’UE
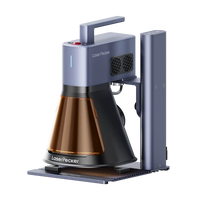
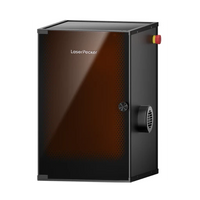
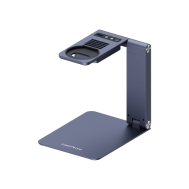
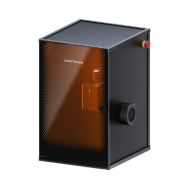
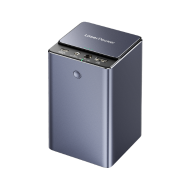
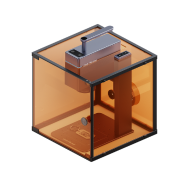
La sécurité et l’utilisation en intérieur sont des éléments essentiels à prendre en compte. Le LaserPecker LX2 est conçu avec une sécurité laser de classe 1, ce qui le rend adapté à une utilisation intérieure contrôlée. Il peut également être utilisé avec le purificateur de fumée de bureau LaserPecker afin de réduire les fumées et les odeurs pendant le fonctionnement, améliorant ainsi la sécurité globale de l’espace de travail.
Bien que la menuiserie traditionnelle reste essentielle pour apprendre le savoir-faire artisanal, l’association avec la découpe laser — à l’aide d’une machine de bureau comme le LaserPecker LX2 — offre une précision accrue, une production plus rapide et une plus grande flexibilité de conception, sans compromettre la durabilité.
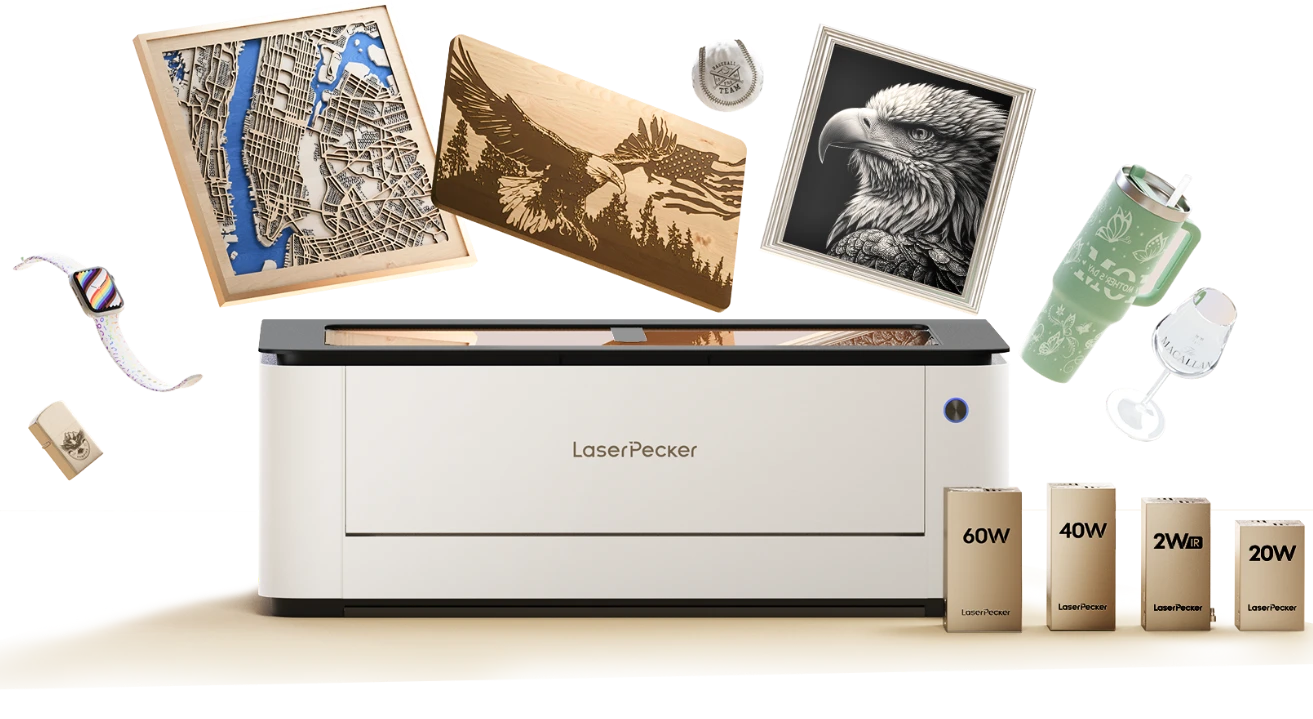
Partie 3 : Comment fabriquer un tabouret en bois avec la découpeuse laser LX2
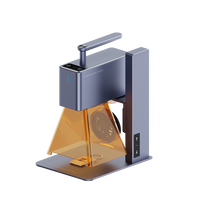
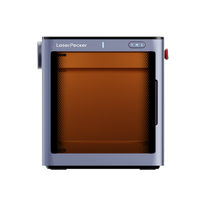
La découpe laser offre une alternative plus rapide et plus précise aux méthodes traditionnelles de fabrication de tabourets. Avec le LaserPecker LX2, vous pouvez obtenir des découpes nettes et une précision constante, même sans expérience préalable en menuiserie.
Son contrôle logiciel intelligent simplifie le processus : téléversez votre design, laissez la machine s’occuper de la découpe et concentrez-vous sur l’assemblage d’un tabouret durable et personnalisé, agrémenté d’éléments gravés.

Matériel et outils nécessaires
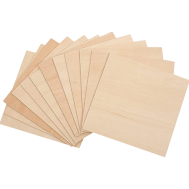
- Panneaux de bois (bouleau, tilleul ou érable recommandés)
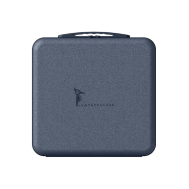
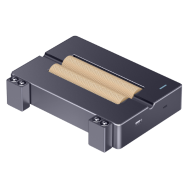
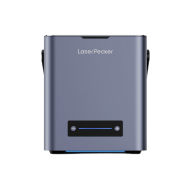
- Découpeuse laser LX2
- Colle à bois et serre-joints
- Papier abrasif (grain 120 à 220)
- Finition ou vernis pour bois
Le LX2 convient à différents types et épaisseurs de bois, offrant à la fois une découpe précise et une gravure détaillée. Son logiciel intuitif est accessible aux débutants tout en garantissant des résultats réguliers.
Étapes pour fabriquer un tabouret en bois avec le LX2
Étape 1 : Préparez le design
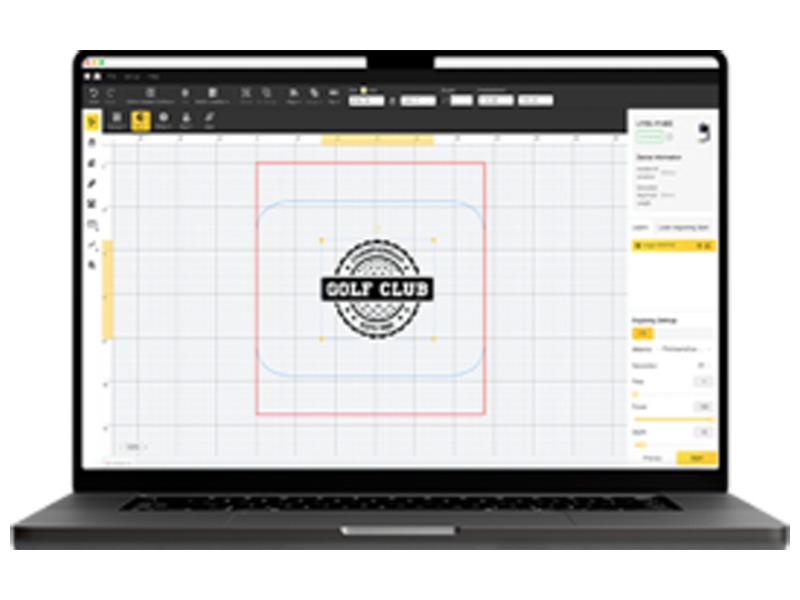
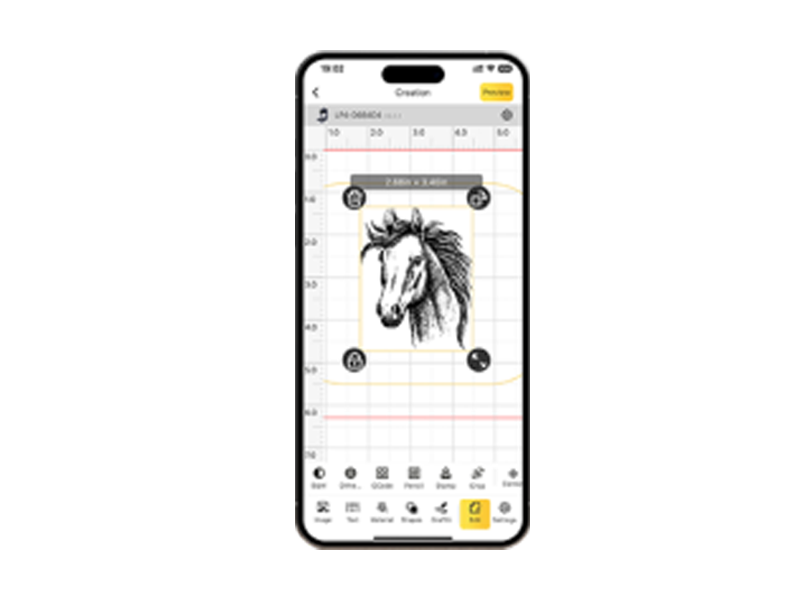
Concevez ou importez le plan de votre tabouret dans le logiciel LX2. Assurez-vous que toutes les parties structurelles — pieds, supports et assise — sont clairement définies, ainsi que les éléments à graver.
Si nécessaire, vous pouvez consulter des modèles prêts à l’emploi sur LaserPecker CraftZone pour trouver l’inspiration, ou acheter des fichiers de conception professionnels sur des plateformes telles qu’Etsy afin de gagner du temps et de garantir une structure adaptée.
Étape 2 : Fixez les panneaux de bois
Placez les panneaux de bois à l’intérieur de la machine en vous assurant qu’ils sont à plat et correctement alignés. Utilisez des serre-joints ou des poids pour éviter qu’ils ne bougent pendant le fonctionnement.
Étape 3 : Découpez les pièces au laser
Lancez la découpe avec le LX2. La machine produit des bords précis et permet de graver simultanément. Ajustez des paramètres tels que la puissance et la vitesse en fonction de l’épaisseur du matériau.
Étape 4 : Poncez et préparez les éléments
Poncez légèrement chaque élément afin d’éliminer les résidus de brûlure ou les bords rugueux. Cela améliore à la fois la sécurité et l’apparence finale.
Étape 5 : Assemblez le tabouret
Assemblez toutes les pièces à l’aide de colle, de chevilles ou de vis. Serrez-les fermement et laissez sécher suffisamment longtemps pour obtenir une structure stable.
Étape 6 : Ponçage final et finitions
Poncez à nouveau le tabouret assemblé afin d’obtenir une surface lisse. Appliquez une finition protectrice ou un vernis pour améliorer la durabilité et mettre en valeur la texture du bois.
Étape 7 : Ajustements facultatifs de la gravure
Pour affiner les détails gravés, poncez légèrement la surface, puis effectuez un passage supplémentaire de gravure peu profonde avec le LX2.
Partie 4 : FAQ sur la fabrication d’un tabouret en bois
Q1. Un tabouret en bois découpé au laser est-il durable ?
Oui, la durabilité dépend principalement du choix des matériaux et de la qualité de l’assemblage. L’utilisation d’un bois adapté et de techniques d’assemblage appropriées garantit la stabilité et la longévité du tabouret. La découpe laser offre une grande précision sans compromettre la solidité structurelle lorsqu’elle est utilisée correctement.
Q2. Le LaserPecker LX2 peut-il découper des panneaux de bois épais ?
Le LaserPecker LX2 est capable de découper des bois de différentes épaisseurs, jusqu’à environ 22 mm dans des conditions optimales. Pour les matériaux plus épais, plusieurs passages sont recommandés. Les bois tendres sont plus faciles à usiner, tandis que les bois durs nécessitent un réglage adapté.
Q3. La gravure laser s’estompe-t-elle avec le temps ?
La gravure laser est généralement durable, car elle modifie physiquement la surface du bois. Cependant, l’exposition au soleil, à l’humidité et à l’usure peut progressivement altérer son apparence. L’application d’un revêtement protecteur aide à préserver les détails gravés.
Q4. Combien de temps faut-il pour fabriquer un tabouret en bois ?
Le travail du bois traditionnel peut prendre plusieurs heures, voire davantage, selon l’expérience. Avec le LaserPecker LX2, la découpe et la gravure peuvent être réalisées en moins d’une heure, avant l’assemblage et la finition.
Q5. La découpe laser convient-elle aux débutants ?
Oui, la découpe laser est considérée comme accessible aux débutants. Grâce aux fichiers préconçus et à la découpe automatisée, les utilisateurs peuvent produire des composants précis sans compétences avancées en menuiserie, ce qui en fait une solution idéale pour les passionnés de bricolage partout en Europe.
Q6. Puis-je utiliser un découpeur laser en toute sécurité à l’intérieur ?
Oui, avec un équipement comme le LaserPecker LX2 doté d’une sécurité laser de classe 1, une utilisation en intérieur est possible dans des conditions contrôlées. L’associer à un purificateur de fumée contribue à réduire les émanations et à améliorer la qualité de l’air pendant le fonctionnement.
Conclusion
Fabriquer un tabouret en bois est un projet gratifiant qui associe créativité et compétences pratiques. Le travail du bois traditionnel offre durabilité et finition classique, tandis que la découpe laser apporte une précision accrue, une production plus rapide et une plus grande flexibilité pour les designs personnalisés.
Avec un outil comme le LaserPecker LX2, il devient beaucoup plus facile de réaliser des designs complexes et des détails de gravure. C’est donc une solution pratique aussi bien pour les débutants que pour les bricoleurs expérimentés.
En appliquant les bonnes techniques et en utilisant les matériaux appropriés, vous pouvez fabriquer un tabouret en bois robuste, esthétique et entièrement personnalisé, adapté à une grande variété d’intérieurs en Europe.