








































Un échiquier en bois est bien plus qu’un simple plateau de jeu : il associe savoir-faire, design et goût personnel. Fabriquer votre propre échiquier vous permet de contrôler entièrement le matériau, les dimensions et la finition générale, que vous préfériez les méthodes classiques de menuiserie ou les solutions modernes de découpe laser.
Dans ce guide, nous examinerons deux façons pratiques de fabriquer un échiquier en bois : la menuiserie traditionnelle et la découpe laser. Vous découvrirez les avantages de chaque approche et suivrez un processus clair de découpe laser pour créer un échiquier de haute qualité, adapté à votre niveau d’expérience et à vos objectifs créatifs.

Dans cet article :
- Partie 1 : Deux méthodes populaires pour fabriquer un échiquier en bois
- Méthode 1 : Fabriquer un échiquier en bois avec les techniques traditionnelles de menuiserie
- Méthode 2 : Fabriquer un échiquier en bois par découpe laser
- Partie 2 : Menuiserie traditionnelle ou découpe laser : quelle méthode est la meilleure
- Partie 3 : Comment fabriquer un échiquier en bois par découpe laser
- Partie 4 : Conseils de conception pour un meilleur échiquier en bois
- Partie 5 : FAQ sur la fabrication d’un échiquier en bois
Partie 1 : Deux méthodes populaires pour fabriquer un échiquier en bois
Pour créer un échiquier en bois, deux méthodes principales s’offrent à vous. Vous pouvez suivre la voie traditionnelle de la menuiserie, avec des outils manuels et un assemblage à la main, ou utiliser la découpe et la gravure laser pour obtenir un résultat plus rapide et plus précis. Chaque méthode présente des avantages différents selon vos compétences, votre équipement et vos objectifs de conception.
Méthode 1 : Fabriquer un échiquier en bois avec les techniques traditionnelles de menuiserie
Fabriquer un échiquier en bois à la main est un projet de menuiserie intemporel qui séduit de nombreux amateurs et passionnés de loisirs créatifs. Le processus consiste généralement à découper le bois en bandes ou en carrés, à les disposer en damier, à coller les sections ensemble, à poncer l’échiquier pour le lisser, puis à appliquer une teinte ou une finition protectrice.
Les essences de bois comme l’érable et le noyer sont couramment choisies, car elles offrent un contraste visuel marqué, une bonne durabilité et une finition élégante. Un échiquier fait main peut devenir à la fois un plateau de jeu pratique et un objet décoratif transmis au fil du temps.
Cela dit, le travail du bois traditionnel exige de la précision et de la patience. Même de petites erreurs de découpe peuvent affecter l’alignement des cases, tandis que le collage nécessite souvent des outils de serrage adaptés et des ajustements minutieux. Le ponçage et la finition peuvent également prendre du temps, surtout pour les débutants.
Méthode 2 : Fabriquer un échiquier en bois par découpe et gravure laser
Un découpeur ou graveur laser offre une méthode plus efficace et très précise pour fabriquer un échiquier en bois. Au lieu de découper et d’assembler à la main plusieurs pièces de bois, vous pouvez préparer le motif numériquement et laisser la machine découper ou graver l’échiquier avec une grande précision.
Avec la découpe laser, vous pouvez soit produire des cases séparées pour l’assemblage, soit graver directement la disposition complète de l’échiquier sur un seul panneau en bois.
La gravure laser permet également de :
- Assombrissez certaines cases pour améliorer le contraste visuel
- Ajoutez des coordonnées pour faciliter le jeu
- Ajoutez des bordures décoratives, des initiales ou des logos
- Créez des pièces d’échecs assorties aux formes uniformes et aux bords lisses
Pour les créateurs de toute l’UE, cette méthode est idéale pour les cadeaux personnalisés, la production des petites entreprises et les ateliers créatifs où la rapidité, la régularité et la personnalisation sont prioritaires.
Tableau comparatif : méthodes traditionnelles et méthodes basées sur le laser
Le tableau ci-dessous compare les deux méthodes côte à côte pour vous aider à choisir l’approche adaptée à votre projet.
| Caractéristique | Travail du bois traditionnel | Découpe et gravure laser |
|---|---|---|
| Précision | Dépend des compétences et des outils | Très élevée et constante |
| Temps nécessaire | Plus longue (découpe, collage, ponçage) | Plus courte, surtout pour les projets répétitifs |
| Difficulté | Moyenne à élevée | Plus accessible aux débutants |
| Personnalisation | Limitée, principalement manuelle | Excellente (motifs, texte, logos) |
| Reproductibilité | Difficile à reproduire exactement | Facile à reproduire |
| Outils nécessaires | Scies, serre-joints, ponceuses | Découpeuse laser, logiciel de conception |
En résumé, le travail du bois traditionnel est idéal pour la durabilité et le caractère artisanal. Cependant, si vous avez besoin d’une production plus rapide, d’une gravure précise ou d’une personnalisation avancée, comme des logos, du texte et des motifs décoratifs, la découpe laser est souvent la solution la plus pratique.
Partie 2 : Travail du bois traditionnel ou découpe laser : quelle méthode est la meilleure ?
Le choix de la meilleure méthode pour fabriquer un échiquier en bois dépend de votre expérience, de vos objectifs créatifs et du niveau de précision dont vous avez besoin. Certains créateurs préfèrent le travail du bois traditionnel pour son savoir-faire et son processus manuel, tandis que d’autres choisissent la découpe laser pour sa rapidité, sa précision et la facilité de personnalisation qu’elle offre.
Le travail du bois traditionnel est idéal si vous aimez les projets manuels et souhaitez développer des compétences pratiques en menuiserie. Vous pouvez apprendre des techniques utiles telles que la découpe, le collage, le serrage, le ponçage et la finition. Beaucoup apprécient également l’aspect authentique et la durabilité à long terme d’un échiquier en bois fabriqué à la main. Il offre un résultat classique doté d’un fort caractère visuel.
En revanche, si vous préférez un processus moderne et des résultats très précis, la découpe laser est souvent la meilleure solution. Elle est particulièrement utile aux amateurs, aux créateurs de cadeaux personnalisés et aux petites entreprises qui recherchent une production efficace et une qualité constante.
La découpe laser facilite la création des éléments suivants :
- Des cases parfaitement mesurées et alignées
- Des designs de plateaux contemporains aux finitions raffinées
- Des détails personnalisés tels que les noms, les coordonnées, les initiales et les logos
- Des pièces d’échecs assorties aux bords nets et aux formes uniformes
Cela rend la découpe laser idéale pour les commandes personnalisées, les cadeaux haut de gamme et la production en série, lorsque la régularité est essentielle.
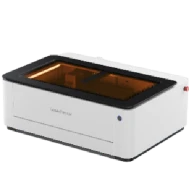
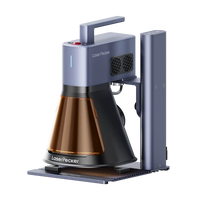
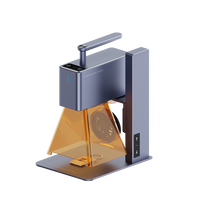
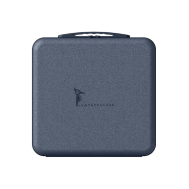
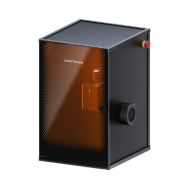
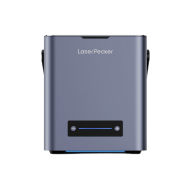
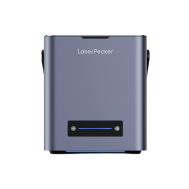
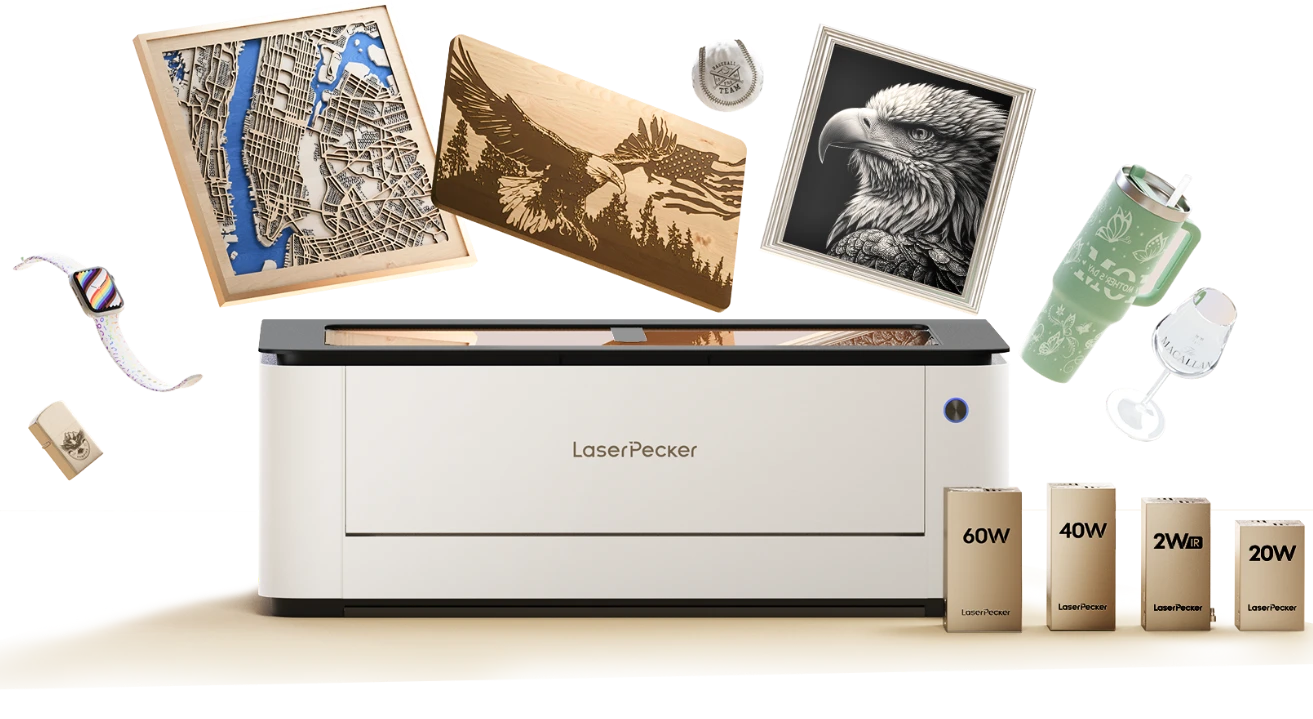
Si vous souhaitez une configuration simple avec un risque d’erreur minimal, la LaserPecker LX2 est un excellent choix. Elle est conçue pour découper et graver le bois avec précision, tout en restant facile à utiliser pour les débutants comme pour les créateurs expérimentés. Sa zone de travail maximale de 500 × 305 mm permet de graver un échiquier complet en un seul passage, améliorant ainsi le flux de travail et la précision.
Comme les échiquiers standard mesurent généralement entre 40 cm et 50 cm environ, la LaserPecker LX2 prend facilement en charge la plupart des formats courants sans nécessiter de repositionnement. Cela est particulièrement utile pour les utilisateurs qui recherchent une répétabilité fiable ou qui prévoient de créer des produits destinés à la vente.
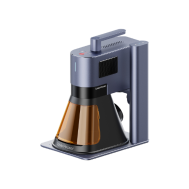
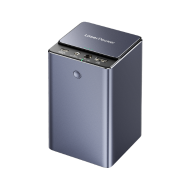
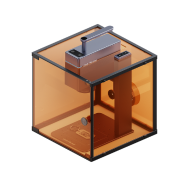
Pour les utilisateurs de l’UE, la classe de sécurité laser 1 constitue également un avantage important, car elle rend la LX2 adaptée à une utilisation intérieure plus sûre dans les studios et ateliers à domicile. Associée au purificateur de fumée de bureau LaserPecker, elle aide à éliminer la fumée, les odeurs et les émanations générées lors de la gravure et de la découpe, créant ainsi un environnement de travail intérieur plus propre et plus sûr.
Dans l’ensemble, la menuiserie traditionnelle convient parfaitement à ceux qui privilégient le savoir-faire et la réalisation manuelle, tandis que la découpe laser offre davantage de rapidité, de précision et de flexibilité aux créateurs modernes.
Partie 3 : Comment fabriquer un échiquier en bois avec une découpe laser
La création d’un échiquier en bois par découpe laser est un processus pratique et efficace lorsque la préparation est correctement effectuée. Si le laser s’occupe de la découpe et de la gravure précises, les matériaux choisis et la configuration de la machine influencent fortement la qualité finale.
Outils nécessaires
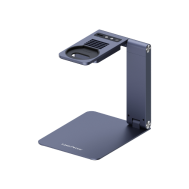
Si vous souhaitez fabriquer un échiquier en bois avec une découpeuse laser, il est important de choisir la bonne machine. La LaserPecker LX2 est un choix fiable pour ce type de projet de menuiserie.
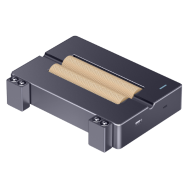
Il permet à la fois la découpe et la gravure avec une grande précision, ce qui le rend idéal pour réaliser des lignes nettes sur le plateau, des cases parfaitement régulières et des éléments décoratifs détaillés. Ses modules laser interchangeables facilitent également le travail sur différentes épaisseurs de bois et selon les exigences de chaque projet.
Pour les débutants, l’alignement par caméra simplifie le positionnement et améliore la précision de la configuration. Sa zone de travail prend facilement en charge les formats standard des échiquiers, tandis que sa conception conforme à la classe de sécurité laser 1 le rend plus adapté à une utilisation intérieure plus sûre dans les studios et ateliers à domicile.
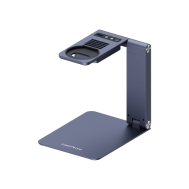
Le LX2 peut également être associé au purificateur de fumée de bureau LaserPecker, qui aide à filtrer la fumée, les odeurs et les émanations produites lors de la gravure et de la découpe. Cela améliore la qualité de l’air intérieur et rend son utilisation à domicile beaucoup plus confortable.
Matériaux nécessaires
Le choix de matériaux adaptés contribue à améliorer à la fois l’apparence et la durabilité. Les options courantes comprennent :
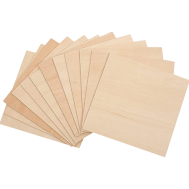
- Panneaux de contreplaqué ou de bois massif pour la base
- Deux essences de bois contrastées, ou un seul plateau en bois avec des cases foncées gravées
- Colle à bois pour assembler les pièces ou les couches séparées
- Finition pour bois, telle que de l’huile, de la cire ou un vernis transparent
Le contreplaqué fin est souvent privilégié pour les projets au laser, car il se découpe proprement et reste stable pendant le traitement. Le bois massif convient également s’il est correctement séché, plat et préparé avant utilisation.
Étapes pour fabriquer un échiquier avec la découpe au laser
Étape 1 : Planifier votre plateau
Commencez par créer une disposition standard d’échiquier de 8 × 8 cases. La plupart des plateaux utilisent des cases mesurant environ 40–50 mm de côté. Vous pouvez soit découper les cases séparément pour les assembler, soit graver la grille complète sur un seul plateau en bois.
Étape 2 : Préparer le bois
Assurez-vous que le bois est propre, plat et exempt de poussière ou de débris en surface. Si vous gravez directement sur le plateau, l’application de ruban de masquage peut contribuer à réduire les marques de brûlure et à améliorer la finition finale.
Étape 3 : Configurer le laser
Préparez votre fichier de conception en séparant les tracés de découpe des zones de gravure. En général, les cases foncées sont gravées plus profondément ou assombries ensuite avec une teinture pour bois, tandis que les cases claires restent naturelles.
Étape 4 : Tester vos réglages
Avant de commencer le projet complet, testez vos réglages sur une chute de bois. Cela vous permettra d’ajuster la profondeur de gravure, la vitesse, le contraste et la qualité des bords.
Étape 5 : Découper ou graver
Lancez le processus complet de gravure ou de découpe et surveillez-le attentivement. Assurez-vous que les lignes restent nettes et que la gravure demeure uniforme sur l’ensemble du plateau.
Étape 6 : Finition finale
Une fois la découpe terminée, poncez légèrement la surface pour éliminer les résidus et lisser les bords. Évitez de poncer excessivement, car cela pourrait réduire la netteté des détails gravés.
Étape facultative : Ajouter des détails décoratifs avec la gravure au laser
La gravure au laser permet d’ajouter facilement des finitions au-delà de la grille standard. Vous pouvez inclure les coordonnées (A–H et 1–8), des bordures décoratives, des initiales, des noms ou un message personnalisé au dos du plateau.
Ces petites améliorations donnent à l’échiquier une apparence plus raffinée et sont particulièrement intéressantes pour les cadeaux personnalisés, les pièces décoratives ou les produits destinés à la vente.
Partie 4 : Conseils de conception pour un meilleur échiquier en bois
Un bon échiquier en bois doit allier esthétique, fonctionnalité et durabilité à long terme. Que vous préfériez un plateau classique fabriqué à la main ou un modèle personnalisé plus moderne, des choix de conception réfléchis peuvent améliorer à la fois l’expérience de jeu et le rendu visuel final, notamment grâce à la découpe et à la gravure au laser, qui permettent une finition précise.
Conseil 1 : Choisir la bonne taille de plateau
La plupart des échiquiers suivent la disposition standard de 8 × 8 cases. Pour un usage domestique, des cases d’environ 45–55 mm sont généralement idéales. Cela offre suffisamment d’espace pour des pièces d’échecs standard, tout en gardant l’échiquier équilibré, pratique et confortable à utiliser.
Pour les échiquiers décoratifs ou les cadeaux personnalisés haut de gamme, des cases légèrement plus grandes peuvent également donner une présentation plus impressionnante.
Conseil 2 : Choisissez des essences ou des couleurs de bois offrant un contraste marqué
Un bon contraste visuel est essentiel pour jouer facilement et obtenir une finition professionnelle. Si vous assemblez l’échiquier à partir de pièces de bois séparées, associer des bois clairs comme l’érable ou le bouleau à des bois plus foncés comme le noyer ou l’acajou crée une apparence intemporelle.
Si vous préférez la gravure laser, les cases foncées peuvent être gravées directement sur la surface du bois, sans peinture. La texture naturelle du bois reste ainsi visible, tout en améliorant le contraste.
Conseil 3 : Utilisez la gravure laser pour des lignes de grille précises
Plutôt que de dépendre uniquement de cases collées, la gravure laser permet de créer des lignes de grille nettes et précises. Cela aide l’échiquier à rester clair et facile à lire au fil du temps, tout en lui donnant une apparence plus raffinée et soignée.
La gravure laser améliore également la régularité et contribue à réduire l’impact visuel des petites erreurs d’alignement lors de l’assemblage.
Conseil 4 : Ajoutez les coordonnées pour une meilleure fonctionnalité
L’ajout de lettres (A–H) et de chiffres (1–8) autour des bords de l’échiquier est facultatif, mais peut être très utile pour les débutants, l’apprentissage du jeu et l’enregistrement plus facile des coups.
La gravure laser permet d’ajouter ces coordonnées avec une grande précision, sans nuire au design général. Il s’agit d’une amélioration simple qui renforce à la fois la fonctionnalité et l’apparence.
Pour les créateurs de l’UE qui vendent des produits personnalisés ou créent des cadeaux sur mesure, ces détails gravés peuvent également accroître la valeur haut de gamme de l’échiquier fini.
Partie 5 : FAQ sur la fabrication d’un échiquier en bois
Q1. Combien de cases comporte un échiquier ?
Un échiquier standard comporte 64 cases disposées selon une grille de 8 × 8. L’alternance des cases claires et foncées est essentielle au jeu, car de nombreuses règles des échecs dépendent de la couleur des cases. Lors de la fabrication d’un échiquier en bois, il est important que toutes les cases aient la même taille, tant pour la précision que pour l’apparence.
Q2. Puis-je fabriquer un échiquier en bois uniquement par découpe laser ?
Oui, il est possible de fabriquer un échiquier en bois complet uniquement par découpe et gravure laser. Vous pouvez graver directement le motif de la grille et les cases foncées sur une seule planche en bois, au lieu d’assembler plusieurs pièces à la main.
Cela rend le processus plus rapide, plus facile à reproduire et idéal pour les débutants ou la production des petites entreprises. Une découpeuse laser permet également de personnaliser facilement le plateau avec des noms, des initiales, les coordonnées des cases et des détails décoratifs.
Q3. Quel type de bois convient le mieux aux échiquiers découpés au laser ?
Pour les projets en contreplaqué, un contreplaqué de bonne qualité aux plis intérieurs réguliers est généralement la meilleure option, car il se découpe proprement et reste plat. Pour les échiquiers en bois massif, l’érable, le bouleau et le noyer sont d’excellents choix lorsqu’ils sont correctement séchés et préparés.
Les bois tendres sont plus faciles à graver, tandis que les bois durs offrent souvent une finition plus raffinée et une meilleure durabilité à long terme.
Q4. Peut-on découper des pièces d’échecs au laser ?
Oui, une machine de découpe laser est très efficace pour fabriquer des pièces d’échecs aux bords nets et aux dimensions régulières. Elle permet de découper avec une excellente précision des formes détaillées dans du bois, de l’acrylique ou des matériaux similaires.
Cela garantit une cohérence visuelle de l’ensemble des pièces d’échecs, ce qui est difficile à obtenir avec une découpe manuelle. La gravure laser peut également être ajoutée pour les symboles, les détails décoratifs ou les designs d’échecs thématiques.
Q5. Puis-je vendre des échiquiers en bois découpés au laser ?
Oui, de nombreux créateurs dans l’UE fabriquent des échiquiers en bois personnalisés pour les ventes de petites entreprises, les boutiques de cadeaux et les plateformes en ligne telles qu’Etsy.
Grâce à sa grande répétabilité et à sa qualité constante, la découpe laser est idéale pour réaliser des commandes personnalisées avec des noms, des logos et des gravures décoratives, tout en conservant un résultat professionnel.
Q6. Ai-je besoin d’une ventilation spéciale pour la découpe laser en intérieur ?
Oui, une ventilation adéquate est recommandée lors de la gravure ou de la découpe du bois en intérieur. Les machines telles que la LaserPecker LX2 offrent une sécurité laser de classe 1, ce qui améliore la sécurité d’utilisation à domicile, mais il reste important de gérer la fumée et les émanations.
L’utilisation du purificateur de fumée de bureau LaserPecker contribue à éliminer la fumée, les odeurs et les particules en suspension, rendant les projets de gravure laser en intérieur beaucoup plus propres et agréables dans les ateliers domestiques de l’UE.
Conclusion
Fabriquer un échiquier en bois est un projet gratifiant qui réunit savoir-faire, créativité et design fonctionnel. La menuiserie traditionnelle offre un résultat artisanal classique au caractère affirmé, tandis que la découpe laser permet une plus grande précision, une production plus rapide et une meilleure régularité pour les projets répétés.
Une machine de découpe laser telle que la LaserPecker LX2 simplifie l’ensemble du processus, en particulier pour les créateurs qui souhaitent obtenir une gravure précise, une disposition nette de l’échiquier et des détails personnalisés tels que des noms, des coordonnées ou des motifs décoratifs. Sa conception conforme à la sécurité laser de classe 1 et sa compatibilité avec le purificateur de fumée de bureau LaserPecker en font également un choix pratique pour une utilisation intérieure plus sûre et les ateliers à domicile.
Que vous choisissiez la menuiserie classique ou la gravure laser moderne, un échiquier en bois fait main reste un produit intemporel, idéal pour un usage personnel, des cadeaux haut de gamme ou la vente par une petite entreprise.