








































Fabriquer un drapeau en bois est un projet gratifiant qui associe créativité et compétences pratiques en menuiserie. Traditionnellement, ces drapeaux étaient entièrement fabriqués à la main : chaque détail était découpé, sculpté et peint à l’aide d’outils standard. Cette méthode offre un aspect artisanal authentique, mais elle demande généralement davantage de temps, de précision et d’expérience.
Aujourd’hui, les techniques modernes offrent une manière plus simple et plus efficace de créer des drapeaux en bois détaillés, même pour les débutants. Avec les bons outils, vous pouvez obtenir des résultats réguliers et de haute qualité avec moins d’efforts. Dans ce guide, nous comparons le travail artisanal traditionnel à une méthode moderne plus simple afin de vous aider à déterminer quelle approche convient le mieux à vos outils, à votre niveau de compétence et aux objectifs de votre projet.

Dans cet article :
- Partie 1 : Deux méthodes populaires pour fabriquer un drapeau en bois
- Méthode 1 : Fabriquer un drapeau en bois à la main
- Méthode 2 : Fabriquer un drapeau en bois par gravure laser
- Partie 2 : Travail manuel ou gravure laser : quelle méthode choisir
- Partie 3 : Comment fabriquer un drapeau en bois par gravure laser
- Partie 4 : Conseils utiles pour les drapeaux en bois gravés au laser
- Partie 5 : FAQ sur la fabrication d’un drapeau en bois
Partie 1 : Deux méthodes populaires pour fabriquer un drapeau en bois
Méthode 1 : Fabriquer un drapeau en bois à la main
Fabriquer un drapeau en bois à la main implique plusieurs étapes traditionnelles de menuiserie. Tout d’abord, sélectionnez des planches de bois adaptées et découpez-les en pièces de taille uniforme. Collez-les ensuite pour créer la base. Une fois la colle complètement sèche, poncez la surface jusqu’à ce qu’elle soit lisse et régulière.
La disposition circulaire des étoiles du drapeau européen est souvent sculptée ou gravée manuellement, ce qui exige un espacement précis et un alignement minutieux pour préserver la symétrie de l’ensemble du design. Certaines personnes créent les étoiles individuellement à l’aide d’outils de sculpture, tandis que d’autres utilisent des gabarits ou des guides de défonceuse pour améliorer la régularité et obtenir des détails plus nets.
Une fois le design terminé, le drapeau en bois est généralement peint ou teinté à la main. Plusieurs couches sont souvent appliquées afin de créer un contraste marqué entre l’arrière-plan et les éléments en forme d’étoile gravés.
Bien que cette méthode offre une finition artisanale authentique, elle présente également certaines limites :
- Nécessite beaucoup de temps et d’efforts
- Il est difficile de conserver des formes d’étoiles uniformes
- Les erreurs ne sont pas faciles à corriger
- Reproduire le même design est difficile
Cette approche convient aux personnes qui aiment le travail manuel, mais elle exige de la patience, des compétences de base en menuiserie et une certaine tolérance aux petites variations.
Méthode 2 : Fabriquer un drapeau en bois par gravure laser
Une graveuse laser offre une alternative plus efficace et plus précise pour fabriquer des drapeaux en bois. Au lieu de sculpter le bois à la main, la machine suit un fichier de conception numérique pour graver directement le motif sur la surface du bois.
Motif circulaire d’étoiles
Le cercle emblématique d’étoiles du drapeau européen peut être gravé avec une grande précision, garantissant un espacement régulier, une symétrie parfaite et des détails nets. Selon le style du motif, les étoiles peuvent être légèrement gravées, profondément évidées ou associées à des techniques de coloration en plusieurs couches.
Une gravure lisse et uniforme
La gravure laser offre plusieurs avantages pour la réalisation de motifs de drapeaux détaillés :
- Positionnement précis des étoiles et des compositions circulaires
- Profondeur de gravure uniforme sur l’ensemble du motif
- Bords nets et propres nécessitant très peu de finition manuelle
- Duplication facile pour une production répétée
Comme le processus est contrôlé numériquement, la gravure laser rend les projets de drapeaux européens plus efficaces et reproductibles, qu’il s’agisse de décorations murales, de cadeaux personnalisés, de projets d’atelier ou de productions pour une petite entreprise.
Tableau comparatif : méthodes traditionnelles et gravure laser
| Caractéristique | Méthodes traditionnelles | Gravure laser |
|---|---|---|
| Temps requis | Très élevée | Considérablement réduite |
| Précision | Dépend des compétences | Extrêmement élevée |
| Difficulté | Élevée | Faible à moyenne |
| Reproductibilité | Limitée | Excellente |
| Cohérence du design | Difficile à maintenir | Identique au fichier numérique |
| Courbe d’apprentissage | Élevée | Adapté aux débutants |
| Production en série | Peu pratique | Très efficace |
Partie 2 : Fabrication manuelle ou gravure laser : quelle méthode choisir pour fabriquer un drapeau en bois ?
Si votre objectif est de créer un drapeau en bois unique et fait main et que vous aimez le travail manuel du bois, les méthodes traditionnelles peuvent vous convenir. Cependant, pour la plupart des utilisateurs — en particulier les débutants et les petites entreprises — une graveuse laser constitue l’option la plus efficace et la plus fiable.
La gravure laser offre une précision accrue, des résultats plus propres et moins d’erreurs, ce qui vous permet de vous concentrer sur la conception plutôt que sur un travail manuel chronophage. En pratique, ses avantages sont évidents :
- Un environnement de travail plus propre et plus silencieux : La gravure laser élimine une grande partie du bruit, de la poussière et de la complexité des outils associés au travail du bois traditionnel. Elle est idéale pour une utilisation en intérieur, notamment dans les petits ateliers ou les espaces de studio.
- Idéal pour les effets en relief et en 3D : La gravure laser simplifie la création de motifs de drapeau européen en plusieurs couches, en permettant d’intégrer des étoiles en creux, des arrière-plans texturés et une profondeur accrue sur toute la composition circulaire.
- Contrôle précis de la profondeur et de la texture : Grâce à des réglages ajustables, une machine de gravure laser garantit une profondeur de gravure constante, des finitions lisses et des effets visuels reproductibles.
- Personnalisation simple : L’ajout de noms, de logos, de dates ou de motifs décoratifs est simple et précis, sans compromettre le matériau.
- Efficace pour la production en série : Lors de la création de plusieurs pièces destinées à la vente ou à offrir, la gravure laser garantit une qualité constante, une production plus rapide et un effort global réduit.
Globalement, tandis que les méthodes traditionnelles reposent sur le savoir-faire artisanal, une machine de gravure laser offre précision, régularité et efficacité, ce qui en fait le meilleur choix pour la plupart des projets de drapeaux en bois actuels.
Partie 3 : Comment fabriquer un drapeau en bois avec la gravure laser ?
La gravure laser est globalement une méthode plus simple, mais pour obtenir de bons résultats, il faut tout de même une préparation adéquate et des réglages corrects.
Outils et matériaux nécessaires
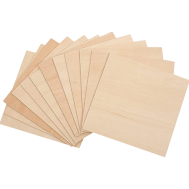
- Planches en bois massif ou panneaux collés
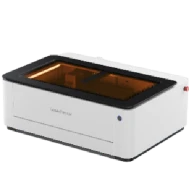
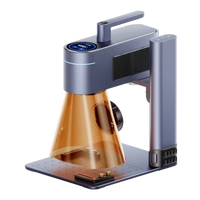
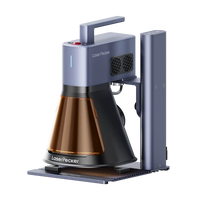
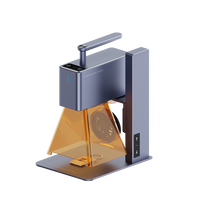
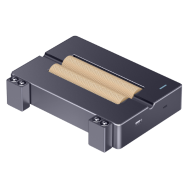
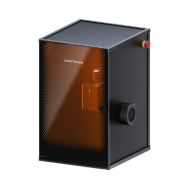
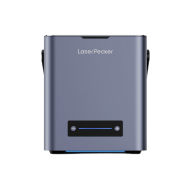
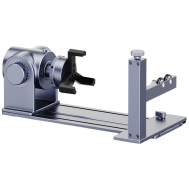
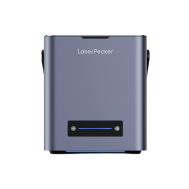
- Une machine de gravure laser (telle que le LaserPecker LX2)
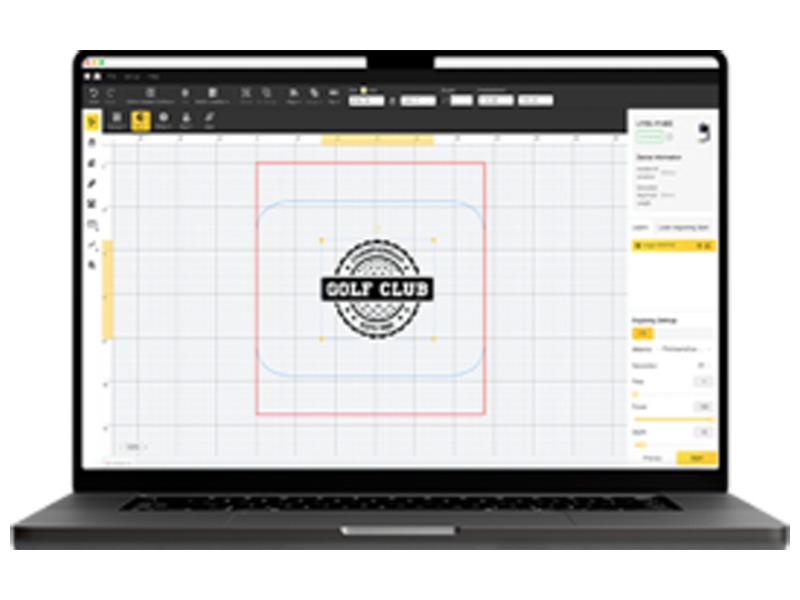
- Logiciel de conception compatible avec votre machine
- Ruban de masquage (facultatif)
- Papier abrasif
- Peinture, teinture ou huile de finition
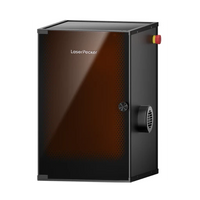
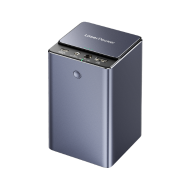
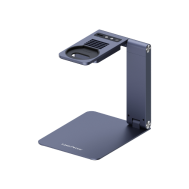
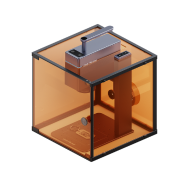
Le LaserPecker LX2 est un choix pratique pour les utilisateurs de l’UE, en particulier les débutants. Il est facile à contrôler, compact pour une utilisation en intérieur et offre une qualité de gravure constante sur le bois. Avec la sécurité laser de classe 1, il est conçu pour une utilisation plus sûre. Pour améliorer la qualité de l’air intérieur, il peut être utilisé avec le purificateur de fumée de bureau LaserPecker, qui aide à éliminer les fumées et les odeurs produites pendant la gravure et la découpe.
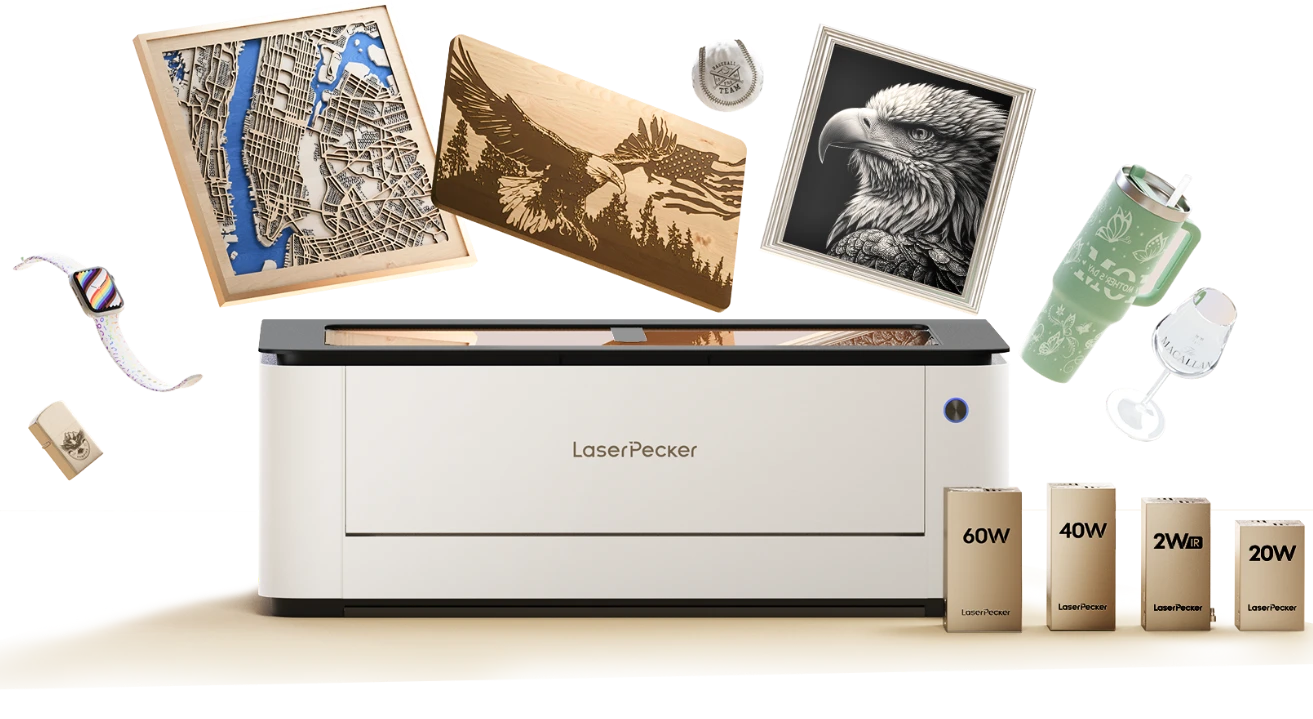
Étapes pour fabriquer un drapeau en bois avec le LX2
Étape 1 : Préparer le bois
Poncez la surface jusqu’à ce qu’elle soit lisse et uniforme. Cela garantit des résultats de gravure homogènes. Retirez toute poussière avant de commencer.
Étape 2 : Concevoir votre drapeau
Utilisez un logiciel de conception pour créer la mise en page. Définissez les bandes comme des zones de gravure pleines. Configurez les étoiles en contours ou en formes pleines selon vos préférences de conception.
Étape 3 : Fixer le matériau
Positionnez solidement le bois sur la surface de gravure. Assurez-vous qu’il est stable et ne bouge pas pendant le fonctionnement.
Étape 4 : Tester les réglages de gravure
Effectuez un petit test pour vérifier la profondeur et la netteté. Ajustez les réglages de puissance et de vitesse afin d’obtenir une gravure nette, sans traces de brûlure.
Étape 5 : Graver le motif
Lancez le processus de gravure. La graveuse laser traitera les bandes et les étoiles avec une précision uniforme.
Étape 6 : Post-traiter et appliquer une finition
Éliminez tout résidu après la gravure. Un léger ponçage peut améliorer la surface si nécessaire. Appliquez de la peinture ou une teinture pour renforcer le contraste, puis protégez le bois avec un vernis pour améliorer sa protection et sa durabilité.
Partie 4 : Conseils utiles pour les drapeaux en bois gravés au laser
Même avec une graveuse laser de haute précision, l’application de quelques conseils pratiques peut considérablement améliorer la qualité finale et la durée de vie de votre drapeau en bois. Ces techniques simples aident à réduire les erreurs et à obtenir un résultat plus professionnel.
Conseil 1 : Choisir le bois approprié
Les bois tendres comme le pin sont plus faciles à graver, mais peuvent présenter de légères marques de brûlure. Les bois durs tels que l’érable ou le bouleau offrent des contours plus nets et un meilleur contraste visuel. Faites votre choix en fonction de vos objectifs de conception et de vos exigences en matière de durabilité.
Conseil 2 : Appliquer du ruban de masquage pour un résultat plus propre
L’application de ruban de masquage avant la gravure aide à réduire les marques de brûlure sur la surface. Après la gravure, retirez le ruban pour obtenir une finition plus propre et soignée.
Conseil 3 : Tester les réglages à l’avance
Chaque type de bois réagit différemment lors de la gravure. Tester vos réglages au préalable permet d’éviter une carbonisation excessive et de garantir une profondeur uniforme sur l’ensemble du motif.
Conseil 4 : Régler soigneusement la profondeur de gravure
Une gravure peu profonde risque de ne pas être suffisamment visible, tandis qu’une profondeur excessive peut fragiliser le matériau. Un réglage approprié garantit un résultat équilibré et visuellement attrayant.
Conseil 5 : Améliorer la finition avec de la peinture ou une teinture
Laisser le bois naturel crée un aspect simple et authentique, tandis que l’ajout de peinture ou de teinture améliore le contraste et l’impact visuel. Laissez toujours la surface gravée sécher complètement avant d’appliquer une finition.
Partie 5 : FAQ sur la fabrication d’un drapeau en bois
Q1 : Quelle doit être la taille d’un drapeau en bois ?
Les drapeaux en bois mesurent généralement entre 50 × 90 cm et 60 × 115 cm, des dimensions correspondant aux proportions courantes des drapeaux et adaptées à un affichage mural. Les petits formats sont parfaits pour les espaces intérieurs ou les cadeaux.
Pour les espaces extérieurs tels que les terrasses ou les ateliers, les grands formats sont plus visibles. Lors de l’utilisation d’une graveuse laser, assurez-vous que la taille convient à la zone de travail de la machine. Une épaisseur de 12 à 20 mm est recommandée pour garantir stabilité et durabilité.
Q2 : Ai-je besoin d’un logiciel de conception pour des drapeaux en bois gravés au laser ?
Oui, un logiciel de conception est essentiel pour obtenir des résultats de gravure précis et uniformes. Il permet de contrôler entièrement la mise en page, l’alignement et la profondeur de gravure.
Des logiciels comme LaserPecker Design Space ou LightBurn permettent d’importer des designs, de modifier les détails et de prévisualiser le résultat avant la gravure. La plupart de ces outils sont faciles à apprendre, même pour les débutants.
Q3 : Quel bois convient le mieux aux drapeaux gravés au laser ?
Les bois tendres comme le pin, le tilleul et le cèdre sont couramment utilisés en raison de leurs performances en gravure et de leur contraste visuel.
- Pin : économique et adapté aux débutants
- Tilleul : surface lisse pour une gravure détaillée
- Cèdre : naturellement résistant à l’humidité
Les bois durs comme le chêne ou l’érable peuvent être utilisés, mais ils nécessitent un calibrage plus précis et peuvent produire des résultats irréguliers en raison des différences de grain. Choisissez toujours du bois séché au four afin de réduire le risque de déformation.
Q4 : Combien de temps faut-il pour fabriquer un drapeau en bois avec une graveuse laser ?
La préparation du design prend généralement 15 à 30 minutes, selon sa complexité. La gravure nécessite habituellement 30 à 90 minutes, selon la taille et les réglages de profondeur.
Les étapes de finition, comme la peinture ou l’application d’un produit de scellement, peuvent prendre davantage de temps. Dans l’ensemble, la plupart des drapeaux en bois gravés au laser peuvent être terminés en une journée, ce qui rend cette méthode bien plus efficace que les techniques manuelles.
Q5 : Comment protéger un drapeau en bois contre l’humidité ?
Pour protéger le bois contre l’humidité, appliquez une finition adaptée, comme du polyuréthane, un produit d’étanchéité pour bois extérieur ou un vernis marin. Ces revêtements créent une barrière protectrice contre l’humidité et les variations de température.
Utilisez plusieurs couches fines pour une meilleure absorption et une durabilité accrue. Si le drapeau est peint, l’application d’un produit de scellement contribue également à préserver la couleur et à prévenir les dommages. Un entretien régulier prolongera la durée de vie de la pièce.
Q6 : La gravure laser convient-elle à la production pour une petite entreprise ?
Oui, la gravure laser convient parfaitement à la production en petite série. Elle offre une qualité constante, des designs reproductibles et un flux de travail efficace. Elle est donc idéale pour produire plusieurs drapeaux en bois destinés à la vente ou à des commandes personnalisées, avec un minimum de variations.
Conclusion
La fabrication d’un drapeau en bois est un projet à la fois créatif et pratique. Les méthodes traditionnelles offrent un aspect artisanal, tandis qu’une graveuse laser assure une précision accrue, des résultats réguliers et une production plus rapide.
Avec une configuration et des matériaux adaptés, les utilisateurs de tous niveaux peuvent produire des drapeaux en bois de haute qualité. Que ce soit pour un usage personnel ou une petite production, la gravure laser simplifie le processus, garantit des résultats constants et permet d’obtenir une finition propre et professionnelle.