









































Dans toute l’Europe, les anneaux en bois deviennent une alternative élégante aux bijoux traditionnels en métal. Ils associent une apparence naturelle à un ajustement léger et confortable au quotidien. Grâce à un large choix d’essences de bois, de formes et d’options de gravure, ils peuvent être facilement personnalisés pour correspondre aux préférences de chacun.
Créer un anneau en bois est plus simple qu’il n’y paraît. Que vous conceviez un cadeau attentionné, une alliance ou un projet créatif réalisé comme loisir, les débutants peuvent se lancer facilement. Les outils modernes tels que les découpeuses laser rendent le processus plus rapide et plus précis.
Ce guide explique pourquoi les anneaux en bois gagnent en popularité et présente deux méthodes pratiques pour en fabriquer. Vous apprendrez également à créer votre propre anneau en bois, étape par étape, à l’aide de techniques de découpe et de gravure laser.

Dans cet article :
- Partie 1 : Pourquoi les anneaux en bois gagnent en popularité
- Partie 2 : Deux méthodes pour fabriquer un anneau en bois
- Méthode 1 : Fabriquer un anneau en bois à la main
- Méthode 2 : Fabriquer un anneau en bois par découpe laser
- Partie 3 : Fabrication artisanale ou découpe laser : quelle méthode choisir ?
- Partie 4 : Comment fabriquer un anneau en bois avec la découpe laser
- Partie 5 : FAQ sur la fabrication d’un anneau en bois
Partie 1 : Pourquoi les anneaux en bois gagnent en popularité
Les anneaux en bois gagnent en popularité dans toute l’Europe grâce à leur combinaison de simplicité, de savoir-faire artisanal et d’individualité. De nombreuses personnes apprécient le toucher naturel du bois et ses veinures uniques, qui garantissent qu’aucun anneau n’est exactement identique à un autre. Comparés aux anneaux en métal, les modèles en bois sont généralement plus confortables, notamment pour les personnes sensibles aux métaux ou qui préfèrent les bijoux légers.
Ils sont également hautement personnalisables. Le bois peut être façonné, sculpté, superposé et traité de différentes manières afin d’obtenir une grande variété de styles. Les fabricants d’anneaux peuvent y intégrer des noms, des dates, des symboles ou des motifs significatifs gravés, créant ainsi des pièces qui reflètent les histoires et les préférences personnelles.

Partie 2 : Deux méthodes pour fabriquer un anneau en bois
Il existe deux méthodes principales pour fabriquer un anneau en bois : la fabrication artisanale traditionnelle et la production moderne à l’aide d’une machine de découpe laser. Chaque approche offre des avantages distincts et peut convenir à différents niveaux de compétence et objectifs de projet.
Méthode 1 : Fabriquer un anneau en bois à la main
La fabrication artisanale est la technique la plus traditionnelle. Elle privilégie le savoir-faire manuel et la maîtrise artistique plutôt que la rapidité. Le processus comprend généralement :
- Perçage d’un trou dans une pièce de bois dur pour former l’anneau intérieur
- Découpe de la forme extérieure à l’aide d’outils à main
- Ponçage et finition de l’anneau sur un triboulet pour un ajustement confortable
Cette méthode demande du temps, de la patience et de la précision. Bien qu’elle puisse être difficile pour les débutants, elle permet d’obtenir des créations entièrement uniques et fabriquées à la main. Elle est particulièrement appréciée des amateurs et des artisans européens qui attachent de l’importance au savoir-faire et à l’individualité.
Méthode 2 : Fabriquer une bague en bois grâce à la découpe laser
L’utilisation d’une machine de découpe laser constitue une alternative moderne et efficace. Les modèles sont créés numériquement, puis découpés avec une grande précision, garantissant des formes homogènes et des bords nets. Plusieurs couches de bois peuvent également être combinées pour renforcer la solidité et l’esthétique.
Une machine de découpe laser réduit les erreurs manuelles et garantit des dimensions uniformes pour plusieurs pièces. Elle est donc idéale pour les débutants, les petites entreprises ou toute personne produisant des bagues en grande quantité avec une qualité constante.
| Méthode traditionnelle | Méthode de découpe laser | |
|---|---|---|
| Précision | Dépend du savoir-faire | Extrêmement élevée et constante |
| Courbe d’apprentissage | Difficile pour les débutants | Plus facile grâce aux logiciels |
| Reproductibilité | Limitée | Excellente pour la production en série |
| Complexité de la conception | Relativement limitée | Très flexible et détaillée |
| Efficacité temporelle | Chronophage | Rapide et efficace |
Partie 3 : Fabrication artisanale ou découpe laser : quelle méthode choisir ?
Pour la plupart des débutants et des créateurs travaillant à petite échelle en Europe, une machine de découpe laser constitue généralement la meilleure option. Elle offre une plus grande précision, des résultats homogènes et réduit le risque d’erreurs par rapport à la fabrication manuelle.
Les méthodes traditionnelles exigent un niveau élevé de compétence et peuvent être assez longues. Les problèmes tels qu’une épaisseur irrégulière ou des dimensions imprécises sont également plus fréquents, ce qui peut nuire au confort et à l’ajustement de la bague. La découpe laser garantit toutefois des résultats nets et reproductibles, ce qui en fait une solution plus fiable et plus efficace.
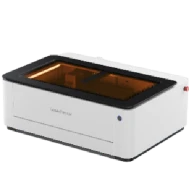
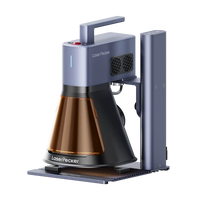
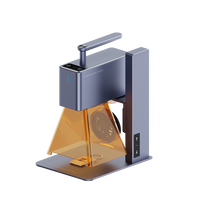
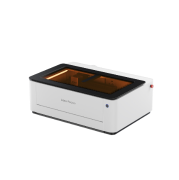
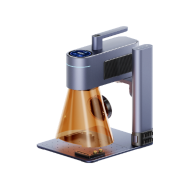
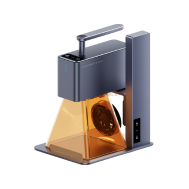
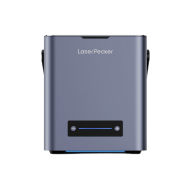
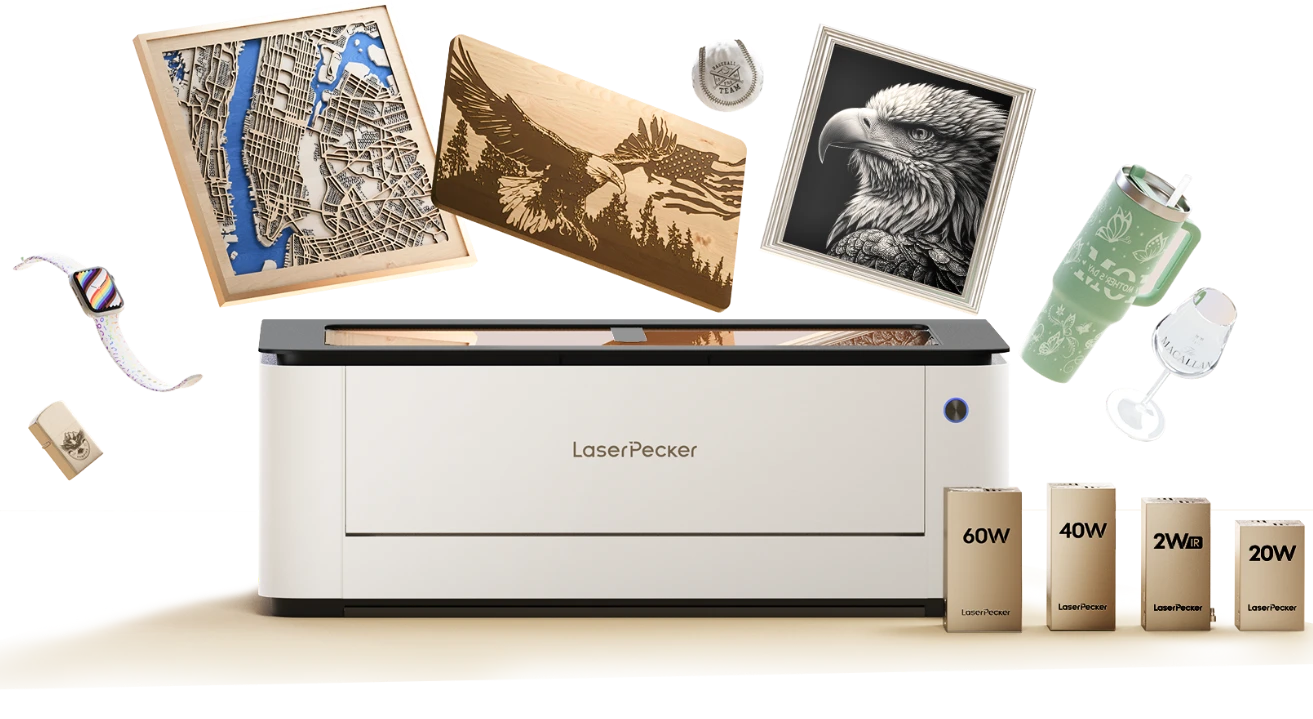
Si vous envisagez d’acheter une découpeuse laser, la LaserPecker LX2 est un choix fiable pour fabriquer des bagues en bois. Elle offre une découpe régulière et est compatible avec plusieurs modules laser à diode. Même avec des matériaux en bois plus épais, elle préserve des bords nets et précis.
En plus de la découpe, une machine de découpe laser peut être utilisée pour la gravure, offrant ainsi une plus grande flexibilité de conception. L’ajout de noms, de logos ou de motifs décoratifs permet d’obtenir un résultat plus personnalisé. En combinant découpe et gravure, vous pouvez obtenir une finition raffinée et professionnelle.
Partie 4 : Comment fabriquer une bague en bois avec la découpe laser
La découpe laser simplifie la fabrication de bagues en bois en transformant des modèles numériques en objets physiques précis. Suivez les étapes ci-dessous pour créer efficacement votre propre bague.
Matériaux et outils à préparer avant la fabrication
Vous aurez besoin de :
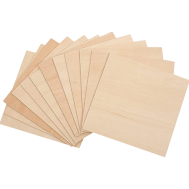
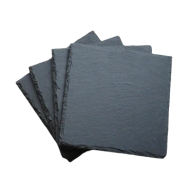
- Bois : Choisissez des bois durs comme l’érable, le noyer ou le cerisier pour leur durabilité. Les bois plus tendres, comme le balsa, conviennent aux tests. Assurez-vous que l’épaisseur du matériau est compatible avec votre machine de découpe laser.
- Découpeuse laser : Le LaserPecker LX2 est un choix fiable, doté de modules à diode de 450 nm réglables et d’une sécurité laser de classe 1, ce qui le rend adapté à une utilisation en intérieur dans de nombreux ateliers de l’UE.
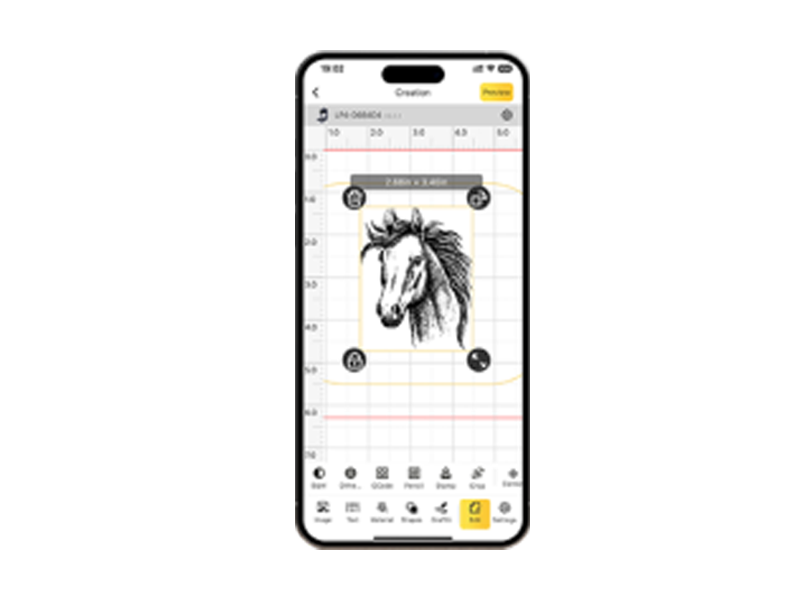
- Logiciel de conception : Utilisez un logiciel de conception vectorielle ou LaserPecker Design Space pour préparer des modèles de bagues précis.
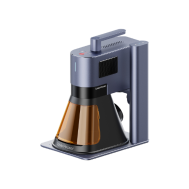
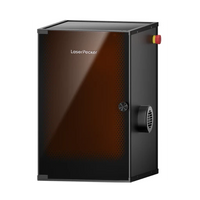
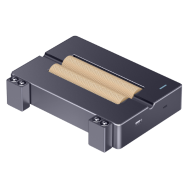
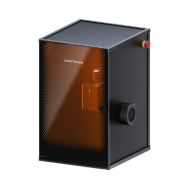
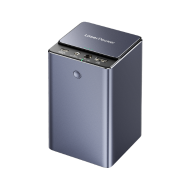
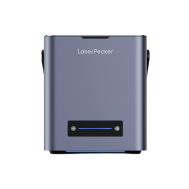
- Installation de sécurité : Maintenez une bonne circulation de l’air pendant l’utilisation. Le LX2 peut être utilisé avec le purificateur de fumée de bureau LaserPecker afin d’éliminer les fumées et les odeurs et d’améliorer la qualité de l’air intérieur.
- Outils de finition : Du papier abrasif fin, de l’huile pour bois ou du vernis aideront à peaufiner et à protéger la pièce finale.
Étapes pour fabriquer une bague en bois avec le LX2
Étape 1 : Concevez votre bague
Créez un dessin vectoriel comprenant les diamètres intérieur et extérieur, ainsi que les éventuelles gravures décoratives.
Étape 2 : Positionnez le matériau
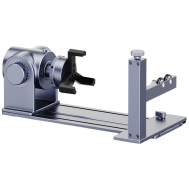
Placez et fixez le bois dans la zone de travail du LaserPecker LX2, en veillant à ce qu’il soit plat et stable. Utilisez des accessoires rotatifs si nécessaire.
Étape 3 : Choisissez la puissance du laser
Réglez la puissance de la diode (par ex. 20 W, 40 W ou 60 W) en fonction de l’épaisseur du matériau. Une puissance plus faible suffit généralement pour les bois plus minces.
Étape 4 : Configurez les réglages
Réglez des paramètres tels que la vitesse, la puissance et le nombre de passes. L’assistance pneumatique et les fonctions d’extraction contribuent à réduire les marques de brûlure et à améliorer la qualité de découpe.
Étape 5 : Effectuez d’abord un test
Effectuez un test sur un matériau de rechange afin de vérifier vos réglages avant de découper la pièce finale.
Étape 6 : Découpez la bague
Lancez la découpe et surveillez-la. Le LX2 offre des résultats réguliers et nets, même sur des matériaux plus épais.
Étape 7 : Gravez les détails (facultatif)
Ajoutez des gravures personnalisées, comme des noms, des symboles ou des motifs. Les outils rotatifs permettent de graver sur des surfaces courbes.
Étape 8 : Finition
Retirez la bague, lissez les bords avec du papier abrasif et appliquez une finition protectrice pour améliorer sa durabilité et son apparence.
Partie 5 : FAQ sur la fabrication d’une bague en bois
Q1. Quel est le meilleur bois pour fabriquer une bague en bois ?
Le bois idéal dépend de la durabilité, de l’apparence et de la facilité d’utilisation. En Europe, les bois durs comme l’érable, le noyer, le chêne et le cerisier sont couramment utilisés en raison de leur solidité et de leur résistance à l’usure. Les bois plus tendres, comme le pin, sont plus faciles à façonner, mais moins durables. Les bois exotiques, comme l’ébène et le palissandre, offrent des couleurs distinctives, mais nécessitent des outils plus avancés. Assurez-vous toujours que le bois est bien sec avant utilisation.
Q2. Comment créer une bague en bois avec une incrustation ?
Une bague en bois avec incrustation peut être fabriquée à l’aide d’une machine de découpe laser dotée d’une fonction de gravure. Le processus consiste à graver une rainure précise, puis à y insérer des matériaux tels que du métal, de la résine ou de la pierre concassée. Cela ajoute à la fois un attrait visuel et une solidité structurelle à la bague.
Q3. Quel est l’angle de découpe approprié pour fabriquer une bague en bois ?
Lorsqu’une bague est fabriquée à partir de plusieurs segments, des angles compris entre 5° et 10° sont généralement utilisés. La précision est essentielle pour garantir un bon alignement. Tester l’ajustement avant le collage permet d’éviter les espaces et les faiblesses structurelles.
Q4. Comment empêcher une bague en bois de se fissurer au fil du temps ?
Pour réduire les risques de fissuration :
- Utiliser du bois correctement séché
- Éviter toute pression excessive lors de la mise en forme
- Utiliser des couches stratifiées pour améliorer la solidité
- Appliquer des finitions protectrices telles que des huiles ou des produits d’étanchéité
La découpe laser peut également contribuer à réduire les tensions internes du matériau lors de la mise en forme.
Q5. Toutes les machines de découpe laser conviennent-elles à la fabrication de bagues en bois ?
Toutes les machines ne conviennent pas. Une machine de découpe laser doit offrir une grande précision et une découpe nette pour les petits objets comme les bagues. Le LaserPecker LX2 est une option fiable pour les travaux détaillés. Il est recommandé de tester les réglages sur un échantillon de matériau avant la production.
Q6. Les bagues en bois sont-elles suffisamment durables pour un usage quotidien en Europe ?
Les bagues en bois peuvent être suffisamment durables pour être portées quotidiennement si elles sont correctement finies et entretenues. L’application de revêtements protecteurs améliore leur résistance à l’humidité et à l’usure. Pour prolonger leur durée de vie, il est conseillé de retirer la bague lors des activités impliquant de l’eau ou des chocs importants.
Conclusion
La création de bagues en bois associe savoir-faire artisanal et expression créative. Bien que les techniques traditionnelles offrent une approche plus manuelle, elles nécessitent du temps et de l’expérience pour obtenir une qualité constante. Une machine de découpe laser telle que le LaserPecker LX2 constitue une alternative plus efficace, permettant aux débutants comme aux utilisateurs expérimentés de fabriquer des bagues en bois précises, aux détails soignés et aux résultats reproductibles.
Le LaserPecker LX2 est doté de modules diode adaptables, d’une fonction de gravure rotative, d’une grande zone de travail, d’une assistance pneumatique et de dispositifs de sécurité intégrés. Grâce à sa certification de sécurité laser de classe 1 et à la possibilité d’utiliser le purificateur de fumée de bureau LaserPecker pour améliorer la qualité de l’air, il convient à une utilisation en intérieur dans divers environnements de l’UE. Ces fonctionnalités en font une solution idéale pour fabriquer des bagues en bois personnalisées, destinées à un usage personnel, à des cadeaux ou à une production à petite échelle.
En combinant la découpe et la gravure laser, il devient facile d’ajouter des détails personnalisés tels que des noms, des logos ou des motifs décoratifs. Avec le bon équipement et des idées créatives, même des designs simples peuvent être transformés en pièces de haute qualité et pleines de sens.