








































Dans toute l’Europe, de plus en plus de professionnels et de particuliers marquent leurs propres outils afin de les identifier plus rapidement et plus facilement. Dans les espaces de travail, les garages et les ateliers partagés, les outils peuvent facilement être pris par erreur — ou, dans certains cas, être volés. Si vous cherchez des moyens fiables de marquer vos outils et de prévenir les vols, ce guide peut vous aider.
Nous présentons ci-dessous cinq méthodes pratiques de marquage des outils, conçues pour réduire les confusions, faciliter l’identification du propriétaire et contribuer à protéger votre équipement personnel sur le long terme.

Dans cet article :
- Partie 1 : Introduction au marquage des outils
- Partie 2 : Comment marquer les outils – 5 méthodes pratiques recommandées
- Méthode 1 :Peinture avec des marqueurs
- Méthode 2 :Peinture en aérosol
- Méthode 3 :Gravure laser
- Méthode 4 :Marquage par poinçons métalliques
- Méthode 5 :Gravure par points
- Partie 3 : Comment marquer les outils avec un graveur laser
- Partie 4 : FAQ sur le marquage des outils
Partie 1 : Introduction au marquage des outils
Qu’est-ce que le marquage des outils ?
Le marquage des outils consiste à ajouter des marques d’identification claires, des étiquettes ou des gravures permanentes sur les outils afin que leur propriétaire puisse les reconnaître facilement. Cette pratique est courante dans les ateliers, les usines, les chantiers et les espaces de travail partagés où de nombreuses personnes utilisent des outils similaires. Un marquage efficace des outils aide à éviter les confusions, réduit les pertes et offre une meilleure protection contre le vol.
Pourquoi marquer vos outils ?
Raison 1 : Mieux identifier vos outils
Sur les lieux de travail très fréquentés d’Europe, de nombreux professionnels utilisent chaque jour des outils à main et des outils électriques similaires. Marquer vos outils permet d’éviter les confusions accidentelles et facilite grandement l’identification rapide de votre propre équipement.
Raison 2 : Réduire le risque de vol
Un outil portant des marques d’identification visibles est bien moins attrayant pour les voleurs, car il est plus difficile à revendre et plus facile à tracer. Cela contribue non seulement à prévenir les vols, mais augmente également les chances de récupérer les outils perdus ou volés.
Raison 3 : Personnaliser vos outils
Que vous graviez un motif géométrique épuré sur le manche d’une clé ou que vous marquiez vos initiales au laser sur une perceuse électrique, les outils personnalisés renforcent le sentiment d’appartenance. Utiliser des outils familiers et adaptés à vos besoins peut également améliorer le flux de travail et la productivité au quotidien.
Partie 2 : Comment marquer les outils – 5 méthodes pratiques recommandées
Vous aimeriez avoir des outils personnalisés, faciles à reconnaître et plus difficiles à perdre ? Que vous souhaitiez améliorer l’organisation de vos outils, prévenir les vols ou simplement ajouter une touche personnelle, ces cinq méthodes pratiques de marquage peuvent vous aider.
Méthode 1 : Peinture avec des marqueurs
L’utilisation de marqueurs de peinture est l’un des moyens les plus simples de marquer les outils à main. Avec un marqueur permanent ou un stylo de peinture, vous pouvez rapidement inscrire votre nom, vos initiales ou de simples symboles directement sur la surface de l’outil.
Cette méthode est peu coûteuse et pratique au quotidien. Cependant, les marquages peuvent progressivement s’estomper, s’écailler ou s’effacer par frottement, en particulier sur les poignées ou les zones exposées à l’huile, aux frottements et aux produits nettoyants.
Méthode 2 : Peinture en bombe
La peinture en bombe est une méthode de marquage simple qui ne nécessite aucune compétence en dessin. Il suffit de choisir une couleur vive et de l’appliquer sur une partie de l’outil pour l’identifier rapidement visuellement.
Elle est particulièrement utile pour marquer plusieurs outils à la fois ou des équipements de grande taille. Le fort contraste des couleurs permet de repérer plus facilement les outils dans les ateliers, les garages et les environnements de construction.
Méthode 3 : Gravure laser
La gravure laser utilise un faisceau laser concentré pour marquer de façon permanente des noms, des logos, des numéros ou des motifs personnalisés sur des surfaces telles que le métal, le plastique et le bois.
Comme elle ne nécessite ni encre, ni autocollants, ni produits chimiques, la gravure laser constitue une solution de marquage plus propre et plus durable. Elle produit moins de déchets et offre des résultats précis et durables par rapport aux méthodes utilisant de la peinture ou de l’encre.
Méthode 4 : Poinçons métalliques
Le marquage par poinçonnage consiste à placer des lettres ou des symboles sur un poinçon en acier, puis à le positionner contre la surface de l’outil.
Lorsque le poinçon est frappé avec un marteau, la force transfère le motif dans le métal, créant ainsi un marquage permanent. Si le coup est trop léger, le résultat peut être trop peu profond. En cas d’utilisation intensive et prolongée, le marquage peut également devenir moins visible.
Méthode 5 : Marquage par micropercussion
Le marquage par micropercussion est un procédé mécanique qui crée des marquages permanents en utilisant une pointe trempée pour former de petits points en creux sur la surface du matériau.
Elle permet de marquer des noms, des numéros d’identification et des codes QR sur le métal, le plastique et la céramique. Ces marquages sont extrêmement durables et peuvent résister à l’abrasion, à la corrosion, aux produits chimiques et aux températures extrêmes, ce qui les rend idéaux pour une utilisation industrielle et professionnelle des outils.
Globalement, chaque méthode offre ses propres avantages en fonction de votre budget et de vos besoins pratiques.
| Méthode | Difficulté | Coût | Durabilité | Outils nécessaires | Idéal pour |
|---|---|---|---|---|---|
| Peinture | Facile | Faible | Moyenne | Marqueurs | Marquages colorés |
| Peinture en bombe | Facile | Faible | Moyenne | Peinture en bombe colorée | Marquages colorés |
| Gravure laser | Moyenne | Moyenne à élevée | Très élevée | Graveur laser | Texte détaillé / logos complexes |
| Poinçons métalliques | Moyenne | Moyenne | Élevée | Marteau, poinçons métalliques | Texte simple / logo |
| Micropercussion | Élevée | Élevée | Élevée | Machine de marquage par micropercussion | Motif de points net |
Cependant, la gravure laser est souvent considérée comme l’option la plus fiable. Elle produit des détails nets, des lignes précises et des marquages permanents qui résistent à la décoloration et à l’usure. Pour les outils utilisés régulièrement dans des environnements exigeants, la gravure laser offre une excellente durabilité à long terme et des résultats professionnels.
Partie 3 : Comment marquer des outils avec un graveur laser
Liste de préparation pour le marquage des outils
Avant de marquer vos outils avec un graveur laser, préparez les éléments suivants :
- Graveur laser : Recommandé – LaserPecker LP4
-
Matériel : Outils électriques (perceuse électrique, défonceuse, tronçonneuse, meuleuse d’angle, etc.)
Outils à main (clés, scies à main, marteaux, pinces, etc.) - Conception : noms, logos, numéros d’identification, motifs personnalisés ou symboles personnels
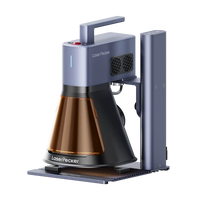
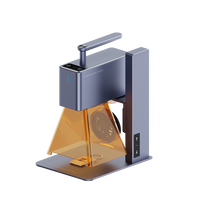
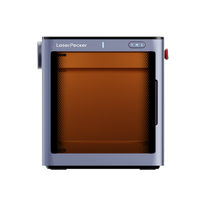
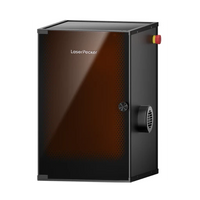
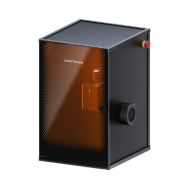
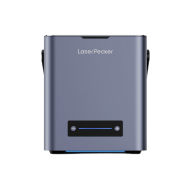
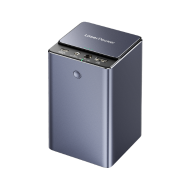
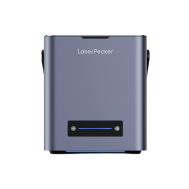
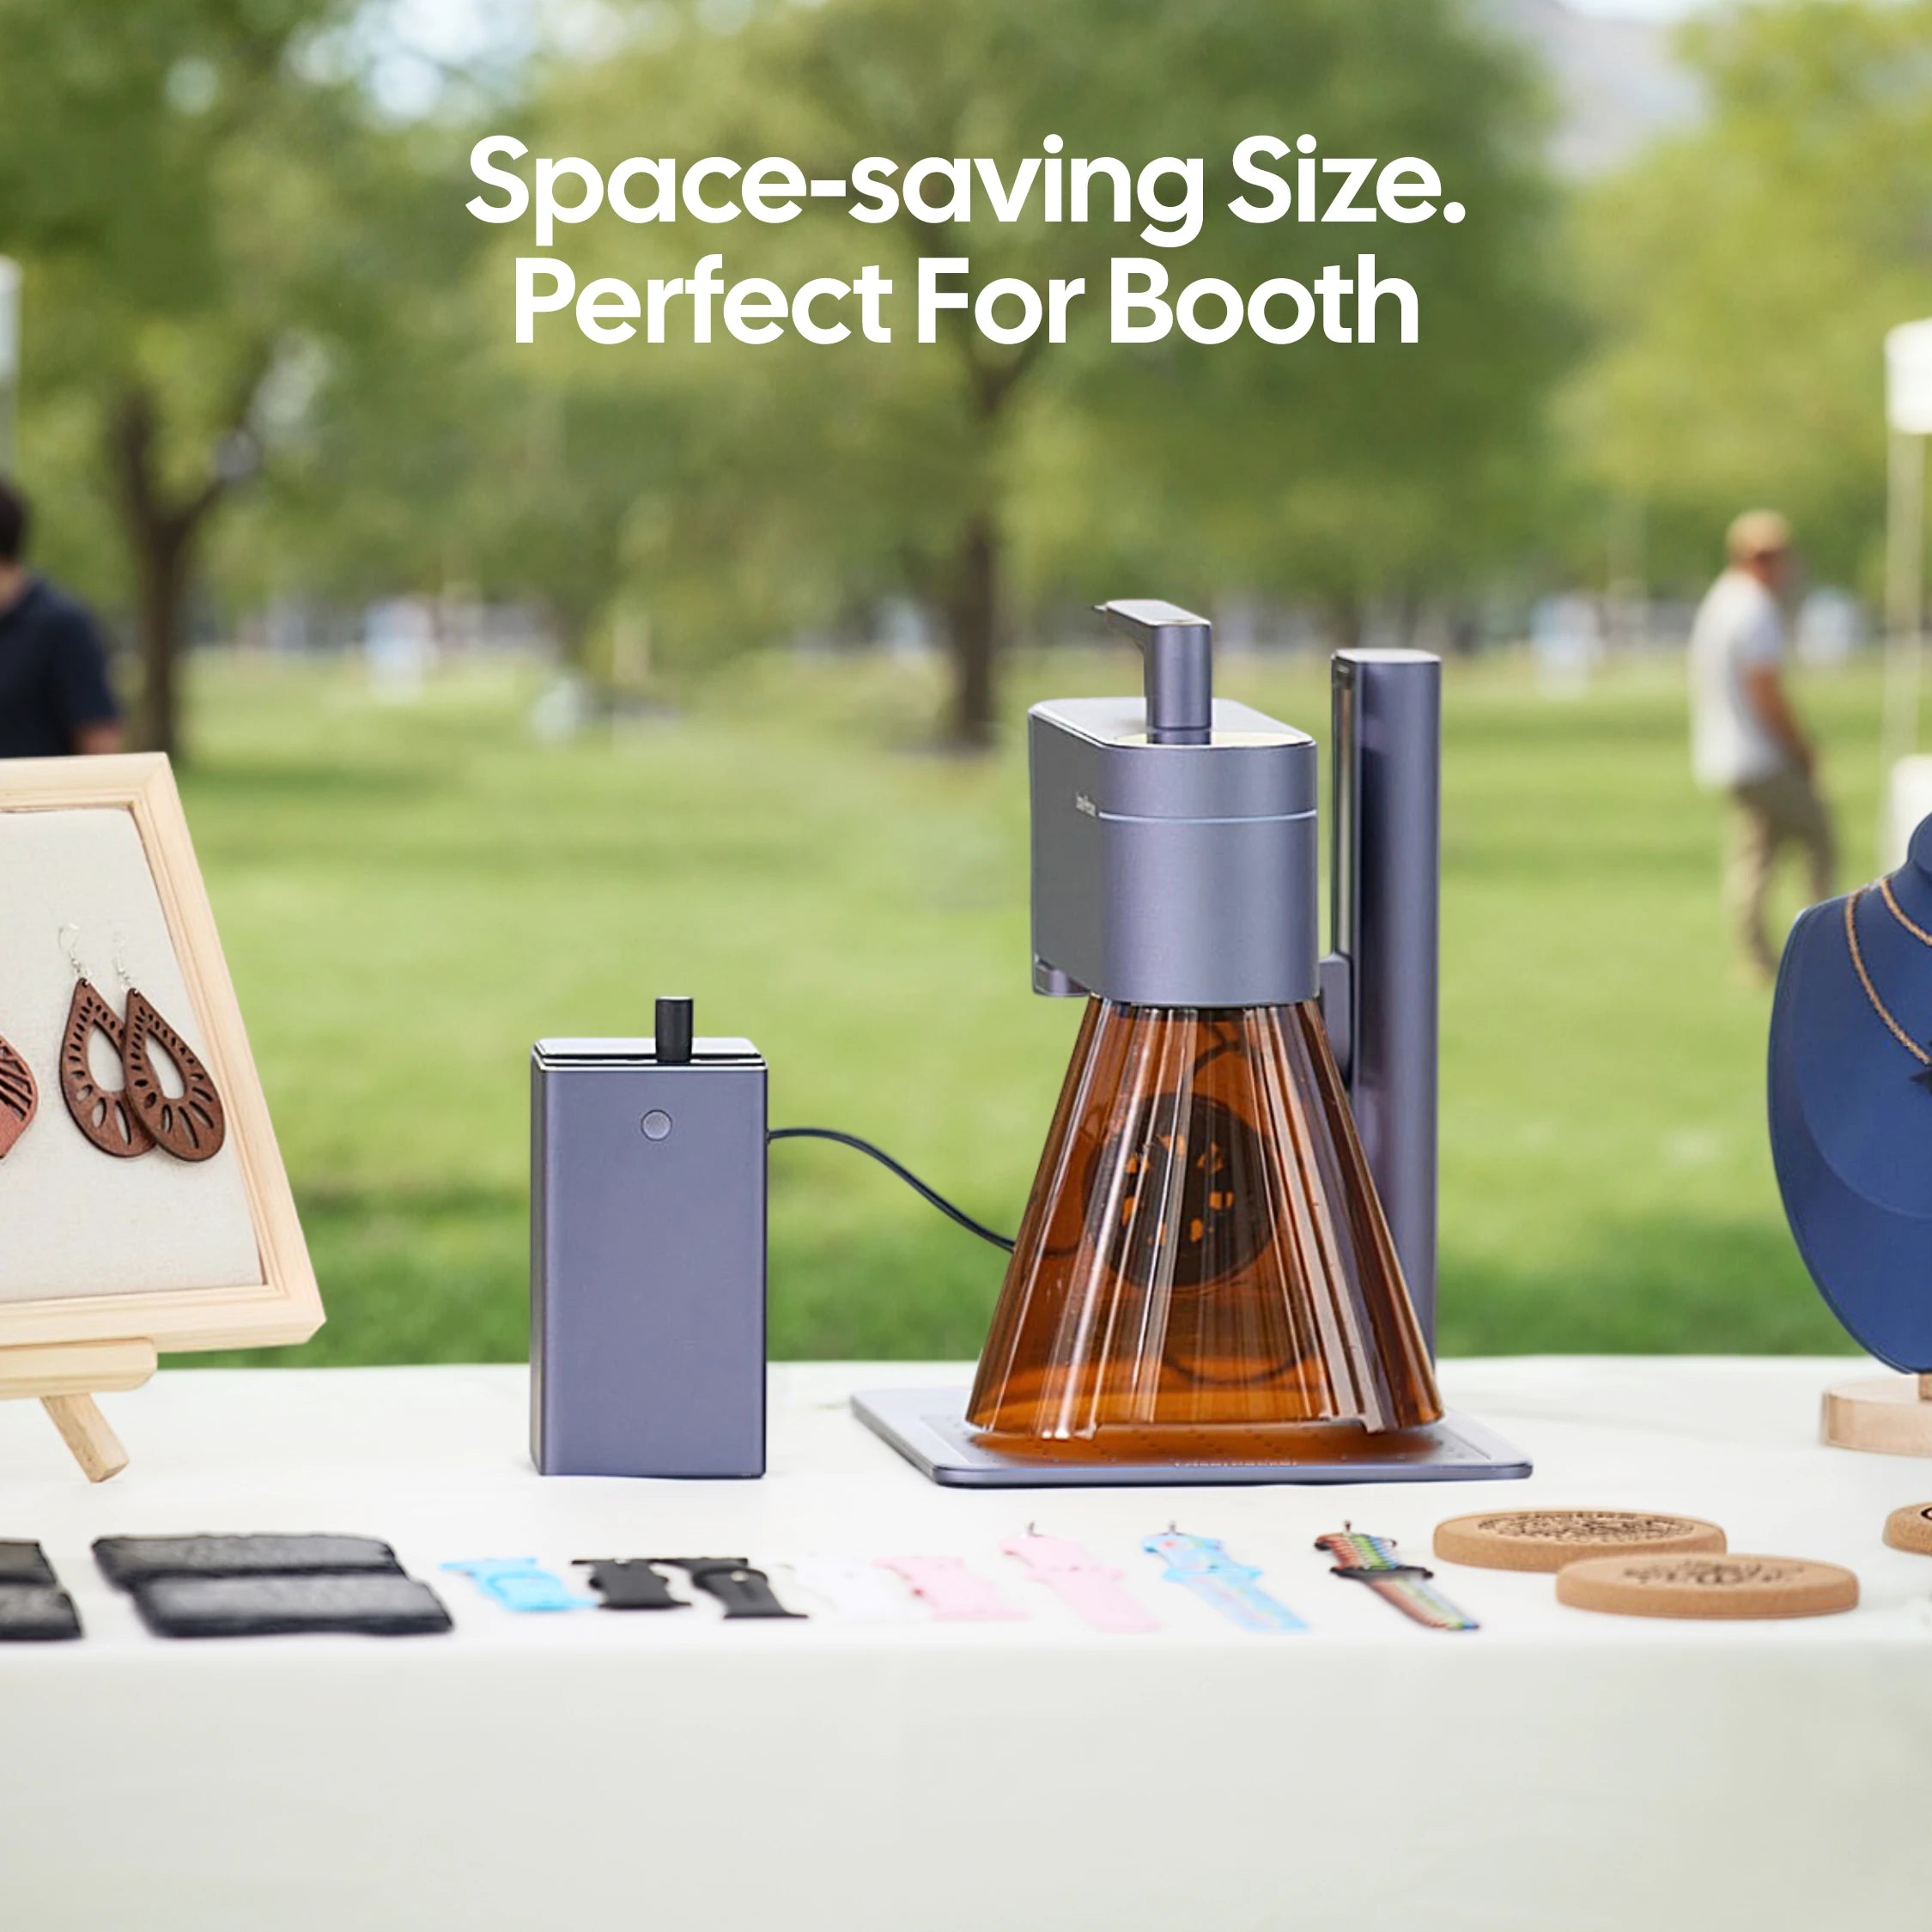
Dans l’UE, de nombreux amateurs et professionnels préfèrent les machines compactes comme le LaserPecker LP4, car elles offrent de solides performances tout en s’intégrant facilement dans les petits ateliers ou les espaces de travail intérieurs.
Étape 1 : Préparer votre motif
Commencez par préparer le texte, le logo ou le visuel que vous souhaitez graver. Les fichiers vectoriels tels que SVG ou AI sont recommandés pour obtenir des résultats plus nets et plus précis, bien que la plupart des logiciels laser prennent également en charge les fichiers image standard et la saisie de texte.
Pour les surfaces métalliques, les motifs simples offrant un contraste marqué et des lignes nettes donnent généralement les meilleurs résultats de marquage, en particulier sur l’aluminium anodisé.
Étape 2 : Choisir la bonne machine de gravure laser pour vos outils
Le choix du bon graveur laser a une incidence directe sur la qualité de la gravure et sa durabilité à long terme.
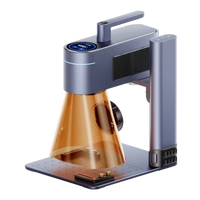
Nous recommandons le LaserPecker LP4, équipé d’un laser à diode bleue de 10 W et 450 nm ainsi que d’un laser infrarouge de 2 W et 1064 nm. Avec des vitesses allant jusqu’à 4 000 mm/s, il offre d’excellents résultats sur le métal, le plastique, le bois et les matériaux revêtus.
Sa conception à double laser le rend très polyvalent pour les utilisateurs qui doivent graver différents types d’outils avec une précision professionnelle.
Étape 3 : Fixer votre outil
Placez solidement l’outil sur la plateforme de gravure et assurez-vous que la surface est plane et stable. Utilisez des pinces, du ruban adhésif ou de petits poids si nécessaire pour empêcher tout mouvement pendant la gravure.
Une installation stable contribue à garantir une profondeur de gravure constante, de meilleurs détails et un positionnement précis.
Étape 4 : Configurer la machine de gravure laser
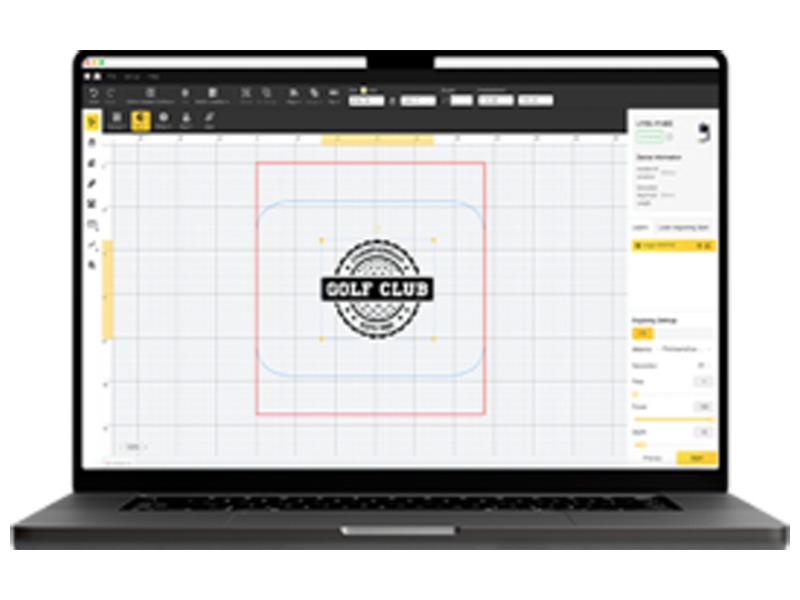
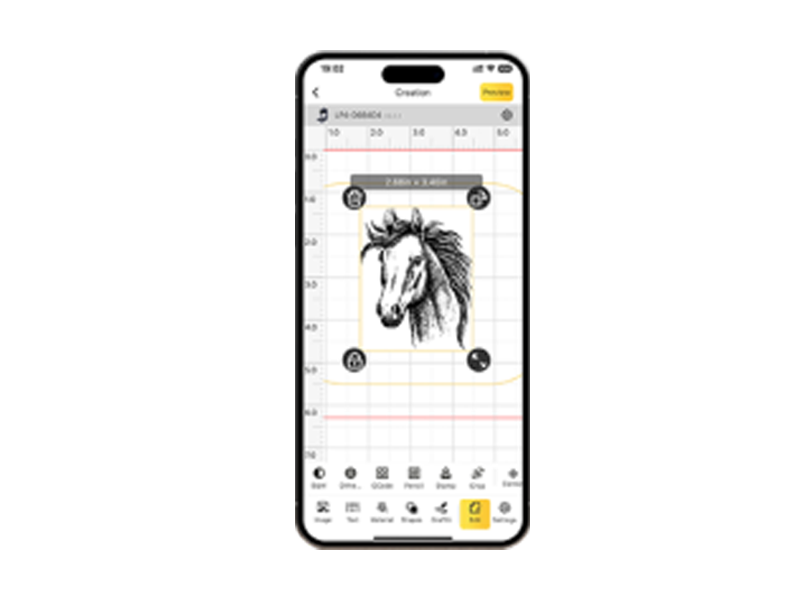
Utilisez le logiciel de conception LaserPecker ou des outils graphiques tiers tels que Photoshop pour créer ou importer le motif de gravure souhaité.
Ajustez soigneusement la taille, la position et l’alignement en fonction de la forme et de la surface de l’outil. Effectuer un aperçu avant la gravure aide à réduire les erreurs et améliore la précision finale.
Étape 5 : Commencer à graver votre outil
Après avoir vérifié tous les réglages, appuyez sur Démarrer pour commencer le processus de gravure.
Surveillez attentivement la gravure pour garantir un fonctionnement fluide. Le graveur laser créera un marquage permanent et très résistant directement sur la surface de l’outil.
Une fois l’opération terminée, retirez soigneusement l’outil, éliminez toute poussière ou tout résidu restant, puis inspectez le résultat de la gravure. Essuyer la surface peut améliorer la netteté et offrir un aspect final plus propre.
Partie 4 : FAQ sur le marquage des outils
Q1. Comment marquer les outils pour prévenir leur vol ?
Les marquages personnalisés sont l’un des meilleurs moyens de réduire le vol d’outils. Graver votre nom, vos initiales, les coordonnées de votre entreprise ou un numéro d’identification unique permet d’indiquer clairement la propriété des outils et de faciliter le traçage des outils volés.
Les couleurs vives, comme la peinture en aérosol, améliorent également la visibilité et facilitent l’identification des outils dans les ateliers très fréquentés ou sur les chantiers. Pour un résultat plus sûr et permanent, la gravure laser est généralement la meilleure solution, car la marque ne peut pas être facilement supprimée.
Q2. Quelle est la meilleure façon de marquer les outils électriques ?
La gravure laser est l’une des méthodes les plus fiables pour marquer les outils électriques, car la plupart d’entre eux sont fabriqués en métal, en plastique ou avec des surfaces revêtues adaptées au marquage laser.
Les marques gravées sont permanentes, très résistantes à l’usure et restent visibles même en cas d’utilisation intensive. La gravure laser est donc idéale pour les perceuses, les meuleuses, les défonceuses et autres outils utilisés dans des environnements de travail exigeants.
Q3. Quelle est la manière la plus simple de marquer des outils ?
Utiliser un marqueur permanent ou un stylo à peinture est la méthode la plus simple et la moins coûteuse pour marquer des outils. Vous pouvez rapidement écrire votre nom, vos initiales ou des symboles simples sans équipement supplémentaire.
Cette méthode est utile pour une identification rapide, mais les marquages peuvent s’estomper avec le temps. Si vous avez besoin d’un résultat professionnel et permanent, la gravure laser constitue la meilleure solution à long terme.
Q4. Quels outils peuvent être gravés au laser ?
De nombreux outils courants peuvent être gravés au laser, notamment les clés, les pinces, les marteaux, les perceuses, les caisses à outils et autres équipements en métal ou en plastique.
Le résultat final dépend du matériau et de la finition de surface. Une machine à double laser telle que la LaserPecker LP4 offre une plus grande flexibilité, car elle peut fonctionner sur plusieurs types de matériaux.
Q5. La gravure laser est-elle sûre pour les outils électriques ?
Oui, la gravure laser est sûre lorsque les réglages de puissance appropriés sont utilisés. Le laser ne marque que la surface extérieure et n’affecte ni la structure interne ni les performances de l’outil.
Cela convient donc aussi bien au marquage d’outils professionnels qu’à celui d’outils personnels.
Q6. Pourquoi la gravure laser est-elle préférable aux étiquettes ?
Comparée aux autocollants ou aux étiquettes imprimées, la gravure laser offre une durabilité bien supérieure. Les étiquettes peuvent se décoller, pâlir ou être endommagées par la chaleur, les produits chimiques et l’utilisation régulière.
La gravure laser crée une marque permanente directement sur la surface de l’outil, ce qui en fait une solution bien plus fiable pour une identification à long terme.
Conclusion
Le marquage de vos outils est une étape importante pour protéger votre équipement et améliorer votre efficacité au quotidien. Les outils personnalisés sont plus faciles à reconnaître dans les ateliers partagés et les lieux de travail très fréquentés, ce qui contribue à éviter les confusions accidentelles tout en réduisant le risque de vol.
Les différentes méthodes de marquage offrent des avantages variés, que vous choisissiez des marqueurs à peinture, de la peinture en aérosol, des poinçons métalliques, du marquage par micropercussion ou de la gravure laser. Parmi ces options, la gravure laser se distingue par sa durabilité, sa précision et ses résultats durables, notamment pour les outils utilisés régulièrement dans des environnements exigeants.
Faites le premier pas dès aujourd’hui, identifiez correctement vos outils et rendez votre équipement plus sûr, plus facile à gérer et conçu pour durer.