










































Les lanternes en bois associent savoir-faire artisanal et lumière d’ambiance douce, ce qui les rend idéales pour la décoration intérieure, les espaces extérieurs et les événements saisonniers dans toute l’UE. Aujourd’hui, elles sont généralement fabriquées selon deux méthodes principales : le travail traditionnel du bois ou la découpe laser moderne.
Ce guide explique comment fabriquer une lanterne en bois selon les deux approches. Vous découvrirez les différences entre la fabrication artisanale et la découpe laser, ainsi que des instructions étape par étape pour vous aider à créer des lanternes élégantes et pratiques, que ce soit pour des projets personnels ou une production à petite échelle.

Dans cet article :
- Partie 1 : Qu’est-ce qu’une lanterne en bois et comment l’utiliser ?
- Partie 2 : Lanternes en bois traditionnelles ou découpées au laser
- Partie 3 : Comment fabriquer une lanterne en bois par découpe laser
- Partie 4 : Conseils de conception pour une lanterne en bois esthétique et sûre
- Partie 5 : Erreurs courantes à éviter lors de la fabrication de lanternes en bois
- Partie 6 : FAQ sur la fabrication d’une lanterne en bois
Partie 1 : Qu’est-ce qu’une lanterne en bois et comment l’utiliser ?
Une lanterne en bois est une structure fonctionnelle et décorative en bois, conçue pour envelopper une source lumineuse en toute sécurité tout en apportant une touche esthétique à un espace. Dans toute l’UE, les lanternes en bois sont largement utilisées pour la décoration intérieure, les tables et les espaces extérieurs comme les balcons, les terrasses et les jardins. Elles peuvent être simples et minimalistes ou présenter des motifs complexes découpés dans le bois pour un aspect plus raffiné.

Aujourd’hui, il existe deux méthodes principales pour fabriquer des lanternes en bois.
L’approche traditionnelle consiste à utiliser des outils à main pour mesurer, découper et assembler chaque pièce. Cette méthode offre une grande flexibilité et un aspect plus artisanal, mais elle peut prendre beaucoup de temps et nécessite de l’expérience pour obtenir une qualité constante.
L’alternative moderne consiste à utiliser une découpeuse laser. Cette approche offre une grande précision et une efficacité élevée, facilitant la réalisation de motifs détaillés et de plusieurs pièces identiques. Elle convient particulièrement aux amateurs et aux petites entreprises qui souhaitent augmenter leur production.
Chaque méthode présente ses propres atouts. En comprenant les différences, vous pouvez choisir l’approche qui correspond le mieux à vos besoins, à vos outils et au résultat souhaité.
Partie 2 : Lanternes en bois traditionnelles ou découpées au laser
Pour choisir comment fabriquer une lanterne en bois — à la main ou avec une découpeuse laser — il est important d’évaluer vos besoins, vos outils et le niveau de précision souhaité. Voici les principales différences à prendre en compte.
Différence ① : Précision et niveau de détail
Les méthodes traditionnelles reposent sur des mesures et des découpes manuelles. Si les artisans expérimentés peuvent obtenir des résultats de haute qualité, il peut être difficile de maintenir la précision dans des motifs complexes.
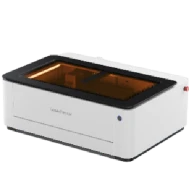
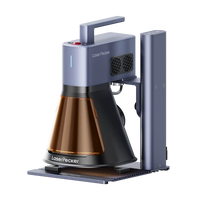
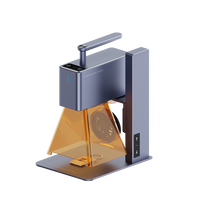
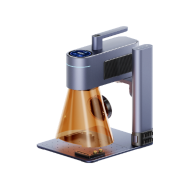
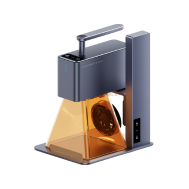
La découpe laser offre une alternative plus précise. Avec des machines comme le LaserPecker LX2, les utilisateurs peuvent réaliser des designs complexes avec des détails constants. Le laser produit des découpes nettes sans faire éclater le bois, ce qui le rend idéal pour les éléments décoratifs.
Différence ② : uniformité et évolutivité
Les lanternes fabriquées à la main présentent souvent de légères variations, qui peuvent ajouter une touche d’originalité, mais limitent la possibilité d’augmenter la production.
La découpe laser garantit des résultats uniformes. Une fois le design finalisé, le LaserPecker LX2 peut le reproduire de manière constante, ce qui le rend idéal pour produire plusieurs lanternes identiques à des fins commerciales ou événementielles.
Différence ③ : temps et coût par lanterne
La production manuelle demande beaucoup de temps et d’efforts, notamment pour la découpe, le ponçage et l’assemblage. Les erreurs peuvent augmenter à la fois le temps nécessaire et le coût des matériaux.
La découpe laser améliore l’efficacité. Le LaserPecker LX2 peut réaliser des découpes détaillées en quelques minutes et produit souvent des bords lisses nécessitant très peu de finition. Il peut également découper du bois jusqu’à 22 mm d’épaisseur en un seul passage, ce qui permet de créer des designs plus solides et plus durables. Bien que le coût initial soit plus élevé, il devient rentable en cas d’utilisation répétée.
Différence ④ : outils et courbe d’apprentissage
Le travail du bois traditionnel nécessite divers outils physiques et des compétences pratiques, dont la maîtrise peut demander du temps.
La découpe laser met l’accent sur la conception numérique. Le LaserPecker LX2 est compatible avec des logiciels faciles à utiliser, ce qui le rend accessible même aux débutants.
Les utilisateurs peuvent également accéder à des modèles prêts à l’emploi via LaserPecker CraftZone ou acheter des designs abordables sur des plateformes comme Etsy, ce qui réduit le besoin de connaissances avancées en conception.
Différence ⑤ : cas d’utilisation et public cible
Les lanternes fabriquées à la main conviennent davantage aux passionnés qui aiment la création manuelle et les pièces uniques réalisées en un seul exemplaire.
Les lanternes découpées au laser sont idéales pour les utilisateurs qui recherchent rapidité, précision et reproductibilité. Cela inclut les petites entreprises, les responsables d’ateliers, les enseignants et les créateurs qui produisent en plus grandes quantités.
L’un des principaux avantages d’un découpeur laser comme le LaserPecker LX2 est la possibilité de créer des assemblages à languettes et à fentes. Les composants s’emboîtent ainsi solidement sans adhésifs ni fixations, ce qui permet un montage plus rapide et une finition plus professionnelle.
| Fonctionnalité | Artisanat traditionnel | Découpe laser (LX2) |
|---|---|---|
| Précision et niveau de détail | Modérée, dépend des compétences | Élevée, régulière, permet des motifs complexes |
| Régularité et évolutivité | Faible ; les pièces varient | Élevée ; les designs sont reproduits à la perfection |
| Temps et coût par lanterne | Élevé ; forte intensité de main-d’œuvre | Faible par pièce une fois la configuration terminée |
| Outils et courbe d’apprentissage | Nécessite plusieurs outils et de la pratique | Dépend de logiciels, configuration matérielle simple |
| Cas d’utilisation les plus adaptés | Amateurs, projets de petite envergure | Entreprises, production en série, designs détaillés |
| Flexibilité décorative | Limitée par les compétences manuelles | Illimitée ; facilement modifiable numériquement |
Quelle solution vous convient le mieux ?
Le travail du bois traditionnel reste apprécié pour son savoir-faire et sa liberté créative, mais il peut être plus lent et moins régulier. Pour les utilisateurs qui privilégient l’efficacité et la possibilité d’augmenter la production, la découpe laser constitue souvent la solution la plus pratique.
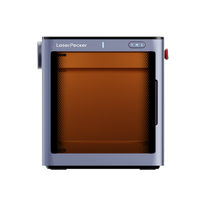
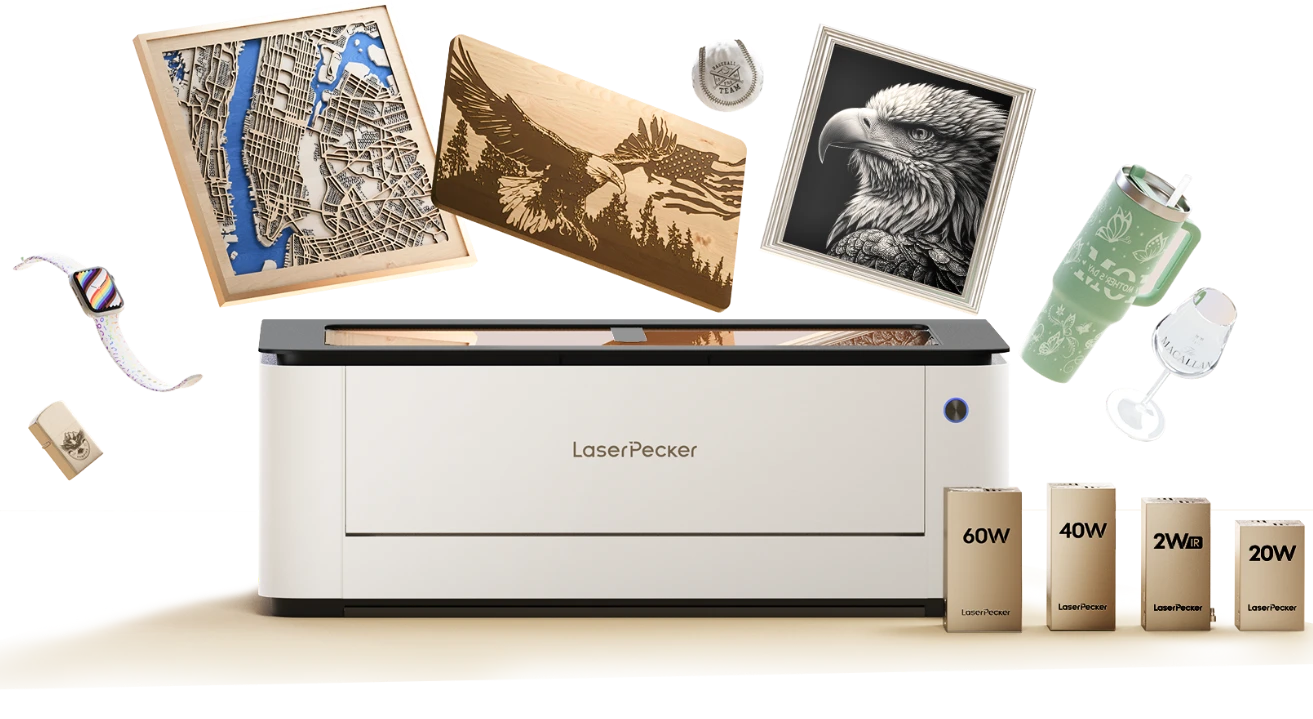
Le LaserPecker LX2 est parfaitement adapté à la fabrication de lanternes en bois découpées au laser. Il offre des vitesses de découpe allant jusqu’à 1000 mm/s et prend en charge des modules laser interchangeables (lasers à diode de 20 W, 40 W et 60 W, ainsi qu’un laser IR de 2 W). Sa zone de travail plus grande et sa structure à double porte le rendent adapté aux formats de panneaux standard.
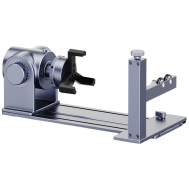
Il prend également en charge la gravure rotative et la gravure 3D, ce qui permet des conceptions plus avancées sur des surfaces courbes ou cylindriques. Sa caméra intégrée de 12 MP garantit un alignement précis, essentiel pour les structures complexes et les motifs détaillés. Globalement, il offre une meilleure efficacité, une plus grande précision et davantage de flexibilité de conception que les méthodes manuelles.
Partie 3 : Comment fabriquer une lanterne en bois par découpe laser ?
La fabrication d’une lanterne en bois avec une découpeuse laser nécessite une sélection minutieuse des matériaux et une conception numérique précise. Cette approche est largement utilisée dans l’UE pour son efficacité, sa précision et son adéquation aux projets de loisir comme à la production en petite série.
Ce dont vous aurez besoin :
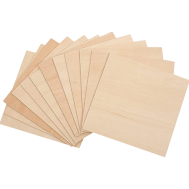
- Panneaux en bois (contreplaqué ou MDF de 3 à 6 mm recommandé pour les modèles légers)
- Bougies LED ou éclairage basse tension
- Papier abrasif (facultatif, pour les finitions)
- Fichier de conception (format SVG, DXF ou AI compatible avec le LX2)
Guide étape par étape pour fabriquer une lanterne en bois avec le LX2
Étape 1 : Créer votre design
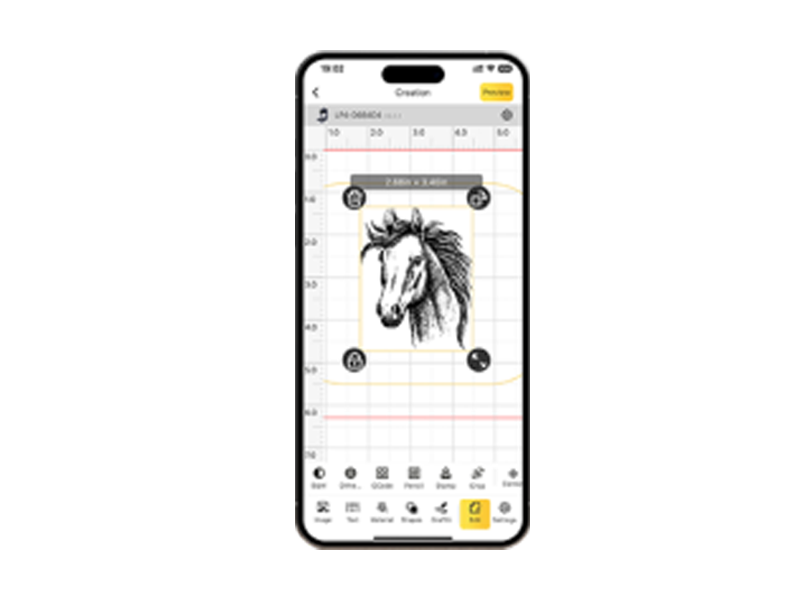
Concevez la structure de la lanterne à l’aide d’un logiciel vectoriel, en incluant les panneaux, les ouvertures et les détails décoratifs. Veillez à dimensionner correctement les assemblages à languettes et à fentes pour garantir un montage précis. Le LaserPecker LX2 permet d’importer facilement des fichiers dans LightBurn ou LaserPecker Design Space.
Étape 2 : Positionner le matériau
Positionnez le panneau de bois dans l’espace de travail du LX2 à l’aide du système à double porte. Assurez-vous que le matériau est plat et stable avant de commencer.
Étape 3 : Configurer les paramètres du laser
Sélectionnez le module laser approprié en fonction de l’épaisseur du matériau. Ajustez des paramètres tels que la vitesse, la puissance et le nombre de passes afin d’obtenir des découpes nettes et homogènes.
Étape 4 : Aligner la mise en page
Utilisez la caméra intégrée de 12 MP et le système de positionnement pour aligner précisément votre motif sur la surface du matériau. Cette étape est essentielle pour les composants de précision et les pièces imbriquées.
Étape 5 : Effectuer la découpe
Lancez la découpe. Le LaserPecker LX2 offre des résultats rapides et précis, même pour les motifs complexes. Surveillez la progression et ajustez les paramètres si nécessaire.
Étape 6 : Assembler la structure
Après la découpe, poncez les bords si nécessaire et assemblez la lanterne à l’aide d’assemblages à emboîtement ou de colle. Assurez-vous que l’emboîtement est serré et stable pour garantir sa durabilité.
Étape 7 : Ajouter l’éclairage
Installez des éclairages LED ou alimentés par batterie à l’intérieur de la lanterne. Évitez les flammes nues, sauf si des matériaux résistants au feu appropriés sont utilisés.
Considérations de sécurité dans toute l’UE
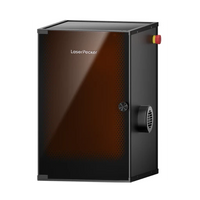
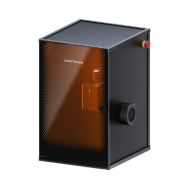
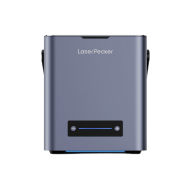
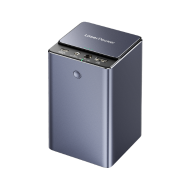
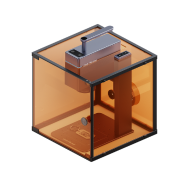
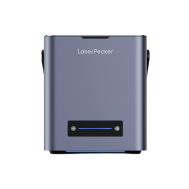
Dans toute l’UE, la sécurité et l’utilisation en intérieur sont des préoccupations majeures pour les fabricants. Le LaserPecker LX2 est doté d’une sécurité laser de classe 1, ce qui le rend adapté aux environnements intérieurs contrôlés. Il peut également être utilisé avec le purificateur d’air de bureau LaserPecker, qui contribue à éliminer la fumée, les particules en suspension dans l’air et les odeurs générées lors de la gravure et de la découpe. Cela garantit un espace de travail plus sûr et plus confortable, notamment dans les ateliers ou à domicile.
Partie 4 : Conseils de conception pour une lanterne en bois esthétique et sûre
Une lanterne en bois bien conçue doit allier attrait visuel, intégrité structurelle et sécurité. Les conseils suivants peuvent vous aider à obtenir un résultat équilibré et professionnel :
1. Trouver l’équilibre entre luminosité et stabilité structurelle
Veillez à ce que votre conception laisse passer suffisamment de lumière par les sections ajourées tout en conservant suffisamment de matière pour assurer sa solidité et sa durabilité.
2. Tester la précision des assemblages
Avant la production finale, découpez de petites pièces de test afin de vérifier que les assemblages à languettes et encoches s’emboîtent correctement. Cette étape est particulièrement importante avec une machine de découpe laser pour garantir un assemblage précis.
3. Utiliser des couches pour créer de la profondeur
L’intégration de plusieurs couches ou de superpositions décoratives peut ajouter de la profondeur et créer des effets d’éclairage plus dynamiques lorsque la lanterne est utilisée.
4. Prévoir la circulation de l’air et la gestion de la chaleur
Si vous utilisez de vraies bougies, prévoyez des ouvertures de ventilation pour éviter l’accumulation de chaleur. Dans de nombreux environnements intérieurs de l’UE, l’éclairage LED est généralement recommandé pour des raisons de sécurité et de commodité.
5. Améliorer la finition de la surface
Le ponçage et la finition des bords améliorent à la fois l’apparence et la facilité d’utilisation. Les surfaces lisses réduisent le risque d’échardes et donnent à la lanterne un aspect plus soigné.
Partie 5 : Erreurs courantes à éviter lors de la fabrication de lanternes en bois
Comprendre les erreurs courantes peut vous aider à obtenir de meilleurs résultats et à éviter le gaspillage inutile de matériaux lors de la fabrication de lanternes en bois. Tenez compte des points suivants :
Erreur 1 : Panneaux trop fins
Les panneaux de bois très fins peuvent se courber ou perdre leur stabilité structurelle lors de l’assemblage. L’utilisation de contreplaqué ou de MDF de 3 à 6 mm offre généralement des résultats plus fiables.
Erreur 2 : Mauvais alignement entre le motif et le matériau
Veillez à positionner correctement votre motif, tant numériquement que sur la surface de travail. Un mauvais alignement peut affecter la précision de l’assemblage, en particulier lors de l’utilisation d’une machine de découpe laser.
Erreur 3 : Puissance laser excessive
L’utilisation de paramètres de puissance trop élevés peut entraîner des marques de brûlure et une qualité de bord réduite. Le réglage précis des paramètres du laser permet d’obtenir des découpes plus nettes et précises.
Erreur 4 : Négliger les considérations de sécurité
Suivez toujours les consignes de sécurité lors de l’utilisation de composants électriques ou de bougies. Dans de nombreux environnements intérieurs de l’UE, l’éclairage LED est l’option privilégiée pour sa sécurité et sa facilité d’utilisation.
Erreur 5 : Ne pas effectuer de test avant la découpe finale
Effectuer une découpe test sur un matériau de récupération est essentiel. Cela permet de vérifier les dimensions, l’ajustement et les paramètres avant de passer à la pièce finale.
Partie 6 : FAQ sur la fabrication d’une lanterne en bois
Q1. La gravure laser est-elle plus efficace que la pyrogravure traditionnelle sur bois ?
La gravure laser offre une précision et une régularité supérieures à celles des méthodes traditionnelles de pyrogravure sur bois. Elle est particulièrement utile pour réaliser des motifs détaillés et répétitifs. Le LaserPecker LX2 garantit une profondeur de gravure uniforme et des bords nets, ce qui le rend idéal aussi bien pour les loisirs que pour la petite production. La pyrogravure sur bois reste adaptée aux pièces artistiques uniques.
Q2. Quels matériaux faut-il éviter lors de l’utilisation d’une machine de découpe laser ?
Il convient d’éviter les matériaux tels que le PVC, le vinyle et le bois traité chimiquement en raison de leurs émissions nocives et des risques d’incendie. Certains bois denses ou riches en résine peuvent également produire une combustion excessive s’ils ne sont pas correctement configurés. Le LaserPecker LX2 permet d’ajuster précisément les paramètres afin d’améliorer la sécurité. Les matériaux recommandés comprennent le contreplaqué, le tilleul et le bambou.
Q3. Est-il sûr d’utiliser une découpeuse laser pour fabriquer des lanternes en bois à la maison ?
Oui, de nombreux utilisateurs dans toute l’UE utilisent des découpeuses laser de bureau en toute sécurité chez eux. Le LaserPecker LX2 dispose de la sécurité laser de classe 1, ce qui la rend adaptée aux environnements intérieurs contrôlés. Associée au purificateur d’air de bureau LaserPecker, elle contribue à éliminer la fumée, les particules et les odeurs, améliorant ainsi la sécurité globale de l’espace de travail.
Q4. Quelle est l’épaisseur de bois idéale pour les lanternes découpées au laser ?
Les panneaux d’une épaisseur comprise entre 2 mm et 6 mm sont généralement recommandés. Ils sont suffisamment solides pour la structure tout en restant faciles à découper. Les matériaux plus épais peuvent nécessiter plusieurs passes, tandis que les matériaux plus fins risquent de manquer de durabilité. Les réglages ajustables du LaserPecker LX2 permettent d’obtenir des résultats optimaux avec différents matériaux.
Q5. Les lanternes en bois découpées au laser peuvent-elles être utilisées avec de vraies bougies ?
Oui, mais la prudence est de mise. Un espacement, une ventilation et une épaisseur de matériau adaptés sont essentiels pour réduire les risques d’incendie. Dans de nombreux environnements intérieurs de l’UE, l’éclairage LED est généralement privilégié pour sa sécurité et sa praticité.
Q6. Quels sont les avantages des assemblages à languettes et à fentes dans la conception des lanternes ?
Les assemblages à languettes et à fentes permettent aux composants de s’emboîter précisément sans colle ni fixations. Cela accélère l’assemblage, améliore la stabilité de la structure et rehausse l’apparence générale. Les découpeuses laser comme la LaserPecker LX2 sont particulièrement efficaces pour produire ces éléments d’emboîtement précis.
Conclusion
Créer une lanterne en bois est un projet à la fois pratique et créatif, qui combine design, savoir-faire et fonctionnalité. La menuiserie traditionnelle comme la découpe laser ont leurs atouts : les méthodes manuelles offrent une grande liberté artistique, tandis que la découpe laser garantit précision, efficacité et répétabilité.
Dans toute l’UE, de nombreux artisans se tournent vers la découpe laser pour sa capacité à produire des résultats de haute qualité en moins de temps et avec moins de gaspillage de matériaux. Des appareils comme le LaserPecker LX2 facilitent la réalisation de designs détaillés et l’obtention d’une production régulière, que ce soit pour des projets personnels ou une petite production.
Avec la bonne approche, les bons matériaux et les bons outils, vous pouvez fabriquer des lanternes en bois à la fois esthétiques, solides et sûres à utiliser. Des pièces décoratives d’intérieur aux éléments d’éclairage extérieur, les possibilités sont à la fois polyvalentes et évolutives.