








































La fabrication d’une chaise en bois peut sembler simple au premier abord, mais elle devient souvent plus complexe une fois que l’on commence. Les mesures peuvent être imprécises, les assemblages manquer de stabilité et la chaise finie peut ne pas correspondre à votre conception initiale. Pour les débutants, le travail du bois traditionnel nécessite généralement des outils coûteux, une courbe d’apprentissage exigeante et de nombreux essais et erreurs. Même les fabricants expérimentés peuvent rencontrer des difficultés en matière de régularité, de gaspillage de matériaux et de temps nécessaire à la production de pièces identiques.
Ce guide explique comment fabriquer une chaise en bois à l’aide de techniques traditionnelles de travail du bois et de découpe laser. Nous comparerons ces approches et montrerons comment les fabricants de toute l’Europe peuvent simplifier la production tout en garantissant durabilité et confort.

Dans cet article :
- Partie 1 : Deux méthodes courantes pour fabriquer une chaise en bois
- Méthode 1 : Fabriquer une chaise en bois avec des techniques de travail du bois
- Méthode 2 : Fabriquer une chaise en bois par découpe laser
- Partie 2 : Travail du bois ou découpe laser : quelle méthode choisir ?
- Partie 3 : Comment fabriquer une chaise en bois par découpe laser
- Partie 4 : Conseils d’experts pour fabriquer une chaise en bois de haute qualité
- Partie 5 : FAQ sur la fabrication d’une chaise en bois
Partie 1 : Deux méthodes courantes pour fabriquer une chaise en bois
Il existe deux principales façons de fabriquer une chaise en bois. Vous pouvez suivre des techniques traditionnelles de travail du bois à l’aide d’outils manuels et d’assemblages classiques, ou adopter des méthodes de production modernes avec une découpeuse laser pour bois afin d’obtenir des résultats plus rapides et plus précis.
Le bon choix dépend de votre expérience, des outils disponibles et du type de chaise que vous souhaitez fabriquer.
Méthode 1 : Fabriquer une chaise en bois avec des techniques traditionnelles de travail du bois
La fabrication artisanale d’une chaise en bois à l’aide de méthodes traditionnelles de travail du bois est considérée à la fois comme un savoir-faire et comme une forme d’art dans toute l’Europe. Le processus commence par la sélection d’un bois adapté, puis par la mise en forme des différents éléments, tels que les pieds, les supports et les composants de l’assise.
L’assemblage comprend généralement :
- Assemblages à tenon et mortaise
- Tourillons ou vis en bois
- Adhésifs de renforcement
Cette méthode offre un contrôle créatif total, permettant aux artisans de personnaliser chaque détail et d’obtenir une esthétique unique.
L’un des principaux avantages est la durabilité. Lorsque des bois durs de haute qualité, comme le chêne ou l’érable, sont utilisés, avec un assemblage approprié et un alignement correct du fil du bois, les chaises obtenues peuvent rester solides et stables pendant de nombreuses années.
Cependant, plusieurs points sont à prendre en compte :
- Nécessite des compétences et de l’expérience avancées
- Les travaux de précision peuvent être difficiles pour les débutants
- Les erreurs peuvent entraîner un gaspillage coûteux de matériaux
- Le temps de production est relativement long, ce qui le rend moins adapté aux grandes quantités
Pour une production plus rapide ou des designs plus expérimentaux, les solutions modernes peuvent être plus efficaces.
Méthode 2 : fabriquer une chaise en bois avec une découpeuse laser pour bois
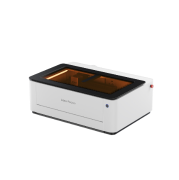
La technologie de découpe laser a transformé la production de meubles dans toute l’UE. Les designers peuvent créer des modèles numériques de chaises et utiliser une découpeuse laser pour bois afin de découper des composants avec une grande précision dans des panneaux de bois.
Principaux avantages :
- Précision : chaque composant est produit de manière constante selon des spécifications exactes
- Efficacité : convient à la production en série et aux designs répétés
- Assemblage modulaire : permet d’emboîter les pièces, réduisant ainsi le besoin de vis ou de clous
Une fois la conception terminée, la production devient nettement plus rapide, ce qui en fait une solution idéale pour les petites entreprises, les ateliers et les designers indépendants partout en Europe.
Limites :
- Les bois durs épais peuvent nécessiter plusieurs passes de découpe
- Un renforcement structurel peut être nécessaire pour certains types d’assemblages
La découpe laser est particulièrement adaptée aux styles de mobilier contemporains, notamment ceux qui utilisent du contreplaqué ou du bois d’ingénierie.
Cette méthode améliore également la flexibilité de conception. Des motifs complexes, des gravures et des éléments décoratifs peuvent être facilement intégrés à la conception. Comme tout est contrôlé numériquement, les ajustements peuvent être effectués rapidement pour répondre à différentes tailles ou exigences des utilisateurs.
Autres avantages :
- Réduction du gaspillage de matériaux
- Assemblage plus propre et plus efficace
- Coûts de production réduits pour les petites séries
Ces avantages font de la découpe laser une solution attrayante pour les designers et les entreprises basés dans l’UE qui souhaitent augmenter leur production tout en conservant une grande flexibilité de conception.
Comparaison : menuiserie traditionnelle et découpe laser
| Aspect | Menuiserie traditionnelle | Découpe laser |
|---|---|---|
| Précision | Dépendante des compétences | Extrêmement élevée |
| Temps requis | Plus long | Court après la phase de conception |
| Niveau de compétence | Moyen à élevé | Adapté aux débutants |
| Reproductibilité | Limitée | Très élevée |
| Personnalisation | Techniques manuelles | Conception numérique + gravure |
| Gaspillage de matériaux | Plus élevé | Plus faible |
| Idéal pour | Chaises personnalisées et fabriquées à la main | Designs modernes évolutifs |
Partie 2 : Menuiserie traditionnelle ou découpe laser : quelle méthode choisir pour fabriquer une chaise en bois ?
La meilleure méthode pour fabriquer une chaise en bois dépend de votre expérience, de vos objectifs de conception et de la qualité finale que vous souhaitez obtenir. Si vous aimez les travaux pratiques de bricolage et souhaitez développer des compétences traditionnelles en menuiserie, les méthodes manuelles constituent un excellent choix. Elles procurent un fort sentiment de savoir-faire artisanal, bien qu’elles nécessitent davantage de temps, de patience et de précision.
En revanche, la découpe laser offre plusieurs avantages que les outils traditionnels de menuiserie ne peuvent souvent pas fournir, notamment lorsque la rapidité, la précision et la reproductibilité des résultats sont primordiales.
Raison 1 : une grande précision et une grande régularité
Une machine de découpe laser peut produire des assemblages détaillés, des courbes régulières et des motifs complexes avec une précision au millimètre. Contrairement aux scies à main ou aux défonceuses, chaque découpe reste uniforme, ce qui contribue à garantir un meilleur ajustement des pièces et à faciliter l’assemblage de la chaise.
Raison 2 : une plus grande flexibilité de conception
La découpe laser facilite considérablement la création de gravures décoratives, de motifs détaillés ou de logos personnalisés directement sur les composants de la chaise. Les méthodes de découpe traditionnelles nécessitent généralement beaucoup plus de travail manuel pour obtenir un niveau de détail similaire.
La découpe laser est donc idéale pour le mobilier haut de gamme, les produits personnalisés et les commandes sur mesure.
Raison 3 : un flux de travail plus rapide et une meilleure efficacité
La découpe laser permet de produire rapidement et avec précision plusieurs pièces de chaise, avec un minimum d’effort manuel. Cela est particulièrement avantageux pour les petits ateliers de mobilier, les studios créatifs et les créateurs qui fabriquent des modèles répétitifs destinés à la vente.
Pour les utilisateurs de l’UE, cet avantage est particulièrement utile pour les entreprises de mobilier personnalisé et la production à petite échelle.
Raison 4 : une réduction du gaspillage de matériaux
Comme une machine de découpe laser réalise des découpes très précises, les erreurs et le gaspillage de matériaux sont considérablement réduits. Les outils manuels traditionnels sont plus susceptibles de produire des découpes irrégulières ou des problèmes d’alignement, ce qui peut augmenter à la fois le temps et les coûts des matériaux.
Raison 5 : une gravure intégrée pendant la production
Vous pouvez graver des noms, des logos, des éléments décoratifs ou une marque directement pendant le processus de découpe. Le travail du bois traditionnel nécessite souvent un équipement de gravure distinct et des travaux de finition supplémentaires.
Raison 6 : une utilisation plus sûre et de meilleures conditions de travail en intérieur
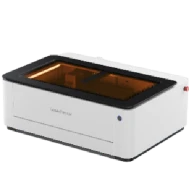
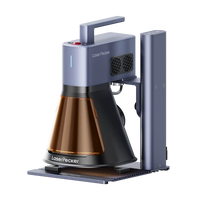
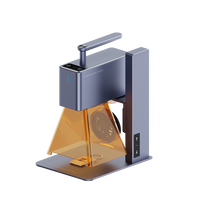
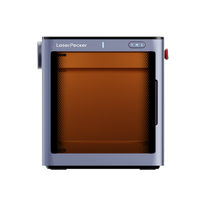
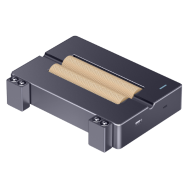
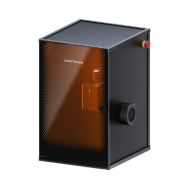
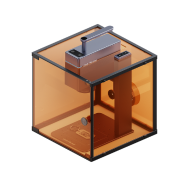
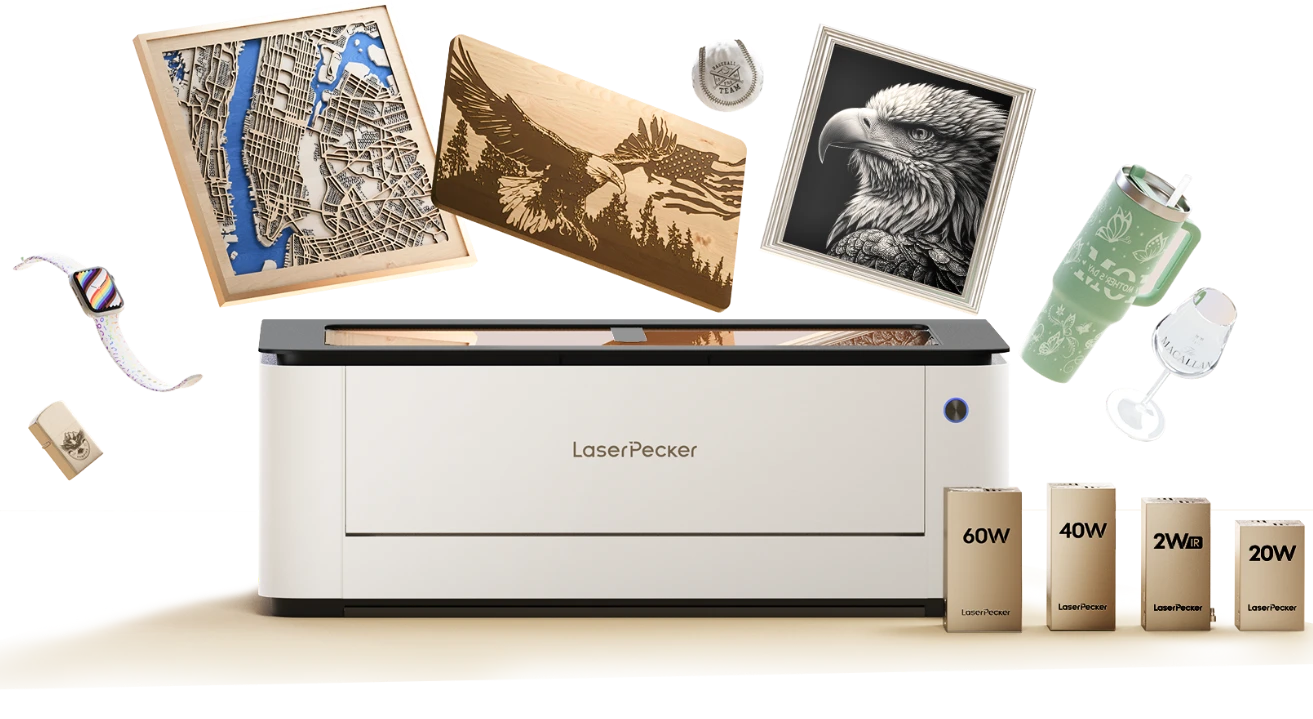
Les machines de découpe laser de bureau telles que le LaserPecker LX2 offrent des avantages importants en matière de sécurité pour les ateliers domestiques et l’utilisation en intérieur. Leur conception conforme à la classe 1 de sécurité laser rend leur utilisation plus sûre que celle des scies électriques traditionnelles et des outils de découpe non protégés.
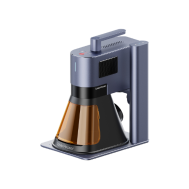
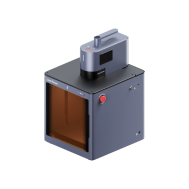
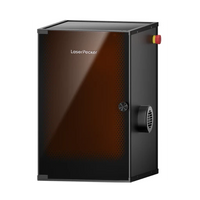
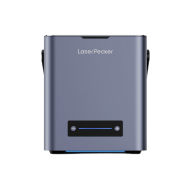
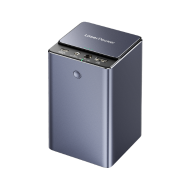
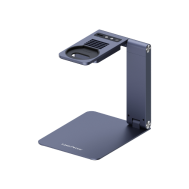
Associé au purificateur de fumée de bureau LaserPecker, le LX2 contribue également à éliminer la fumée, les odeurs et les particules en suspension produites lors de la gravure et de la découpe. Cela favorise un environnement de travail intérieur plus propre et plus sûr pour les particuliers et les petits ateliers.
Pour les créateurs qui souhaitent obtenir des résultats fiables avec un minimum d’erreurs, le LaserPecker LX2 est une solution performante. Il permet de découper avec précision les composants de la chaise tout en ajoutant des détails gravés personnalisés, afin de vous permettre de vous concentrer davantage sur l’assemblage, les finitions et la qualité durable du mobilier.
Partie 3 : Comment fabriquer une chaise en bois par découpe laser
La découpe laser ne supprime pas le savoir-faire artisanal de la fabrication de meubles : elle vous permet simplement de réorienter votre attention. Au lieu de répéter les mêmes découpes manuelles, vous pouvez consacrer davantage de temps au design, à l’assemblage, au confort et aux finitions qui rendent une chaise en bois à la fois fonctionnelle et visuellement remarquable.
Outils nécessaires – Une découpeuse laser
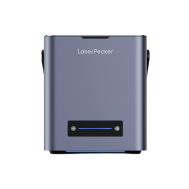
Si vous souhaitez fabriquer des chaises en bois, choisir une découpeuse laser de bureau adaptée au bois constitue une première étape importante. Le LaserPecker LX2 est un excellent choix, car il offre à la fois précision et puissance de découpe. Il peut découper des matériaux en bois plus épais, jusqu’à 22 mm avec une configuration adaptée, ce qui est particulièrement utile pour les pieds de chaise, les supports et les autres pièces porteuses.
Le LaserPecker LX2 réalise des découpes nettes et précises, contribuant à garantir que tous les composants de la chaise restent uniformes en taille et s’assemblent correctement. Son système intégré d’alignement par caméra améliore également la précision du positionnement, réduisant les erreurs de préparation et faisant gagner du temps.
La même machine peut également servir à réaliser des gravures personnalisées, vous permettant d’ajouter des noms, des détails décoratifs, des logos ou des éléments de marque directement sur l’assise ou le dossier, sans déplacer le matériau.
Pour les utilisateurs de l’UE, le LX2 offre également une sécurité laser de classe 1, ce qui le rend plus adapté à une utilisation intérieure sûre dans les ateliers à domicile et les petits ateliers. Utilisé avec le purificateur de fumée de bureau LaserPecker, il contribue à éliminer la fumée, les odeurs et les émanations produites lors de la découpe et de la gravure, améliorant ainsi la qualité de l’air intérieur et le confort.
Autres outils dont vous pourriez avoir besoin
- Des serre-joints pour l’assemblage
- Des outils de mesure
- Une bonne ventilation ou un système de filtration
Guide étape par étape pour fabriquer une chaise en bois avec la découpe laser
Étape 1 : Concevoir votre chaise
Commencez par créer un modèle numérique de votre chaise. Déterminez la taille de l’assise, l’angle du dossier ainsi que la structure des pieds et du cadre de support.
N’oubliez pas de prendre en compte le trait de coupe, c’est-à-dire la petite quantité de matériau retirée par le laser pendant la découpe. Cela permet de garantir que tous les assemblages s’emboîtent correctement lors du montage.
Si vous préférez ne pas créer vous-même les fichiers de découpe, plusieurs ressources utiles sont disponibles. Vous pouvez consulter LaserPecker CraftZone pour trouver l’inspiration, rejoindre le groupe Facebook LaserPecker pour obtenir des conseils d’autres utilisateurs, ou acheter des fichiers de découpe prêts à l’emploi sur des plateformes telles que des alternatives à DaWanda, Creative Fabrica ou des places de marché locales de créations artisanales proposant des modèles de menuiserie personnalisables pour les créateurs de l’UE.
Ces ressources contribuent à réduire les erreurs, à gagner du temps de production et à conserver la possibilité de personnaliser le design final.
Étape 2 : Préparer le bois
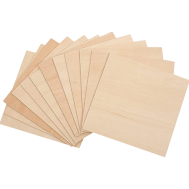
Choisissez des panneaux de bois plats et secs adaptés à la fabrication de meubles. Pour réduire les marques de brûlure sur les surfaces visibles, l’application de ruban de masquage avant la découpe peut améliorer l’aspect final.
Étape 3 : configurez le LX2
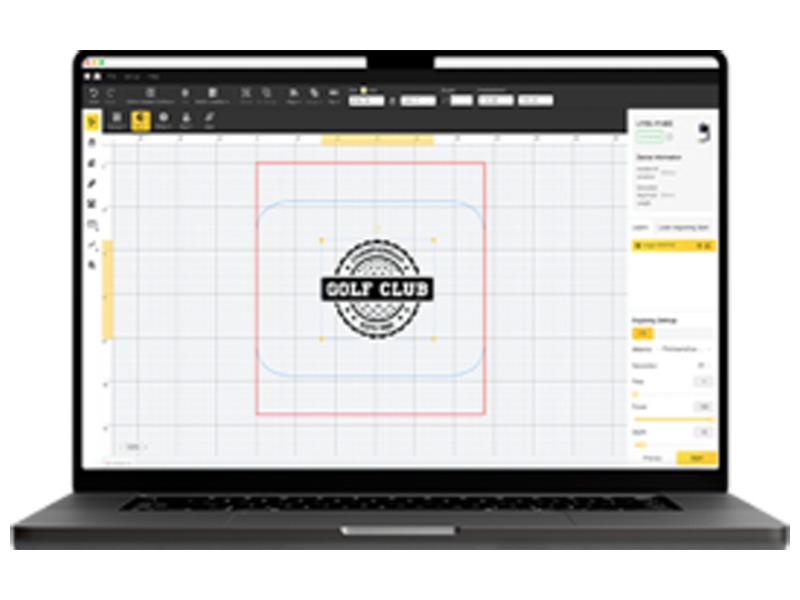
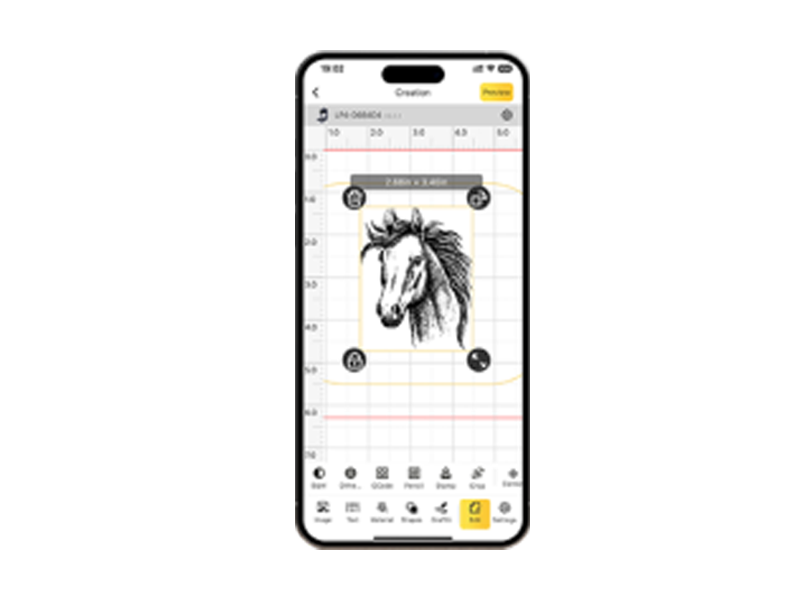
Importez votre fichier de design dans le logiciel et séparez les tracés de découpe des tracés de gravure. Ajustez les réglages de vitesse et de puissance en fonction de l’épaisseur du bois.
Les planches plus épaisses peuvent nécessiter des vitesses plus lentes ou plusieurs passages du laser pour obtenir des découpes nettes et précises.
Étape 4 : effectuez une découpe test
Avant de découper toutes les pièces de la chaise, testez vos réglages sur un échantillon de bois de rechange. Cela vous permet de vérifier l’ajustement des assemblages, la profondeur de coupe et la qualité des bords avant de passer au projet final.
Étape 5 : découpez les pièces
Lancez le processus complet de découpe. Le LaserPecker LX2 contribue à maintenir une grande régularité entre toutes les pièces de la chaise, ce qui facilite considérablement l’assemblage final.
Étape 6 : assemblez la chaise
Assemblez d’abord toutes les pièces sans colle pour vérifier l’alignement et la stabilité. Une fois l’ajustement correct, appliquez de la colle à bois et renforcez les assemblages si nécessaire.
Étape 7 : poncez et réalisez la finition
Poncez tous les bords et toutes les surfaces jusqu’à obtenir une finition lisse, puis appliquez de l’huile, de la cire ou un vernis protecteur pour améliorer la durabilité et créer une finition finale soignée.
Facultatif : ajoutez une gravure personnalisée
La gravure laser permet de personnaliser facilement une chaise en bois sans modifier sa structure. Vous pouvez ajouter des noms, des dates, des motifs décoratifs, des logos ou des éléments de marque sur l’assise, le dossier ou les accoudoirs.
Comme le LX2 combine la découpe et la gravure dans une seule machine, le positionnement reste précis, même pour les designs de meubles complexes ou les chaises partiellement assemblées.
Partie 4 : conseils d’expert pour fabriquer une chaise en bois de haute qualité
Concevoir une chaise en bois à la fois esthétique et fonctionnelle demande plus qu’un simple savoir-faire artisanal. Comparée aux projets de bricolage simples, la fabrication de meubles exige une plus grande attention aux détails. La solidité, le confort et la qualité de la finition sont des facteurs essentiels qui déterminent le résultat global.
Conseil 1 : concevez en tenant compte du trait de coupe et du contrôle des tolérances
La découpe laser retire une petite quantité de matière, appelée trait de coupe. Si cela n’est pas pris en compte lors de la conception, les composants peuvent ne pas s’ajuster correctement. Ajustez les dimensions, notamment pour les assemblages, les pieds et les connexions de l’assise, afin de garantir un alignement correct.
Un design qui semble précis numériquement peut ne pas s’ajuster parfaitement en pratique. Tester un assemblage ou un prototype peut aider à optimiser les tolérances et à améliorer la précision de l’assemblage.
Conseil 2 : réduisez la carbonisation et les marques de brûlure dues au laser
Les marques de brûlure sont fréquentes lors de la découpe de bois épais au laser. Pour réduire cet effet, utilisez un masquage protecteur, optimisez les réglages de vitesse et ajustez la puissance du laser en conséquence.
Un ponçage léger peut éliminer les marques superficielles, mais les brûlures plus profondes sont plus difficiles à faire disparaître. Des découpes plus nettes améliorent à la fois la qualité visuelle et l’efficacité de la finition.
Conseil 3 : privilégiez l’ergonomie
Le confort est une exigence essentielle pour toute chaise. Des facteurs tels que la hauteur d’assise, l’inclinaison du dossier et l’espace pour les jambes influencent directement la praticité.
Les problèmes de conception courants comprennent :
- Des assises trop basses, qui provoquent une gêne
- Des dossiers trop droits, qui réduisent le soutien
Même avec une graveuse-découpeuse laser pour une production précise, l’application de mesures ergonomiques standard permet d’obtenir une chaise plus confortable et plus pratique.
Partie 5 : FAQ sur la fabrication d’une chaise en bois
Q1. Comment contrôler la fumée et les odeurs lors de la découpe laser ?
La fumée et les odeurs sont courantes lors de la découpe laser du bois, mais elles peuvent être réduites grâce à une ventilation et à une préparation appropriées des matériaux. L’utilisation de bois sec et non traité contribue à minimiser les émissions, tandis que les systèmes de circulation d’air évacuent les fumées de l’espace de travail.
Avec le LX2, vous pouvez l’associer au purificateur de fumée de bureau LX2, qui filtre efficacement la fumée et les odeurs pendant le fonctionnement. Cela rend l’utilisation en intérieur plus sûre et plus confortable, même dans les espaces de travail réduits.
Q2. Quelle est la largeur d’assise recommandée pour une chaise en bois ?
La largeur d’assise standard est comprise entre 40 et 45 cm. Cela garantit un bon équilibre entre confort et stabilité. Une assise légèrement plus large peut améliorer le confort, notamment en cas d’utilisation prolongée.
Q3. Quel type de bois convient le mieux à la fabrication d’une chaise en bois ?
Les bois durs comme le bouleau, l’érable et le chêne sont couramment utilisés pour leur robustesse et leur durabilité. Le contreplaqué convient également aux projets de découpe laser, car il conserve bien sa forme. Les bois plus tendres sont plus faciles à travailler, mais peuvent être moins durables.
Q4. La découpe laser convient-elle à la fabrication de meubles ?
Oui, la découpe laser convient à certains types de meubles, notamment aux modèles modulaires ou en kit. Elle permet de produire des pièces précises et reproductibles, ce qui est avantageux pour la production en petite série.
Q5. Comment améliorer la durabilité d’une chaise en bois ?
Choisissez des matériaux robustes, concevez des assemblages stables et appliquez des finitions protectrices comme du vernis ou de l’huile. Un assemblage et un renforcement appropriés jouent également un rôle important dans la durabilité à long terme.
Q6. Quelles précautions de sécurité sont importantes lors de la découpe laser du bois ?
Utilisez des machines à structure fermée et dotées de dispositifs de sécurité certifiés, comme la sécurité laser de classe 1. Associer votre installation au purificateur de fumée de bureau LX2 contribue à réduire les particules en suspension et à maintenir un espace de travail intérieur plus sûr.
Conclusion
Fabriquer une chaise en bois est un savoir-faire sophistiqué qui associe design, fonctionnalité et compétence. Si le travail du bois traditionnel offre une grande durabilité, la découpe laser garantit une précision inégalée, un gain de temps et de nombreuses possibilités de personnalisation.