








































Les étoiles en bois peuvent sembler faciles à fabriquer, mais obtenir une finition nette, symétrique et professionnelle peut s’avérer étonnamment difficile. Même de petits problèmes — comme des pointes irrégulières, des angles incorrects ou un léger désalignement — peuvent affecter le résultat final, malgré un ponçage et une finition soignés. Réaliser à la main des formes nettes et équilibrées demande à la fois de l’habileté et de la patience.
La difficulté augmente lorsque vous devez obtenir des résultats uniformes sur plusieurs pièces ou que vous souhaitez ajouter des éléments personnalisés tels que des noms, des dates ou des logos. Dans ces situations, la précision et la reproductibilité deviennent essentielles.
Dans ce guide, vous découvrirez deux approches pratiques : le travail du bois traditionnel et la découpe laser. Nous comparerons leurs avantages et vous aiderons à déterminer quelle méthode convient le mieux à vos outils, à votre niveau d’expérience et aux besoins de votre projet.

Dans cet article :
- Partie 1 : Deux méthodes courantes pour fabriquer une étoile en bois
- Méthode 1 : Fabriquer une étoile en bois grâce au travail du bois artisanal
- Méthode 2 : Fabriquer une étoile en bois par découpe laser
- Partie 2 : Travail du bois ou découpe laser : quelle méthode choisir
- Partie 3 : Comment fabriquer une étoile en bois par découpe laser
- Partie 4 : Idées de design et applications pour les étoiles en bois
- Partie 5 : FAQ sur la fabrication d’étoiles en bois
Partie 1 : Deux méthodes courantes pour fabriquer une étoile en bois
Les étoiles en bois peuvent être réalisées à l’aide de techniques artisanales traditionnelles ou de méthodes modernes basées sur la découpe laser. Chaque méthode a ses propres atouts, et le meilleur choix dépend de votre expérience, de vos outils et du résultat souhaité.
Méthode 1 : Fabriquer une étoile en bois grâce au travail du bois artisanal
Créer une étoile en bois à la main consiste à utiliser des outils manuels et des compétences pratiques pour façonner le matériau. Le processus commence généralement par le tracé du contour de l’étoile sur le bois, puis par sa découpe à l’aide d’une scie. Une fois la découpe effectuée, chaque pointe est soigneusement poncée afin d’obtenir des bords lisses et une finition soignée.
Cette approche vous offre une liberté créative totale. Vous pouvez légèrement modifier le design, conserver les imperfections naturelles ou appliquer des finitions texturées pour un aspect plus artisanal. Cependant, elle exige du temps et de la précision. Obtenir une symétrie constante sur toutes les pointes peut être difficile, et de petites erreurs peuvent affecter l’apparence générale. Les débutants doivent s’attendre à une période d’apprentissage. Cette méthode convient davantage aux pièces uniques qu’à la production en série.
Méthode 2 : Fabriquer une étoile en bois par découpe laser
La découpe laser est une méthode fiable et efficace pour fabriquer des étoiles en bois avec une grande précision. Elle convient parfaitement aux matériaux courants tels que le tilleul, le bouleau, le contreplaqué et le MDF.
Au-delà de la découpe, un graveur et une machine de découpe laser vous permet de graver du texte, des logos ou des motifs décoratifs sur la surface.
Par exemple, vous pouvez créer des bords précis pour une étoile à cinq branches ou ajouter des détails internes complexes. Cette méthode est idéale pour produire plusieurs articles identiques avec une qualité constante. En combinant découpe et gravure, il est également possible de créer des designs d’étoiles superposés ou plus avancés.
Comparaison : méthodes artisanales et méthodes basées sur le laser
| Méthode | Précision | Vitesse | Niveau de compétence requis | Idéal pour | Personnalisation |
|---|---|---|---|---|---|
| Sculpture manuelle traditionnelle | Moyenne à élevée | Lente | Élevée | Créations uniques et originales | Formes personnalisées, variations artistiques |
| Découpe laser | Très élevée | Rapide | Moyenne | Production en série, formes précises | Gravure, logos, designs reproductibles |
Partie 2 : Travail du bois ou découpe laser : quelle méthode choisir pour fabriquer une étoile en bois ?
Le travail du bois traditionnel et la découpe laser sont deux méthodes efficaces pour créer une étoile en bois. Toutefois, la découpe laser offre plusieurs avantages clés, notamment pour les utilisateurs modernes, les débutants et la production à petite échelle.
Raison n° 1 : Précision et symétrie supérieures
Les étoiles en bois nécessitent des angles précis et des pointes nettes. La découpe laser garantit une grande précision, en produisant des bords propres et une symétrie constante, difficiles à obtenir manuellement.
Raison n° 2 : Temps de production réduit
La découpe laser améliore considérablement l’efficacité. Une fois le design finalisé, une étoile en bois peut être produite en quelques minutes. Elle est donc idéale pour la production en série ou les projets soumis à des délais serrés.
Raison n° 3 : Processus adapté aux débutants
Comparée au travail du bois traditionnel, la découpe laser est plus facile à apprendre. Grâce aux fichiers de conception numériques et aux paramètres préconfigurés, les utilisateurs peuvent rapidement obtenir des résultats fiables et de haute qualité, même avec une expérience limitée.
Raison n° 4 : Personnalisation facile et grande flexibilité de conception
La découpe laser permet une personnalisation simple. Vous pouvez ajouter du texte gravé, des logos ou des motifs, et modifier les designs directement dans le fichier sans effort manuel supplémentaire. Elle convient donc parfaitement aux cadeaux personnalisés et aux produits commerciaux.
Raison n° 5 : Haute reproductibilité
Les machines laser peuvent reproduire des designs identiques avec une précision constante. Cela est particulièrement utile pour la vente de produits, les ensembles décoratifs ou la production évolutive.
Le travail du bois traditionnel est idéal pour ceux qui préfèrent le travail manuel et les créations uniques. Toutefois, pour les utilisateurs qui privilégient la précision, l’efficacité, la personnalisation et la reproductibilité, la découpe laser constitue une solution plus efficace.
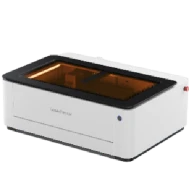
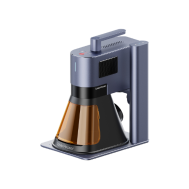
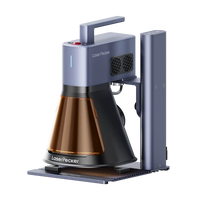
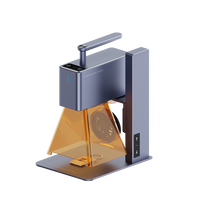
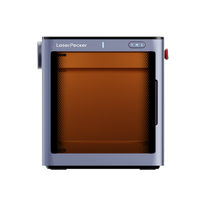
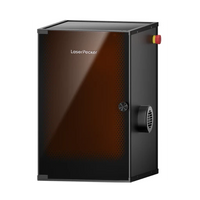
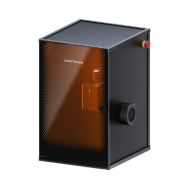
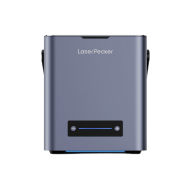
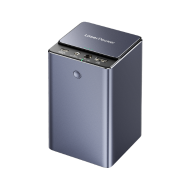
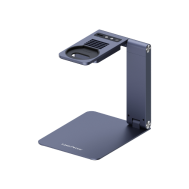
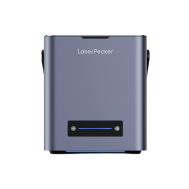
Dans l’UE, le LaserPecker LX2 est un choix pratique pour les amateurs et les petites entreprises. Il dispose d’une sécurité laser de classe 1, ce qui le rend adapté aux environnements intérieurs. Il peut également être utilisé avec le purificateur de fumée de bureau LaserPecker afin de réduire les fumées et les odeurs générées pendant son fonctionnement, contribuant ainsi à maintenir un espace de travail plus sûr et plus confortable.
Qu’il s’agisse de produire une seule pièce personnalisée ou plusieurs pièces identiques, le LX2 permet de bénéficier de flux de travail efficaces et de résultats de qualité professionnelle.
Partie 3 : Comment fabriquer une étoile en bois avec une découpe laser
Outils nécessaires
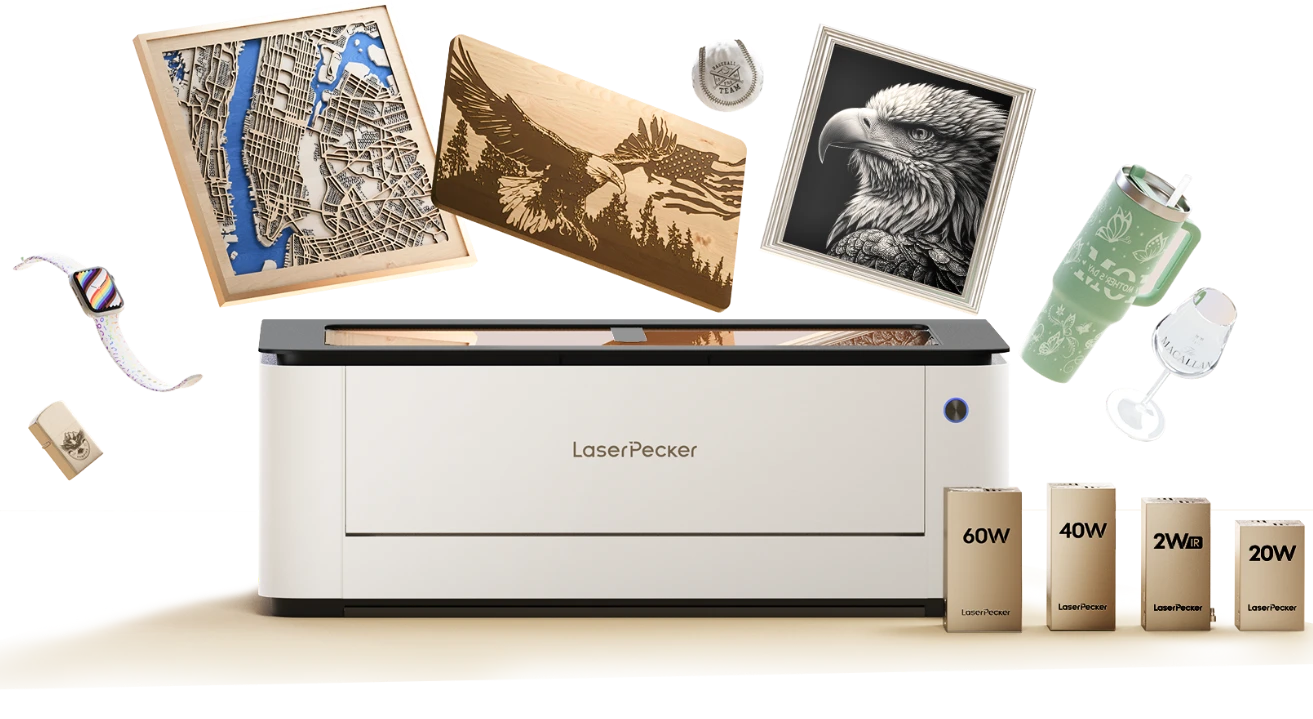
Pour ce projet, il est vivement recommandé d’utiliser une machine de découpe laser de bureau prenant en charge à la fois la découpe et la gravure. Le LX2 est une option adaptée et offre les fonctionnalités suivantes :
- Découpe à grande vitesse – Atteint une vitesse maximale de 1 000 mm/s, améliorant l’efficacité avec différentes épaisseurs de bois.
- Modules laser interchangeables – Prend en charge des lasers diode de 20 W, 40 W et 60 W, ainsi qu’un laser IR de 2 W pour la gravure. Cela permet de traiter des matériaux d’épaisseurs variées, notamment de découper jusqu’à 25 mm en un seul passage.
- Positionnement précis – Une caméra de 12 MP permet un alignement précis et garantit des résultats réguliers en découpe et en gravure.
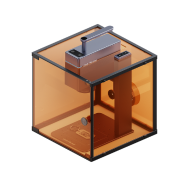
- Conception peu encombrante – L’accès par deux portes facilite la manipulation de matériaux plus grands tout en conservant une machine compacte, adaptée aux ateliers ou aux espaces de travail intérieurs.
- Sécurité et utilisation en intérieur – Sa conception fermée et sa sécurité laser de classe 1 le rendent adapté aux environnements intérieurs. Associé au purificateur de fumée de bureau LaserPecker, il contribue à réduire les fumées et les odeurs, pour un espace de travail plus sûr et plus confortable.
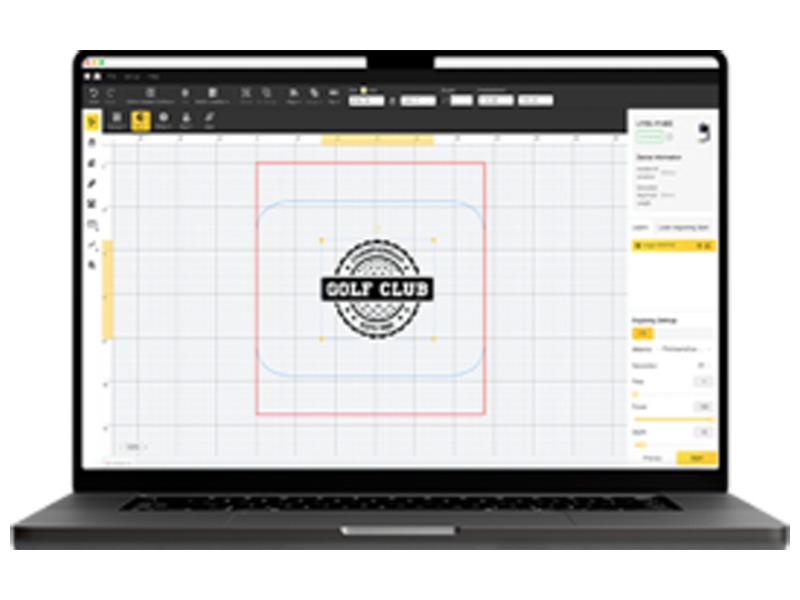
- Logiciel convivial – Compatible avec LightBurn et un logiciel dédié, il simplifie la configuration et la production en série.
Matériaux supplémentaires :
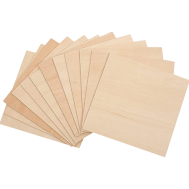
- Plaques de bois (tilleul, bouleau, contreplaqué ou MDF)
- Colle à bois (pour les modèles superposés)
- Papier abrasif
- Peinture ou finition protectrice (facultatif)
Guide étape par étape pour fabriquer une étoile en bois avec une découpe laser
Étape 1. Concevez une forme d’étoile à l’aide d’un logiciel vectoriel (au format SVG ou DXF). Ajustez les dimensions en fonction de votre projet.
Étape 2. Choisissez du bois d’une épaisseur de 3 à 6 mm pour les petits objets. Assurez-vous que le matériau est propre et préparé avant utilisation.
Étape 3. Placez le bois dans le LX2. Utilisez la caméra intégrée pour un positionnement précis. Réglez la vitesse et la puissance en fonction du matériau sélectionné.
Étape 4. Lancez le processus de découpe. Le laser suit le tracé du motif pour créer des bords nets et précis. Les matériaux plus épais peuvent nécessiter plusieurs passages.
Étape 5. Si vous le souhaitez, passez au module laser IR pour graver du texte, des logos ou des éléments décoratifs.
Étape 6. Poncez les bords et les zones gravées avec du papier abrasif. Appliquez de la peinture ou un revêtement protecteur pour améliorer la durabilité et l’apparence.
Étape 7. Pour les designs superposés, assemblez les composants avec de la colle à bois. Alignez soigneusement chaque couche afin d’obtenir un résultat tridimensionnel homogène.
Étape facultative : ajouter des détails avec la gravure laser
La gravure permet d’ajouter des détails personnalisés tels que des noms, des motifs ou des éléments de marque. Un graveur et une machine de découpe laser garantissent une grande précision et une excellente reproductibilité, ce qui les rend idéaux pour les objets personnalisés ou la production en petite série.
Partie 4 : Idées de design et applications pour les étoiles en bois
Les étoiles en bois offrent des possibilités de design variées pour la décoration, les cadeaux et les projets créatifs. Elles peuvent être adaptées aux thèmes saisonniers comme à un usage quotidien. Voici quelques applications populaires :
Idée 1 : Décorations de fête
Les étoiles en bois sont largement utilisées pour les décorations festives à différentes occasions. Leur forme simple les rend adaptées aux styles classiques comme contemporains.
- Noël : peignez-les en rouge, vert ou doré, ajoutez des éléments décoratifs et utilisez-les comme ornements pour le sapin ou comme décorations suspendues.
- Événements saisonniers : intégrez-les à des couronnes, des guirlandes ou des décorations de table en utilisant des harmonies de couleurs thématiques.
Idée 2 : Décoration intérieure
Les étoiles en bois peuvent également être utilisées dans la décoration intérieure quotidienne, en ajoutant une touche naturelle et décorative.
- Accents muraux : disposez-les individuellement ou dans le cadre d’une composition
- Décoration d’étagères : combinez différentes tailles pour un effet visuel équilibré
- Chambres d’enfants : utilisez des tons doux pour créer une atmosphère calme et décorative
Idée 3 : Signalétique personnalisée
Les étoiles en bois gravées peuvent servir de signalétique décorative ou d’objets personnalisés.
- Ajoutez des noms pour la décoration intérieure
- Ajoutez des citations ou des messages pour des pièces inspirantes
- Créez des designs basés sur un logo pour les petites entreprises ou les marchés
Un graveur et une machine de découpe laser permettent une gravure précise, garantissant des résultats constants et de qualité professionnelle.
Idée 4 : Designs superposés
Les étoiles en bois superposées créent un aspect tridimensionnel en empilant plusieurs pièces découpées. Cette méthode ajoute de la profondeur et permet de réaliser des designs visuels plus complexes.
La découpe laser rend ce processus plus efficace, car chaque couche peut être produite avec une précision constante et des bords nets. Des machines telles que la LaserPecker LX2 contribuent à rationaliser la production en garantissant des résultats reproductibles sans ajustements manuels.
Après l'assemblage, vous pouvez améliorer le design en appliquant différentes couleurs, finitions ou éléments décoratifs tels que de la corde, des perles ou des revêtements texturés.
Partie 5 : FAQ sur la fabrication d'étoiles en bois
Q1. Quelle est la manière la plus simple de fabriquer une étoile en bois ?
La découpe laser est l'une des méthodes les plus simples et les plus efficaces. Elle offre des découpes précises et nettes et permet de reproduire rapidement des motifs détaillés. Par rapport aux méthodes manuelles, elle permet de gagner du temps et d'obtenir des résultats uniformes. Les logiciels de conception facilitent également les ajustements et la gravure personnalisée.
Q2. Quel bois convient le mieux à la fabrication d'une étoile en bois ?
Les bois tendres au grain fin et régulier, comme le tilleul, le bouleau ou l'érable, conviennent particulièrement bien à la découpe laser. Ils produisent des bords lisses et réduisent le risque d'éclats. Le contreplaqué peut être utilisé pour les pièces plus grandes, mais peut nécessiter une finition supplémentaire. Évitez le bois traité ou peint en raison des fumées potentiellement produites.
Q3. Quelle épaisseur de bois est recommandée pour les étoiles découpées au laser ?
Le bois d'une épaisseur comprise entre 3 et 6 mm est couramment utilisé pour les petits modèles. La LX2 peut traiter du bois jusqu'à 25 mm d'épaisseur, ce qui permet de réaliser des projets plus résistants ou en couches. Les matériaux plus épais peuvent nécessiter plusieurs passes selon les réglages utilisés.
Q4. La découpe laser peut-elle être utilisée pour la production d'une petite entreprise ?
Oui, la découpe laser est idéale pour la production en petite série. Elle permet de créer efficacement des motifs uniformes et reproductibles, ce qui convient à la vente d'étoiles en bois personnalisées ou d'objets décoratifs.
Q5. Comment personnaliser facilement des étoiles en bois ?
Vous pouvez personnaliser les étoiles en bois en y gravant des noms, des dates, des motifs ou des logos. Avec une graveuse-découpeuse laser, les modifications peuvent être effectuées directement dans le fichier, ce qui rend le processus rapide et flexible.
Q6. Quelles précautions de sécurité dois-je prendre lors de la découpe du bois au laser ?
Choisissez un équipement doté d'une sécurité laser de classe 1 pour une utilisation en intérieur plus sûre. Il est également recommandé d'utiliser une solution d'extraction des fumées, telle que le purificateur de fumée de bureau LaserPecker, afin de réduire les odeurs et les particules en suspension pendant l'utilisation.
Conclusion
La création d'une étoile en bois est un processus gratifiant qui associe créativité et savoir-faire pratique. Le travail du bois traditionnel donne un résultat artisanal unique, tandis que la découpe laser offre davantage de précision, d'efficacité et de répétabilité, ce qui la rend parfaitement adaptée aux projets personnels comme à la production en petite série.
L'utilisation d'une machine telle que la LaserPecker LX2 permet de créer des étoiles de différentes tailles, de les personnaliser avec des noms ou des motifs et d'obtenir des résultats uniformes sur plusieurs pièces. Avec le choix de matériau approprié, une planification minutieuse et une finition soignée, les étoiles en bois peuvent être transformées en objets décoratifs, en cadeaux personnalisés ou en produits à vendre.