


Un sac à dos est bien plus qu'un simple objet fonctionnel — c'est aussi le reflet d'un style personnel. Personnaliser votre sac à dos vous permet de moderniser un design classique, de donner une nouvelle vie à un vieux sac ou de créer une pièce unique qui répond à vos besoins quotidiens. Des loisirs créatifs à la personnalisation pratique, il existe de nombreuses façons de rendre un sac à dos plus individuel.
Dans cet article, nous explorerons cinq méthodes efficaces pour personnaliser un sac à dos. Nous aborderons des techniques modernes telles que la gravure laser, mettrons en lumière les erreurs courantes à éviter et répondrons aux questions clés pour vous aider à choisir la bonne approche.

Dans cet article :
- Partie 1 : Cinq façons de personnaliser un sac à dos
- Méthode 1 : Teinture
- Méthode 2 : Gravure Laser
- Méthode 3 : Couture
- Méthode 4 : Broderie
- Méthode 5 : Designs au ruban adhésif (Duct Tape)
- Partie 2 : Comment personnaliser un sac à dos avec un graveur laser
- Partie 3 : Le meilleur graveur laser pour personnaliser un sac à dos
- Partie 4 : Erreurs courantes à éviter lors de la personnalisation d'un sac à dos
- Partie 5 : FAQ sur la personnalisation d'un sac à dos
Partie 1 : Cinq façons de personnaliser un sac à dos
Un sac à dos peut être personnalisé de nombreuses manières, allant de simples mises à jour visuelles à des finitions professionnelles durables. La bonne approche dépend du matériau du sac à dos, des outils disponibles et du niveau de permanence requis.
Voici ci-dessous cinq méthodes efficaces pour la personnalisation de sacs à dos, adaptées aussi bien aux débutants qu'aux utilisateurs DIY expérimentés.
Méthode 1 : Personnaliser un sac à dos via la teinture
La teinture est une méthode accessible pour modifier la couleur et l'apparence d'un sac à dos. Des techniques telles que le tie-dye, les effets de dégradé ou la teinture unie fonctionnent mieux sur les matériaux en coton et en toile (canvas). Des pochoirs ou du ruban de masquage peuvent être utilisés pour créer des motifs ou du lettrage.
Cette méthode est rentable et idéale pour rafraîchir des sacs à dos usés ou créer des designs expressifs.
Méthode 2 : Personnaliser un sac à dos via la gravure laser
La gravure laser crée des motifs permanents en appliquant une chaleur focalisée sur la surface. Elle convient au cuir, au cuir synthétique, aux tissus enduits, à la toile et aux accessoires métalliques tels que les tirettes de fermeture éclair ou les plaques signalétiques.
Les applications courantes incluent les noms, les logos, les symboles et les illustrations détaillées. La gravure laser produit des résultats précis et durables sans ajouter d'épaisseur ni affecter la structure du sac à dos.
Méthode 3 : Personnaliser un sac à dos via la couture
La couture permet des améliorations à la fois décoratives et fonctionnelles. Vous pouvez attacher des écussons, ajouter des sections de tissu, renforcer des coutures ou créer des poches de rangement supplémentaires.
Cette méthode améliore la durabilité tout en permettant des éléments visuels personnalisés, ce qui la rend pratique pour une utilisation à long terme.
Méthode 4 : Personnaliser un sac à dos via la broderie
La broderie sublime les sacs à dos en tissu avec des points détaillés et de la couleur. Les motifs peuvent être appliqués manuellement ou avec une brodeuse, selon la complexité et l'échelle.
Elle est bien adaptée aux logos, au lettrage et aux motifs ornementaux, et peut être combinée avec d'autres techniques de personnalisation.
Méthode 5 : Personnaliser un sac à dos avec des designs au ruban adhésif (Duct Tape)
Le ruban adhésif (Duct Tape) offre une option de personnalisation temporaire et flexible. Des motifs, des accents et des touches de couleur peuvent être appliqués rapidement et retirés ou remplacés facilement.
Cette méthode convient aux expériences de design à court terme ou aux détails décoratifs sans modification permanente.
Tableau comparatif
| Méthode | Durabilité | Difficulté | Matériaux idéaux | Avantage unique |
|---|---|---|---|---|
| Teinture | Moyenne | Facile | Coton, toile (canvas) | Changements de couleur audacieux |
| Gravure Laser | Très élevée | Modérée | Cuir, similicuir, tissus enduits, toile, pièces métalliques (tirettes, plaques, boucles) | Designs permanents et précis |
| Ruban Adhésif | Basse–Moyenne | Facile | Toute surface de sac à dos | Personnalisation rapide et amovible |
| Couture | Élevée | Modérée | Tissu, textiles mixtes | Ajoute de la fonction et de la force |
| Broderie | Élevée | Difficile | Tissu, toile (canvas) | Finition texturée et décorative |
Partie 2 : Comment personnaliser un sac à dos avec un graveur laser
La gravure laser offre une méthode précise et durable pour la personnalisation de sacs à dos. En sélectionnant des matériaux compatibles et en configurant soigneusement le processus de gravure, vous pouvez obtenir des résultats de haute qualité adaptés à un usage personnel et professionnel.
1. Choisir la bonne zone à graver
Les sacs à dos en cuir, en cuir synthétique ou en toile sont bien adaptés à la gravure laser. Les zones de gravure typiques incluent les panneaux avant, les bretelles, les écussons ou les étiquettes. Les composants métalliques tels que les tirettes de fermeture éclair, les boucles et les plaques signalétiques peuvent également être gravés.
2. Préparer le fichier de conception
Pour des contours nets et extensibles, utilisez des fichiers vectoriels tels que SVG ou DXF. Pour les designs pleins comme les logos, le texte ou les images, les fichiers PNG ou JPG haute résolution fonctionnent bien. Des outils gratuits comme Inkscape ou Canva conviennent aux travaux de conception de base. Si vous utilisez un graveur laser LaserPecker, LaserPecker Design Space ou LightBurn offrent des options de conception et de contrôle fiables.
3. Nettoyage
Essuyez la zone que vous allez traiter au laser. Vous devez éliminer toute saleté qui pourrait perturber le processus.
4. Ajuster les réglages du laser
Réglez la puissance et la vitesse appropriées en fonction du matériau du sac à dos. Pour le cuir, utilisez une puissance modérée pour obtenir des marquages sombres et clairs sans brûler la surface.
5. Vérifier le positionnement
Utilisez la fonction d'aperçu ou de cadrage pour confirmer le bon placement avant de lancer la gravure.
6. Lancer la gravure
Lancez le processus de gravure et laissez le laser créer le motif avec une profondeur et une clarté constantes.
7. Finition
Retirez les débris restants et inspectez la gravure pour vérifier la précision et la finition.
La gravure laser produit des motifs permanents qui ne s'effacent pas, ne s'écaillent pas et ne partent pas au lavage. Comme le motif est gravé dans la surface, le sac à dos reste lisse, léger et durable.

Partie 3 : Le meilleur graveur laser pour personnaliser un sac à dos à ne pas manquer
Vous avez beaucoup de choix en matière de graveurs laser, mais certains sont plus adaptés que d'autres à la personnalisation de sacs à dos. Le LaserPecker LP5 est particulièrement bien indiqué pour graver à la fois les tissus de sacs à dos et les accessoires métalliques avec une haute précision.
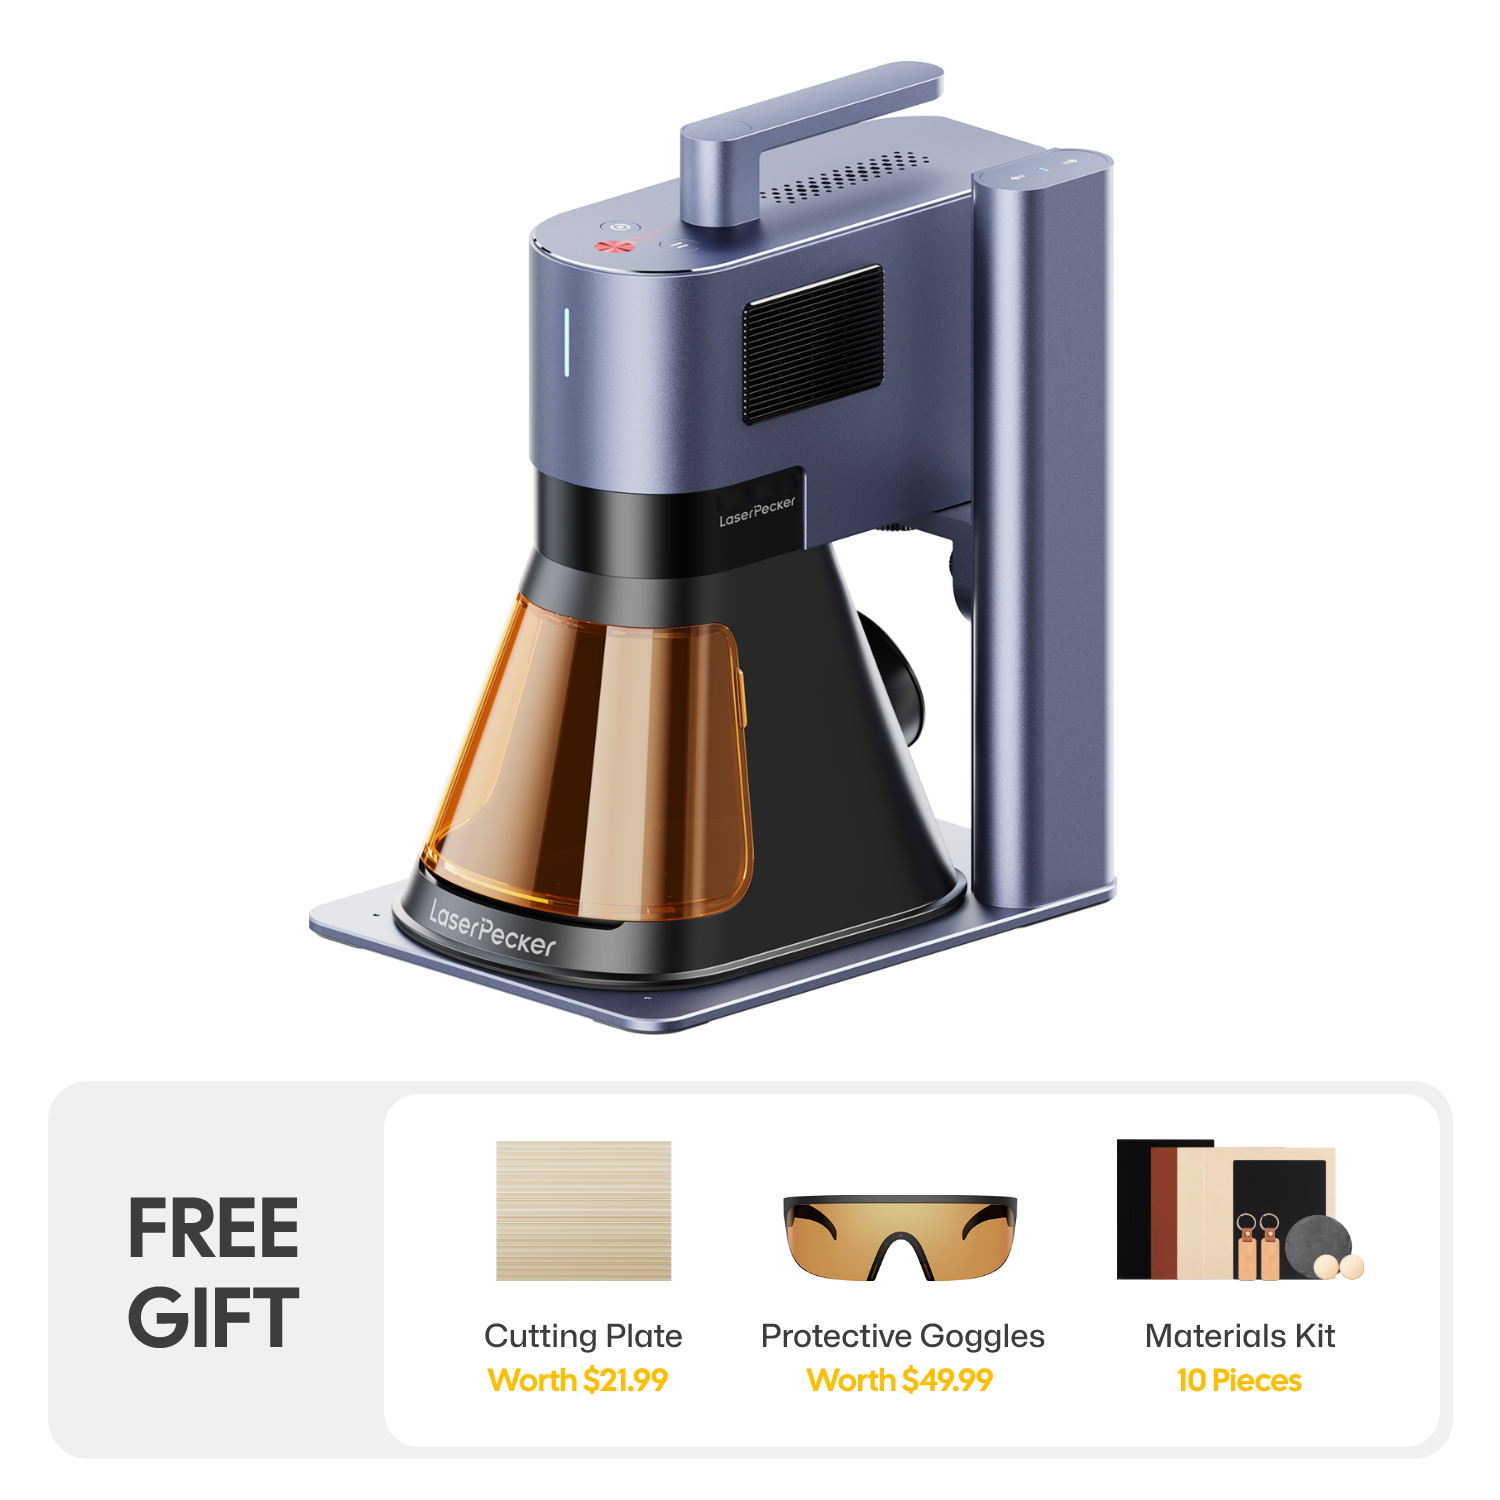
Équipé d'un système à double laser, le LP5 peut graver les métaux et les non-métaux avec une précision constante. Il prend en charge une large gamme de matériaux, notamment le cuir, le cuir synthétique, la toile, le bois, l'acier inoxydable, l'aluminium et le verre. Cette flexibilité permet de réaliser des textes détaillés, des logos et des conceptions graphiques, ainsi que des gravures plus profondes et des effets de style 3D.
La zone de travail extensible de la machine la rend adaptée aux grandes surfaces de sacs à dos, telles que les panneaux avant et les bretelles, tout en gérant les petits éléments métalliques comme les boucles, les tirettes et les plaques signalétiques. En plus de la gravure, le LP5 peut découper des matériaux tels que l'acrylique et le bois, et le laser à fibre permet de découper de fines feuilles de métal.
Son encombrement compact et sa configuration modulaire le rendent approprié pour les ateliers à domicile, les petites entreprises ou les environnements de personnalisation mobiles.

Pourquoi choisir le LaserPecker LP5 ?
Le LaserPecker LP5 offre une gravure de haute précision avec des résultats professionnels durables. Sa capacité à graver des matériaux métalliques et non métalliques en fait un outil polyvalent pour la personnalisation de sacs à dos. Les vitesses de traitement rapides permettent une production efficace pour des pièces uniques ou des séries à petite échelle.
Le LP5 permet une gravure profonde, un travail de précision fine et une découpe précise. Sa conception portable s'adapte aux espaces de travail limités, tandis que des accessoires optionnels étendent ses capacités aux surfaces incurvées. Grâce à sa compatibilité logicielle pour un contrôle précis de la mise en page et à un boîtier de sécurité optionnel pour une utilisation en intérieur, le LP5 est idéal pour une personnalisation de sacs à dos constante et de haute qualité.
Partie 4 : Erreurs courantes à éviter lors de la personnalisation d'un sac à dos
La gravure laser et les autres méthodes de personnalisation peuvent métamorphoser un sac à dos, mais de petites erreurs peuvent rapidement gâcher le résultat. Comprendre les pièges courants vous aidera à économiser du temps, des matériaux et des efforts tout en obtenant une finition propre et professionnelle.
1. L'importance du matériau
Tous les sacs à dos ne sont pas adaptés à chaque méthode de personnalisation. Par exemple :
- La teinture fonctionne mieux sur le coton, la toile (canvas) et les autres fibres naturelles. Les tissus synthétiques comme le polyester absorbent souvent la couleur de manière inégale, voire pas du tout.
- La gravure laser est idéale pour le cuir, le similicuir, les tissus enduits, la toile et les accessoires métalliques comme les tirettes de fermeture éclair, les plaques signalétiques ou les boucles. Évitez le nylon fin ou les tissus délicats, qui risquent de brûler ou de s'effilocher.
- La couture et la broderie fonctionnent bien sur le tissu et les textiles mixtes, mais les matériaux très fins ou extensibles peuvent se déchirer s'ils sont manipulés de manière incorrecte.
- Le ruban adhésif (Duct tape) adhère à la plupart des surfaces, mais des couches épaisses peuvent gêner les coutures, les sangles ou les poches.
Associez toujours la méthode de personnalisation au matériau du sac à dos pour éviter tout dommage.
2. Restez simple
L'utilisation de trop de couleurs, de motifs ou de techniques peut donner au sac à dos un aspect encombré. Des designs épurés et simples paraissent souvent plus intentionnels et durent plus longtemps sur le plan stylistique.
3. La fonction d'abord
De grands écussons, une broderie dense ou du ruban adhésif placés sur les fermetures éclair et les poches peuvent réduire la fonctionnalité. Assurez-vous que votre personnalisation ne bloque pas l'accès aux compartiments et n'affecte pas le confort.
4. Nettoyage préalable
Avant de teindre, de peindre ou de graver, nettoyez soigneusement le sac à dos. La saleté, l'huile ou les résidus peuvent entraîner une couleur inégale ou des résultats de gravure médiocres.
5. Faites des tests
Testez toujours les teintures, les peintures, les points de couture ou les réglages laser sur une zone cachée avant de vous lancer. Un petit test peut éviter des erreurs permanentes.
Partie 5 : FAQ sur la personnalisation d'un sac à dos
Q1. Combien de temps dure la teinture d'un sac à dos ?
La teinture sur coton ou toile peut durer des années si vous fixez la couleur à la chaleur et que vous l'entretenez correctement. Pour les tissus synthétiques ? C'est plus incertain. Des lavages fréquents ou une exposition prolongée au soleil finiront par faire ternir les couleurs. Utilisez des sprays protecteurs ou lavez-le délicatement pour garder des couleurs éclatantes.
Q2. La broderie est-elle facile pour un débutant ?
La broderie à la main demande un peu de patience et des connaissances de base en couture. Si vous débutez, essayez des initiales ou des formes simples. Les machines à broder peuvent faciliter grandement la tâche. Elles sont fiables et produisent un travail professionnel. De plus, les motifs complexes deviennent réalisables sans des tonnes de pratique.
Q3. La gravure laser est-elle sûre pour les sacs à dos ?
La gravure laser est sûre pour les sacs à dos lorsqu'elle est appliquée sur des matériaux compatibles et configurée correctement. Elle fonctionne bien sur des matériaux tels que le cuir, le similicuir, la toile enduite ou certains tissus synthétiques conçus pour résister à la chaleur. Cependant, la gravure laser ne doit pas être utilisée sur du nylon fin ou des tissus très sensibles à la chaleur sans test préalable, car ces matériaux pourraient fondre, se déformer ou se décolorer.
Lors de la personnalisation de sacs à dos, il est important de prendre en compte non seulement le tissu lui-même, mais aussi les composants métalliques tels que les fermetures éclair, les rivets, les boucles et les plaques signalétiques. Chaque matériau réagit différemment à l'énergie laser, c'est pourquoi un test sur une chute ou une zone peu visible est fortement recommandé avant de graver le design final.
- Utilisateurs LP2 Plus, LP2, et LP4 : Nous recommandons de coupler votre machine avec le Boîtier Standard LaserPecker lors d'une utilisation à domicile ou en atelier en Europe. Cet accessoire renforce la protection, complétant la conformité de sécurité laser de Classe 4 des machines selon les directives.
- Utilisateurs LP5 : Le boîtier de sécurité LP5 est requis pour une protection adéquate pendant le fonctionnement. Il garantit le respect des réglementations de sécurité de l'UE, protégeant contre toute exposition accidentelle dans des environnements résidentiels ou de petites entreprises.
- Utilisateurs LX2 : Aucun boîtier supplémentaire n'est nécessaire. Le LX2 est un système laser de Classe 1, ce qui signifie qu'il est sûr à utiliser sans équipement de protection supplémentaire dans des conditions de fonctionnement normales.
Au-delà de la sécurité laser, la qualité de l'air est une considération clé pour les ateliers en intérieur. Le traitement au laser génère des fumées et des particules fines qui peuvent affecter la santé respiratoire. Pour respecter les directives sur la qualité de l'air intérieur et maintenir un espace de travail propre et sûr, nous recommandons vivement d'utiliser le Purificateur d'air de bureau LaserPecker, particulièrement pour les maisons et studios fermés ou bien isolés.
Conclusion
Personnaliser votre sac à dos est un moyen simple et créatif de le rendre unique. Que vous utilisiez du ruban adhésif pour un changement rapide, de la teinture pour un nouveau look audacieux, ou la gravure laser pour un résultat durable, il existe une méthode pour chaque préférence. Choisir la bonne technique en fonction du matériau du sac à dos est essentiel. Avec un peu de préparation et de soin, vous obtiendrez un sac à dos personnalisé qui reflète clairement qui vous êtes.


