


Daily life often comes with small inconveniences such as spilled drinks or condensation stains on tables and desks. A custom cup holder offers a simple and practical solution while allowing you to choose the exact dimensions, materials, and appearance you prefer. Whether for DIY projects, personalised gifts, or small business production, there are several reliable ways to create cup holders.
In this guide, we compare three common manufacturing methods and explain why laser cutting has become a popular choice across the EU for producing accurate, clean, and highly repeatable cup holder designs.

In this article:
- Part 1: Three Common Methods for Making a Cup Holder
- Method 1: Handcrafting
- Method 2: Laser Cutting
- Method 3: 3D Printing
- Part 2: 5 Practical Tips for Making a Perfect Cup Holder
- Part 3: FAQs about Making a Cup Holder
Part 1: Three Common Methods for Making a Cup Holder
There are several ways to create a cup holder, ranging from simple handmade methods to advanced digital fabrication techniques. The right approach depends on your tools, experience level, preferred materials, and production goals.
Method 1: Handcrafting
Handcrafting remains one of the most accessible ways to make a cup holder. Popular materials include wood, cardboard, cork, and foam, while basic tools such as glue, saws, craft knives, and sandpaper are commonly used.
This method is ideal for small DIY projects, creative hobbies, or educational activities because it requires minimal equipment and a low starting budget. It also gives makers more freedom to experiment with shapes and materials.
On the downside, handmade cup holders can be difficult to reproduce consistently. Achieving identical dimensions, smooth edges, and professional-looking finishes often requires additional time and practice.
Method 2: Laser Cutting
A laser cutter provides a precise and efficient way to produce custom cup holders from digital designs. The machine follows computer-based cutting paths accurately, allowing makers to achieve clean edges and repeatable results.
Laser cutting is compatible with a wide variety of materials, including:
- Wooden cup holders with durable construction and smooth finishes
- Acrylic cup holders with modern transparent or coloured designs
- Paper or cardboard cup holders that are lightweight and recyclable
Since the laser does not directly contact the material, the cutting process creates highly accurate edges with minimal post-processing required. In addition, laser engraving makes it possible to add personalised text, company logos, or decorative artwork directly onto the cup holder surface.
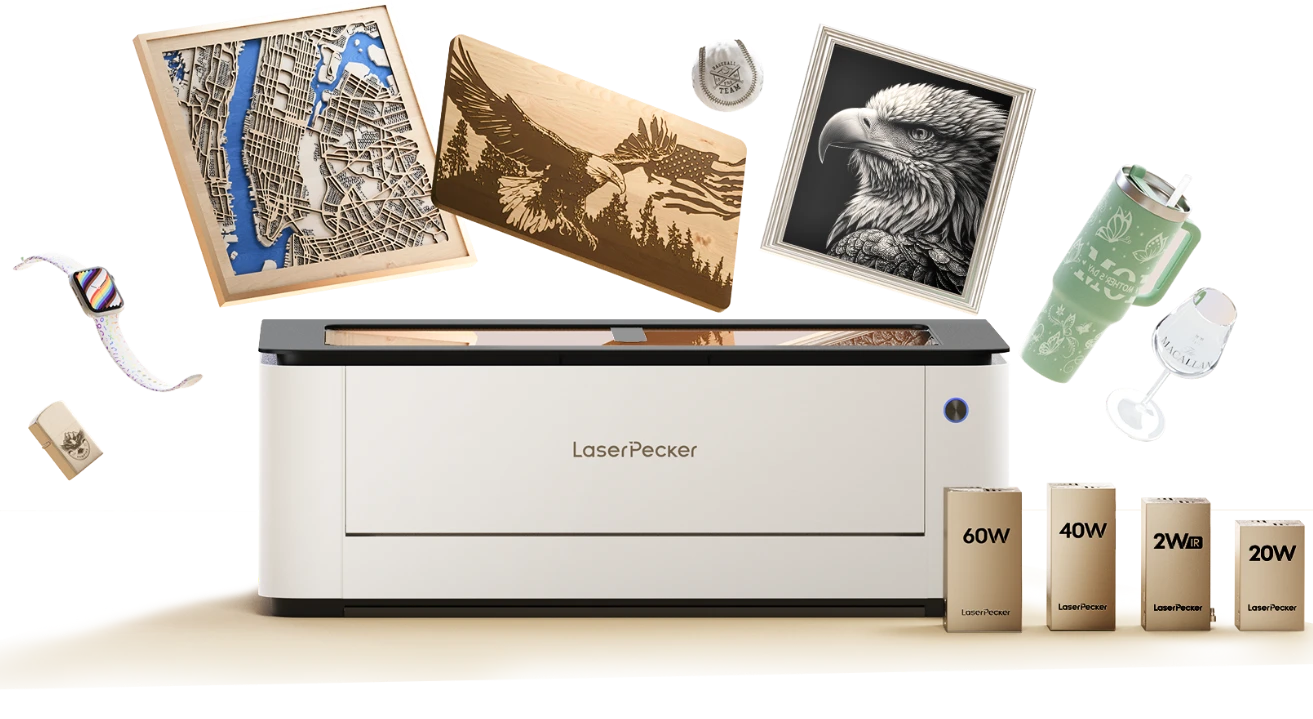
Across the EU, many hobbyists and small businesses prefer the LaserPecker LX2 because of its compact desktop format and Class 1 Laser Safety system, which is suitable for indoor creative environments. When combined with the LaserPecker Desktop Smoke Purifier, users can help reduce smoke, odours, and airborne particles produced during engraving and cutting, improving indoor workspace comfort and safety.
These advantages make the laser cutter an increasingly popular option for personalised gifts, craft production, cafés, and small commercial projects.
Method 3: 3D Printing
3D printing is another effective way to produce cup holders, particularly for users who already have access to a 3D printer. The holder is built layer by layer using thermoplastic materials such as PLA or PETG.
This process works well for creating complex geometries, integrated accessories, or highly customised shapes. However, printing times can be relatively long compared with laser cutting, and the final surface often requires sanding or finishing work.
Material selection is also important because some plastics may soften or deform when exposed to high temperatures from hot beverages.
Comparison Table
| Method | Common Materials | Difficulty | Tools Needed | Cost Level | Time Required | Customisation | Best For |
|---|---|---|---|---|---|---|---|
| DIY Handcrafting | Wood, cardboard, cork | Medium | Hand tools, glue | Low | Medium | Limited | Simple DIY projects |
| Laser Cutting | Wood, acrylic, paper | Low–Medium | Laser cutter, software | Medium | Short | Excellent | Precision & personalisation |
| 3D Printing | PLA, PETG | Medium | 3D printer | Medium | Long | High | Complex custom shapes |
Which Cup Holder Making Method Is the Most Popular?
Laser cutting has become one of the most widely used methods for making cup holders because it combines speed, flexibility, and professional-level precision.
No Need for Specialised Materials
A laser cutter can process many commonly available materials, including wood, cardboard, acrylic, and paper. This allows users to repurpose existing materials for creative projects.
Excellent Customisation Options
Laser cutting provides full control over the shape, dimensions, and structure of the cup holder. Users can also engrave names, branding, patterns, or decorative text directly onto the design.
Consistent and Scalable Production
Once the digital design is finalised, the same cup holder can be reproduced repeatedly with consistent sizing and cutting quality. Designs can also be adjusted easily for different cup dimensions.
Accurate and Clean Finishing
The laser cutter follows the digital design with high precision, producing smooth edges and detailed cuts while reducing the need for manual corrections.
Suitable for DIY Projects and Small Businesses
Laser cutting saves time compared with manual crafting while improving repeatability, making it suitable for personalised gifts, cafés, events, online sellers, and small-batch manufacturing.
With a laser cutter like the LaserPecker LX2, users can create highly consistent cup holder designs using materials such as wood, acrylic, and paper. The machine supports both engraving and cutting functions within the same workflow, helping improve efficiency during production.
The LX2 also features Class 1 Laser Safety, which is especially valued by EU hobbyists working in compact indoor workshops or home studios. For improved indoor air quality, the machine can be paired with the LaserPecker Desktop Smoke Purifier to help filter fumes, smoke, and odours generated during laser cutting and engraving.
This balance of precision, flexibility, and indoor-friendly operation makes laser cutting a preferred solution for personalised products and small-scale production across the EU.
How to Make a Cup Holder with LaserPecker LX2
Step 1: Measure Your Cup
Measure the cup diameter and height carefully. For tapered cups, measure both the upper and lower widths for a better fit.
Step 2: Prepare the Design
Create or import a vector file (SVG or DXF) into the LX2 software. The design typically includes a holder ring, sleeve structure, or stabilising base.
Step 3: Load the Material
Place the selected material — such as wood, acrylic, or cardboard — flat inside the laser cutter and ensure it is properly secured.
Step 4: Adjust the Cutting Settings
Set the laser power, speed, and focus according to the material thickness and type. The LX2 allows quick switching between cutting and engraving operations.
Step 5: Run a Test Cut
Perform a small test cut first to confirm proper cutting depth and edge quality before starting the final project.
Step 6: Cut the Components
Start the cutting process. The laser cutter will follow the digital design accurately to produce clean and repeatable components.
Step 7: Add Optional Engraving
Engrave logos, decorative graphics, names, or text onto the cup holder before removing the material from the machine.
Step 8: Assemble and Finish
Remove the finished pieces, clean or sand the edges if necessary, assemble the holder, and test the final fit.
Part 2: 5 Practical Tips for Making a Perfect Cup Holder
The quality of a cup holder often depends on small details in the design, material choice, and finishing process. Whether you are creating personalised products, DIY crafts, or small-batch items with a laser cutter, these practical tips can help improve both appearance and functionality.
Tip 1: Measure the Cup Accurately Before Designing
Avoid estimating cup dimensions based on standard sizes. Precise measurements help ensure proper stability and prevent the holder from becoming too loose or too tight.
For tapered cups, measure both the upper and lower diameters to create a more secure fit.
Tip 2: Select Materials According to the Application
One major advantage of laser cutting is the ability to work with multiple material types for different use cases.
- Wooden cup holders are suitable for homes, cafés, and office environments because of their durability and natural appearance.
- Acrylic cup holders are popular for modern interiors, retail displays, and personalised branding projects.
- Paper or cardboard cup holders are lightweight, recyclable, and suitable for events or temporary promotional use.
Many EU makers also choose indoor-friendly setups such as the LaserPecker LX2 with the LaserPecker Desktop Smoke Purifier to help reduce fumes, smoke, and odours during engraving and cutting.
Tip 3: Finish the Edges Properly
Post-processing can significantly improve the final appearance of the cup holder.
Recommended finishing steps include:
- Sanding wooden edges for a smoother texture
- Polishing acrylic for a cleaner transparent finish
- Removing residue or protective film carefully after cutting
These small improvements help create a more professional-looking product.
Tip 4: Focus on Practical Design
Overly complex structures may weaken the holder or make assembly more difficult. In many cases, simple and balanced designs provide better long-term usability and stability.
Simple designs are also easier to scale and reproduce consistently with a laser cutter.
Tip 5: Stability Should Always Come First
A good cup holder should securely support the weight of a full drink without tipping or sliding.
To improve stability, consider:
- Using a wider base
- Adding anti-slip pads
- Increasing structural support where needed
Always test the finished holder with a filled cup before final use or batch production.
Part 3: FAQs about Making a Cup Holder
Q1. What is the easiest way to make a personalised cup holder?
Laser cutting is one of the easiest and most precise ways to create personalised cup holders. It supports materials such as wood, acrylic, paper, and cardboard while allowing direct engraving of logos, text, or decorative artwork.
Q2. How can I make a cardboard cup holder at home?
Use durable corrugated cardboard and measure the cup dimensions carefully before cutting. Stacking several layers together improves strength and balance. A laser cutter can also help achieve cleaner cuts and more accurate assembly compared with manual cutting methods.
Q3. Why is my cup holder unstable?
Instability is usually caused by an unbalanced design, a narrow base, or poor weight distribution. A wider bottom structure and anti-slip support can help improve balance and prevent tipping.
Q4. Are homemade cup holders suitable for hot beverages?
Yes, provided that heat-resistant materials are used. Wood and suitable acrylic materials are commonly used for warm or hot drinks, while thin plastics and lightweight cardboard may not perform well under high temperatures.
Q5. How do I prevent a cup holder from scratching furniture?
Adding cork lining, rubber pads, or soft anti-slip feet underneath the holder can help protect desks and tables from scratches while improving grip.
Q6. Which material works best with a laser cutter for cup holders?
Several materials work well with a laser cutter depending on the project requirements.
- Wood is durable and visually appealing
- Acrylic provides a clean modern appearance
- Cardboard and paper are lightweight and recyclable
Across the EU, acrylic and wood are especially popular for personalised gifts and branded products.
Q7. Is a laser cutter suitable for indoor workshops?
Yes. Many modern desktop machines are designed for compact indoor environments. The LaserPecker LX2 features Class 1 Laser Safety, making it suitable for home studios and creative workspaces. When used with the LaserPecker Desktop Smoke Purifier, it can also help reduce smoke, fumes, and odours during laser engraving and cutting.
Q8. Can laser-cut cup holders be used for small business production?
Absolutely. Laser cutting is commonly used for personalised products, promotional items, cafés, and small-scale commercial production because it offers repeatable quality, accurate cutting, and efficient engraving capabilities.
Conclusion
Creating your own cup holder is a simple yet highly practical DIY project that combines functionality with creative customisation. Whether you choose traditional handcrafting, 3D printing, or laser cutting, each method offers different advantages depending on your production goals and preferred materials.
For many EU makers, hobbyists, and small businesses, a laser cutter provides one of the most efficient solutions thanks to its accuracy, repeatability, and compatibility with materials such as wood, acrylic, paper, and cardboard. The LaserPecker LX2 also supports personalised engraving and precise cutting within the same workflow while offering Class 1 Laser Safety for indoor creative environments.
By selecting suitable materials, focusing on stability, and using the right production method, you can create a cup holder that is durable, functional, and professionally finished.


