


La gravure laser sur feuille peut sembler délicate — et elle l'est — mais c'est précisément ce qui la rend si unique et attrayante pour les créateurs. Que vous créiez de l'art écologique, des décorations de mariage personnalisées ou des cadeaux attentionnés en France, en Allemagne, en Espagne ou en Italie, la gravure laser sur feuille apporte une texture organique et une élégance incomparable à vos projets.
Ce guide vous accompagne à travers les essentiels de la gravure laser sur feuilles, notamment son fonctionnement, les types de feuilles qui offrent les meilleurs résultats et la machine de gravure dont vous avez besoin pour commencer. Avec un peu de pratique, vous pouvez transformer une simple feuille en une œuvre d'art gravée au laser unique en son genre.

Dans cet article :
Partie 1 : Qu'est-ce que la gravure laser sur feuille ?
La gravure laser sur feuille est un processus créatif où un graveur laser marque des motifs, des dessins ou du texte sur des feuilles naturelles. Contrairement à la sculpture ou au dessin traditionnels, cette méthode utilise un faisceau laser de haute précision pour marquer la feuille sans toucher ni endommager sa structure. Le résultat est un design net et délicat qui souligne la beauté naturelle de la feuille tout en ajoutant des détails artistiques — idéal pour créer des pièces en feuilles gravées au laser qui se démarquent dans les foyers ou les petites entreprises européennes.

1.1 Comment fonctionne la gravure laser sur les feuilles ?
Les feuilles sont fragiles, fines et brûlent facilement ; la gravure laser sur feuilles nécessite donc une faible puissance et une grande précision. Le laser brûle ou vaporise doucement la couche externe de la feuille pour créer des marques visibles, tout en évitant les coupures ou les déchirures.
Pour réussir une gravure :
- Utilisez des réglages de puissance faible pour éviter de brûler ou de déchirer la feuille.
- Augmentez la vitesse de gravure pour minimiser l'exposition à la chaleur.
- Utilisez des feuilles sèches et plates pour garantir de meilleurs résultats et des designs plus précis.
La clé est de trouver le bon équilibre entre la puissance et la vitesse pour graver la surface en douceur. Même de légers ajustements peuvent faire une grande différence en termes de détails et de clarté.
1.2 Quelle est la meilleure machine laser pour graver des feuilles ?
La meilleure machine de gravure laser sur feuille est celle qui offre :
- Un contrôle précis de la puissance, vous permettant de régler des niveaux de wattage très bas.
- Des réglages de haute vitesse, afin que le laser se déplace rapidement pour éviter de trop brûler.
- Une bonne résolution, pour que les détails fins ressortent clairement sur la surface délicate.
Les lasers à diode et les graveurs laser galvo sont couramment utilisés pour la gravure sur feuilles en raison de leur contrôle et de leur exactitude. Des machines comme la LaserPecker LP5 ou la LP4 sont parfaitement adaptées à ce type de travail. Elles vous permettent d'affiner la puissance et la vitesse, et leurs fonctions d'aperçu vous aident à positionner les designs avec précision, même sur des feuilles petites ou de forme irrégulière.
Les modèles de bureau compacts comme ceux-ci s'intègrent parfaitement dans les petits ateliers à domicile, rendant la gravure laser sur feuille accessible aux débutants comme aux créateurs chevronnés.
Partie 2 : Quels types de feuilles fonctionnent le mieux pour la gravure laser ?
Toutes les feuilles ne réagissent pas de la même manière à la gravure laser. Pour obtenir les meilleurs résultats, il est important de choisir le bon type de feuille en fonction de sa texture, de son taux d'humidité et de la régularité de sa surface. Ci-dessous, nous détaillons les facteurs clés et recommandons les types de feuilles les plus adaptés à la gravure.
Qualités idéales d'une feuille
Pour garantir une gravure nette et détaillée, recherchez des feuilles présentant les qualités suivantes :
- Surface plane : Une surface lisse et régulière aide le laser à maintenir une mise au point et un niveau de détail constants.
- Faible teneur en humidité : Les feuilles plus sèches sont moins susceptibles de brûler, de s'enrouler ou de rétrécir pendant la gravure.
- Structure robuste : Les feuilles légèrement plus épaisses résistent mieux à la chaleur du laser et risquent moins de se déchirer.
- Couleur uniforme : Les feuilles de couleur claire et uniforme (comme le vert clair ou le brun pâle) offrent un meilleur contraste pour les motifs gravés.
Types de feuilles recommandés
Voici quelques types de feuilles qui fonctionnent particulièrement bien pour la gravure laser :
- Feuilles de magnolia : Épaisses et cireuses, ces feuilles sont durables et faciles à graver.
- Feuilles de caoutchouc (Ficus elastica) : Leur surface lisse et leur structure robuste en font un favori pour la gravure fine.
- Feuilles de ficus : Lorsqu'elles sont séchées à plat, les feuilles de ficus se gravent bien grâce à leur texture fine mais régulière.
- Feuilles d'érable (séchées) : Larges et plates, elles offrent beaucoup d'espace pour des designs créatifs.
- Feuilles de laurier : Naturellement plates et légèrement rigides, elles sont idéales pour les petits motifs détaillés ou du texte.
Conseil de pro :
Si votre feuille est légèrement courbée ou humide, pressez-la entre des essuie-tout et placez-la sous un livre lourd pendant un jour ou deux. Cela aplatira et séchera la feuille, la rendant beaucoup plus facile à graver.
🔨 Gravure laser sur feuille – Tutoriel étape par étape (5 étapes)
Éléments requis :
- Matériau de gravure : Feuilles entièrement séchées
- Machine de gravure : Graveur laser à diode (LP5, LP4 ou LP2 Plus)
- Design de gravure : Texte, images, motifs, etc.
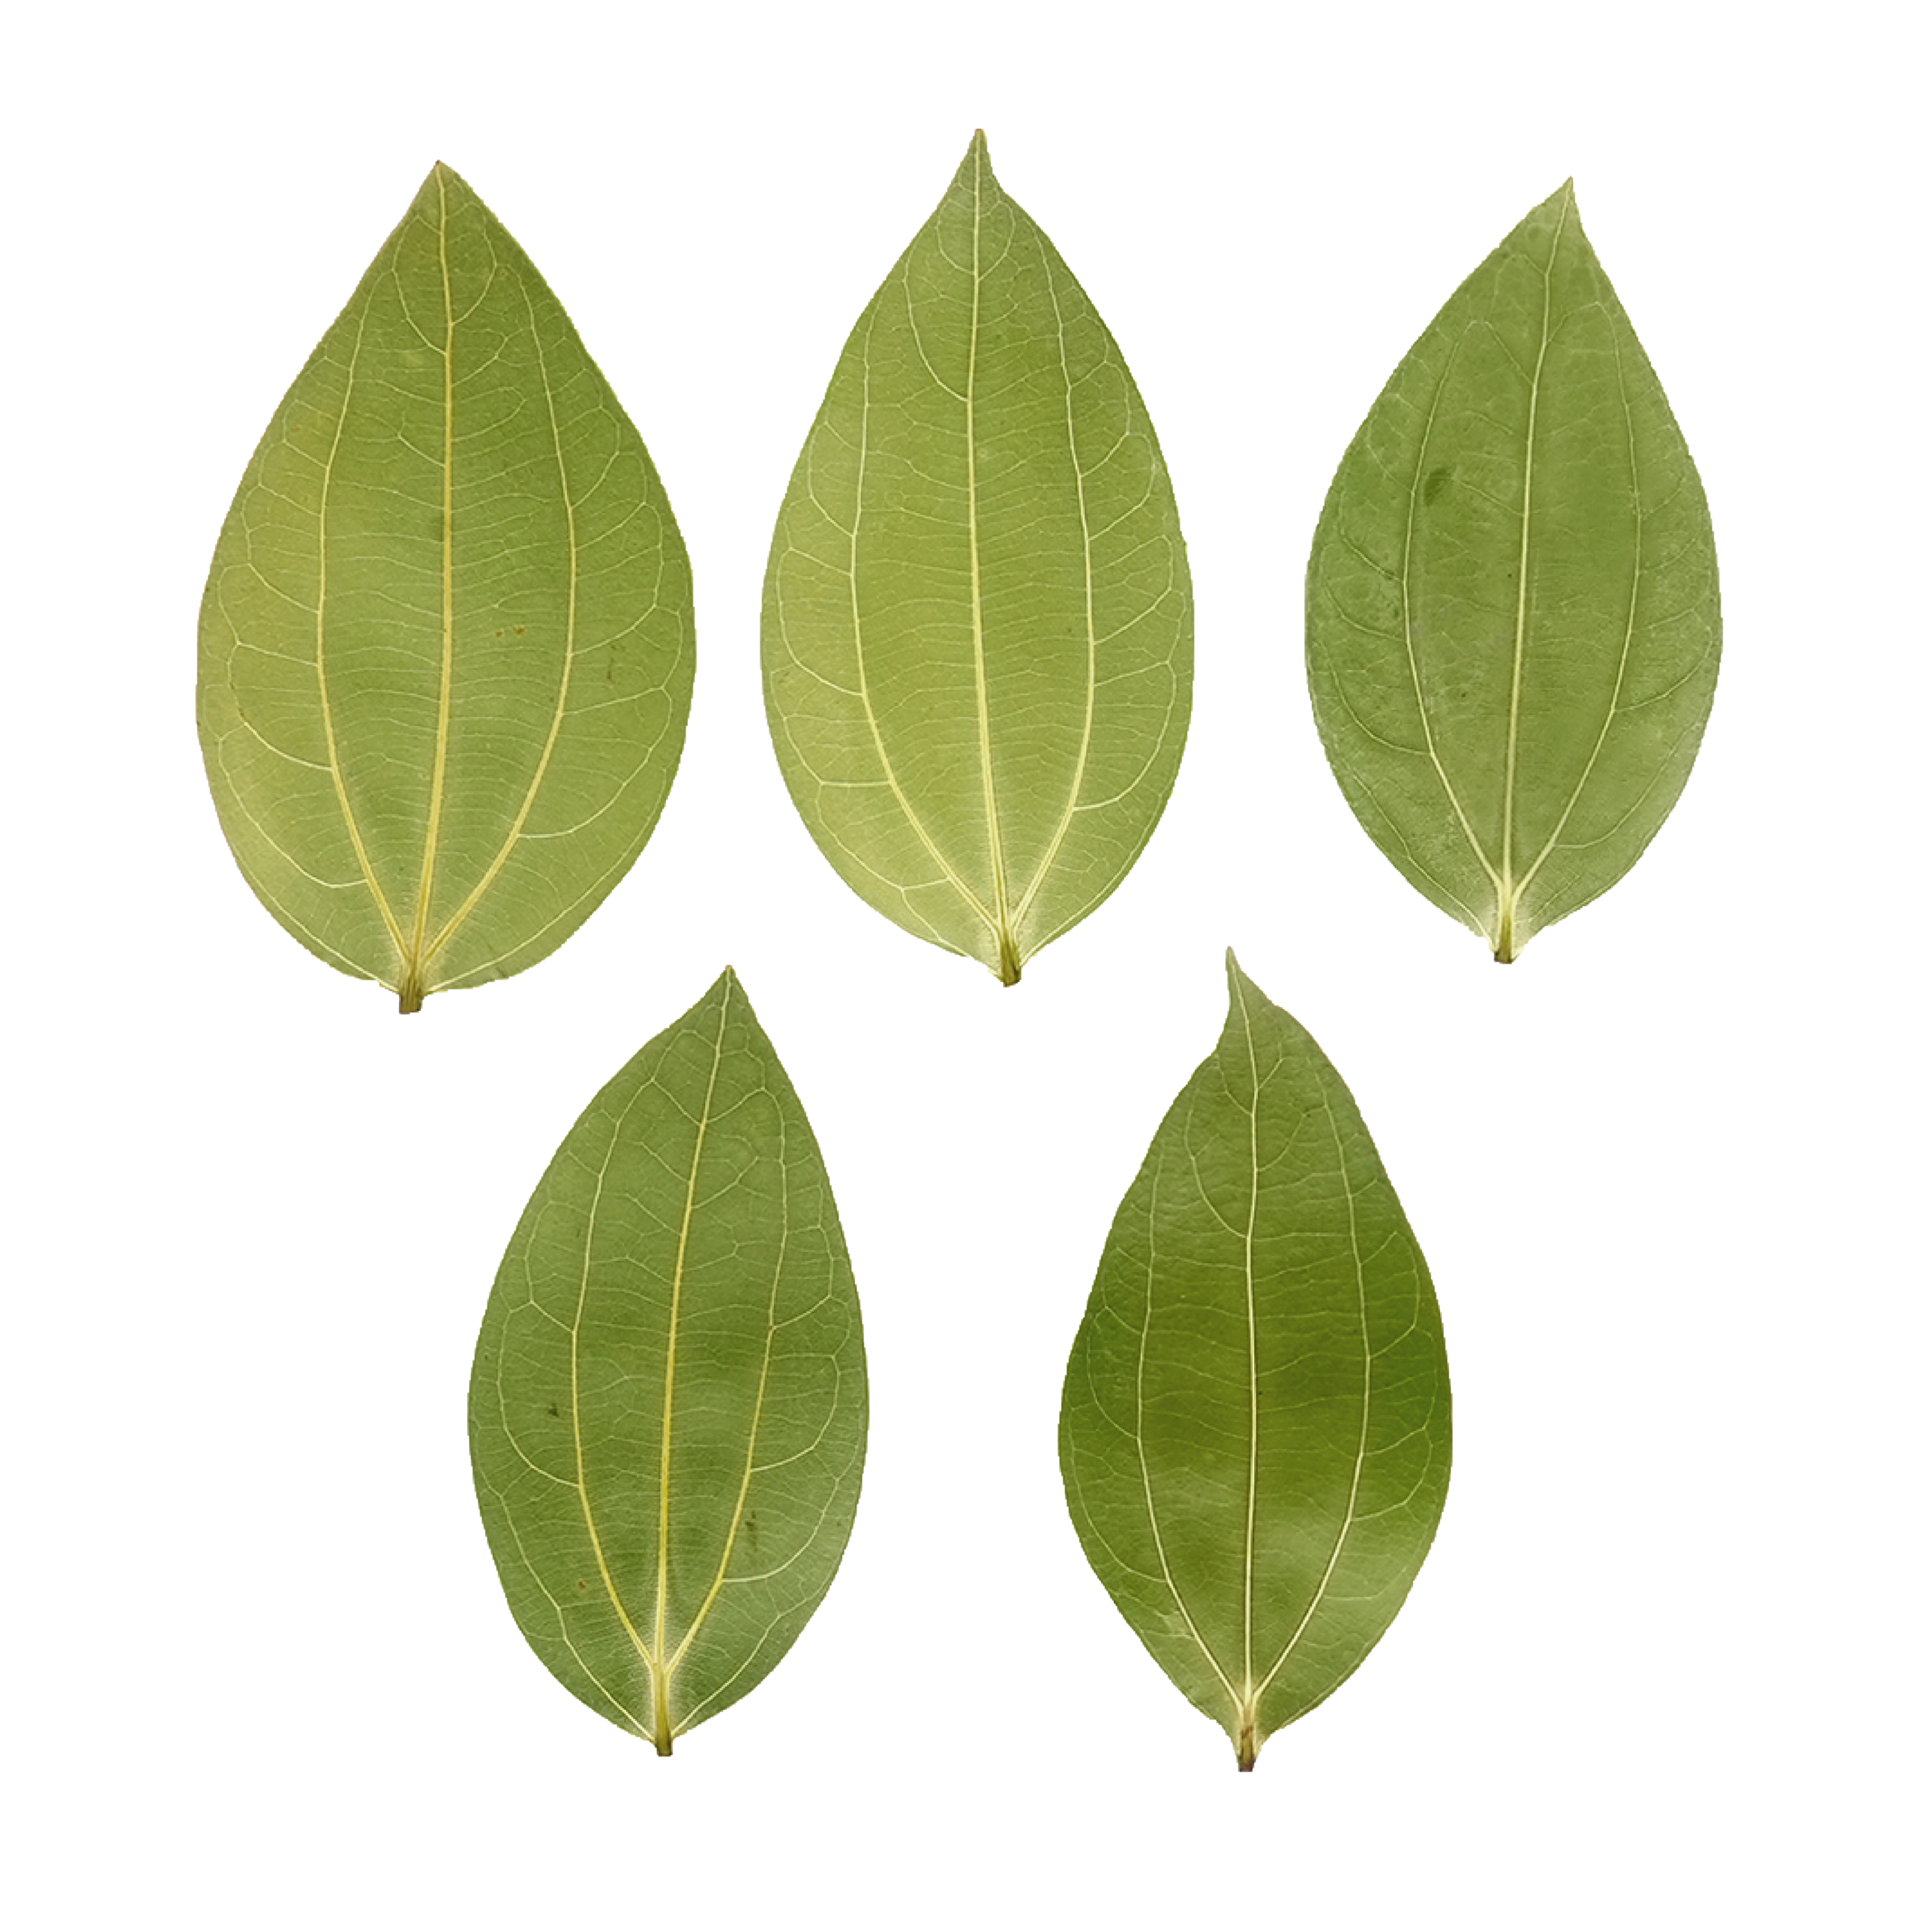
Étape 1 : Choisissez votre feuille
Sélectionnez des feuilles avec une belle couleur et qui sont entièrement séchées pour la gravure laser. La qualité des feuilles affectera le rendu final de la gravure. La feuille utilisée dans ce tutoriel a été préalablement traitée.
Étape 2 : Choisissez la bonne machine de gravure laser pour feuilles
Ici, nous choisissons le LaserPecker LP5, un graveur laser double source et multifonctionnel qui excelle dans la gravure sur feuilles.
Étape 3 : Préparez votre design de gravure
① Mettez la machine sous tension et connectez-la via le logiciel LDS. Importez l'image à graver dans le logiciel LDS.

② Cliquez sur l'image et utilisez la fonction « Aligner au centre » pour placer l'image au milieu, réglez-la sur le mode de gravure par tramage (dithering) et activez la fonction « Inverser les couleurs ».

③ Prévisualisez la gravure et ajustez la mise au point de la machine. Ajustez la taille de l'image en fonction de la taille de la feuille. La largeur de l'image peut être égale ou supérieure à la largeur de la feuille, mais la longueur ne doit pas être trop importante pour laisser de l'espace afin de manipuler la feuille après la gravure.


Étape 4 : Configurez la machine de gravure laser pour feuilles
Définissez les paramètres de gravure. Les paramètres recommandés sont : résolution 1K, puissance de 55 à 70 %, et profondeur de 30 à 40 %. Sélectionnez la lumière bleue 450 nm comme source lumineuse.

Étape 5 : Lancez votre gravure laser sur feuille
Placez le matériau à graver sur la plaque de découpe, prévisualisez la gravure, puis lancez le processus. Voici le résultat de la gravure ci-dessous.
- Si la feuille est endommagée après la gravure, il est recommandé de réduire le paramètre de puissance de 5 % jusqu'à ce que le problème disparaisse.
- Si la feuille ne présente pas d'effet de transparence ajourée sous la lumière du soleil, il est recommandé d'augmenter la puissance de 5 % jusqu'à l'apparition de l'effet ajouré.
Notes de sécurité :
Pour les utilisateurs à travers l'Europe, la sécurité est primordiale lors de la gravure laser sur des feuilles ou d'autres matériaux délicats.
- Utilisateurs LP2 Plus, LP2 et LP4 : Nous recommandons d'associer votre machine au caisson standard LaserPecker lors d'une utilisation à domicile ou en atelier en Europe. Cet accessoire renforce la protection, complétant la conformité des machines à la sécurité laser de classe 4 selon les directives en vigueur.
- Utilisateurs LP5 : Le caisson de sécurité LP5 est requis pour une protection adéquate pendant le fonctionnement. Il garantit le respect des réglementations de sécurité EK, protégeant contre toute exposition accidentelle dans des environnements résidentiels ou de petites entreprises.
- Utilisateurs LX2 : Aucun caisson supplémentaire n'est nécessaire. Le LX2 est un système laser de classe 1, ce qui signifie qu'il est sûr à utiliser sans équipement de protection supplémentaire dans des conditions de fonctionnement normales.
Au-delà de la sécurité laser, la qualité de l'air est une considération clé pour les ateliers en intérieur. Le traitement laser génère des fumées et des particules fines qui peuvent affecter la santé respiratoire. Pour respecter les directives sur la qualité de l'air intérieur et maintenir un espace de travail propre et sûr, nous recommandons fortement l'utilisation du purificateur d'air de bureau LaserPecker, particulièrement pour les maisons et studios fermés ou bien isolés.
Conclusion
La gravure laser sur feuille est un magnifique mélange de nature et de technologie, parfait pour les créateurs souhaitant ajouter une élégance organique à leurs projets. Avec les bonnes feuilles, une machine adaptée au marché européen comme le LaserPecker LP5, et le guide étape par étape ci-dessus, même les débutants peuvent créer des pièces délicates et détaillées.
Que vous créiez des souvenirs avec des feuilles d'érable gravées, des décorations de mariage ou de l'art écologique, cette technique offre des possibilités créatives infinies. En suivant les consignes de sécurité et en affinant vos paramètres, vous transformerez de simples feuilles en créations précieuses et durables.
Prêt à vous lancer ? Procurez-vous votre LaserPecker LP5 via la boutique LaserPecker UE/Europe, trouvez des feuilles séchées et laissez s'enraciner votre créativité !


