


Cardboard planes are a popular DIY project among hobbyists, students, and creative makers throughout Europe. Whether building a lightweight glider or a detailed model aircraft, these projects combine hands-on crafting with a simple introduction to aerodynamics and design principles.
With the rise of maker spaces and desktop laser cutters in the EU, there are now multiple ways to create cardboard planes — from traditional handcrafting to precise laser cutting. This guide compares both methods to help beginners and experienced makers choose the right approach for educational projects, workshops, or creative home use.

In this article:
Part 1: What Are Cardboard Planes and Why Make Them?
Cardboard planes are model aircraft created primarily from cardboard or paperboard. These projects can be as simple as lightweight classroom gliders or as detailed as decorative model aircraft for hobbyists and makers.
Across Europe, cardboard planes are popular because the material is affordable, easy to source, and simple to work with. Makers can quickly test new designs, resize components, or improve prototypes without wasting expensive materials. This flexibility makes cardboard ideal for creative projects, school activities, and maker workshops.
In addition to being cost-effective, cardboard planes also support hands-on STEM education. They help children and beginners understand concepts such as airflow, balance, structural stability, and assembly techniques. For EU makerspaces, educators, and small craft businesses, cardboard aircraft projects can also serve as customisable kits, learning tools, or themed products created with laser cutting technology.
Part 2: Two Common Ways to Make Cardboard Planes
Cardboard planes can generally be made using two methods: traditional handcrafting or laser cutting. Each approach offers different advantages depending on your experience level, available equipment, and project goals. Handcrafted planes are simple and creative, while laser-cut models provide greater precision and efficiency for more advanced builds.
Method 1: Craft a Cardboard Plane by Hand (Traditional Method)
Traditional cardboard plane making involves drawing templates onto cardboard, cutting out the pieces manually, and assembling them with glue or tape.
This method is widely used in schools, hobby workshops, and home craft projects because it requires only basic tools. It also gives makers more freedom to modify designs during the building process.
However, hand-cut models may produce uneven edges or inconsistent wing shapes, which can affect balance and assembly accuracy. Repeating the same design multiple times can also be slow and difficult.
Materials and Tools
- Thin cardboard or paperboard
- Pencil and ruler
- Scissors or precision craft knife
- Glue or tape
- Optional: paint markers or acrylic paints
Detailed Steps to Handcraft a Cardboard Plane
Step 1: Select a Simple Design
Choose a beginner-friendly aircraft layout with straight wings and a simple body structure.
Step 2: Draw the Components
Mark all parts clearly onto the cardboard using a ruler for straight, balanced lines.
Step 3: Cut the Pieces
Carefully cut each component while keeping edges as smooth as possible.
Step 4: Assemble the Aircraft
Attach the wings, fuselage, and tail sections using glue or tape.
Step 5: Add Decorative Details
Once dry, customise the plane with colours, patterns, or decals.
This method works well for educational activities, beginner projects, and creative DIY workshops.
Method 2: Craft a Cardboard Plane via Laser Cutting
Laser cutting uses vector-based digital designs and automated laser technology to create highly accurate cardboard plane components. The laser cuts smooth edges and precise slots, improving both assembly quality and production efficiency.
Compared with manual crafting, laser cutting allows makers to create layered structures, complex aircraft shapes, and detailed engravings with far greater consistency. This makes it especially suitable for makerspaces, classrooms, engineering projects, and small-batch production across the EU.
Materials and Tools
- Flat cardboard sheets
- Vector design software
- A laser cutter (such as the LaserPecker LX2)
- Optional glue for assembly
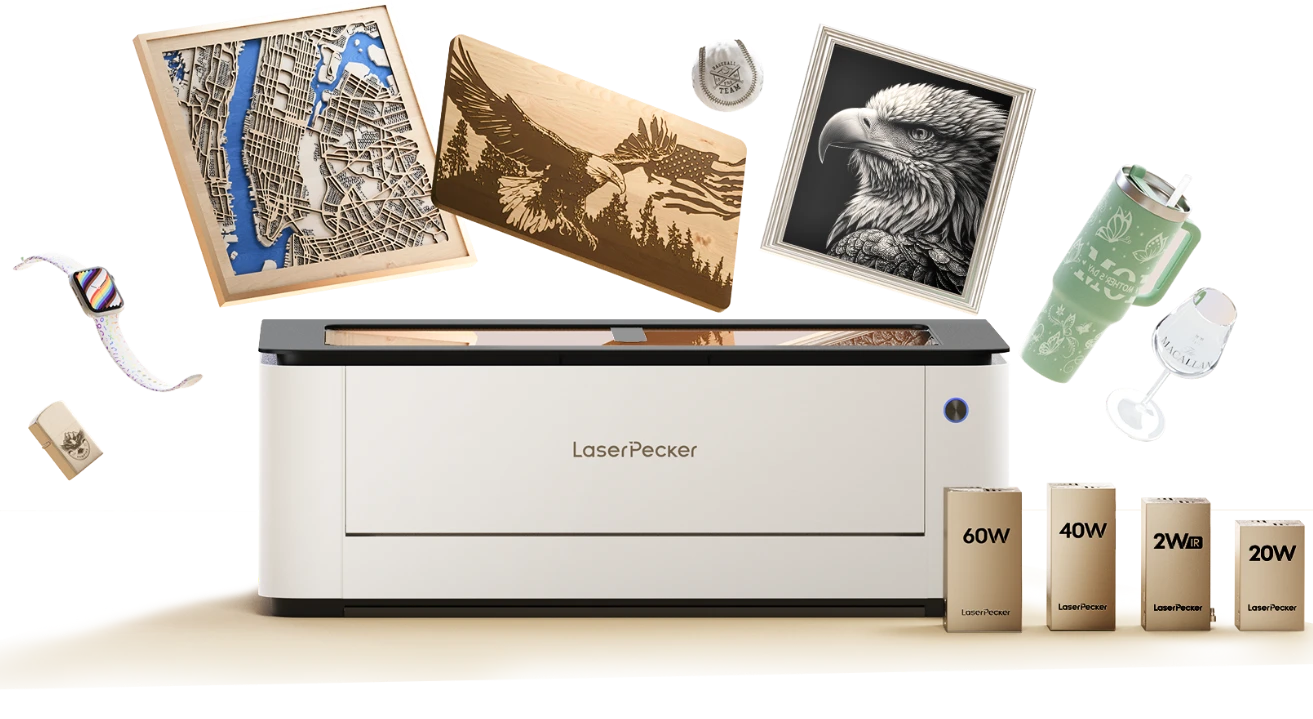
Advantages of Using the LX2 for Cardboard Plane Projects
- High-Speed Cutting: Produces multiple aircraft components quickly and efficiently.
- Camera-Based Positioning: Improves alignment accuracy for wings, slots, and assembly tabs.
- Flexible Power Modules (20W / 40W / 60W): Supports different cardboard materials and thicknesses.
- Air Pump Compatibility: Reduces burn marks and improves cut cleanliness.
- Desktop Smoke Purifier Support: Helps manage fumes and odours for safer indoor use.
- Large Working Area: Suitable for larger aircraft designs or batch cutting multiple parts.
Detailed Steps to Laser Cut a Cardboard Plane
Step 1: Prepare a Digital Design
Create or download a vector aircraft template with assembly slots and alignment guides.
Step 2: Position the Cardboard
Place the cardboard securely on the laser bed to prevent shifting.
Step 3: Configure Laser Settings
Adjust speed and power according to the cardboard thickness.
Step 4: Perform a Test Cut
Check edge quality and slot fitting before full production.
Step 5: Start Cutting and Engraving
Allow the laser cutter to produce all structural and decorative elements accurately.
Step 6: Assemble the Components
Fit the laser-cut parts together. Many slot-fit designs require minimal glue.
Step 7: Finish and Customise
Add paint or decorative details after assembly if desired.
Comparison Table
| Feature | Traditional Handcrafted | Laser Cutting |
|---|---|---|
| Precision | Skill dependent | Very high |
| Design Complexity | Basic | Advanced |
| Tools Required | Simple hand tools | Laser cutter + software |
| Repeatability | Limited | Excellent |
| Production Speed | Slower | Faster |
| Best For | Beginners, schools, hobby crafts | Makerspaces, education, batch production |
Which Method Is Best for Making Cardboard Planes?
Traditional handcrafting is ideal for beginners, schools, and creative DIY activities because it is simple, affordable, and accessible.
Laser cutting offers a more advanced solution with smoother edges, highly accurate assembly, and faster production times. It also enables makers to create repeatable aircraft designs with professional-looking results.
For EU classrooms, makerspaces, and creators focused on efficiency and precision, laser cutting is the better option for producing cardboard planes at a higher quality standard.
Part 3: Common Mistakes to Avoid When Making Cardboard Planes
Building cardboard planes may seem simple, but several common mistakes can affect assembly quality, durability, and flight performance. Paying attention to materials, cutting accuracy, and alignment can help create cleaner and more reliable aircraft models.
Mistake 1: Choosing Cardboard That Is Too Thick or Uneven
Using cardboard with inconsistent thickness or excessive rigidity can make assembly difficult and reduce structural balance. Uneven material may also cause wings and support sections to fit incorrectly.
For smoother assembly and cleaner cuts, select lightweight cardboard that suits the aircraft design. Thin cardboard sheets are often easier for beginners and educational projects.
Mistake 2: Using Excessive Glue
Applying too much glue can bend the cardboard, weaken connections, and increase the overall weight of the aircraft. This may negatively affect balance and appearance.
Where possible, use slot-fit or tab-based designs to reduce the amount of adhesive needed. Laser-cut cardboard components usually provide more accurate fitting and cleaner assembly.
Mistake 3: Skipping Laser Test Cuts
Many users forget to perform test cuts before starting a full laser cutting project. Incorrect laser settings may lead to burnt edges, loose slots, or unnecessary material waste.
Always test a small section first to confirm the cutting quality and fit. For EU classrooms, makerspaces, and indoor workshops, the LaserPecker LX2 can provide a safer working experience thanks to its Class 1 Laser Safety support. When combined with the LaserPecker Desktop Smoke Purifier, it can also help filter smoke, fumes, and odours generated during cardboard cutting and engraving.
Mistake 4: Rushing During Assembly
Trying to assemble the cardboard plane too quickly often causes alignment issues, especially around the wings and tail sections. Poor alignment can affect both structural stability and flight performance.
Take time to position each component carefully and ensure all sections are aligned correctly before final assembly.
Part 4: FAQs About Making Cardboard Planes
Q1. Is Laser Cutting Cardboard Safe?
Yes, laser cutting cardboard can be safe when proper ventilation and safety precautions are used. Always monitor the laser cutter during operation and adjust the power settings correctly to reduce excessive burning or smoke.
For EU classrooms, makerspaces, and home studios, the LaserPecker LX2 supports Class 1 Laser Safety. When combined with the LaserPecker Desktop Smoke Purifier, it can also help filter smoke, fumes, and odours generated during cardboard engraving and cutting.
Q2. What Cardboard Thickness Is Best for Model Planes?
Thin cardboard or chipboard between 1–2 mm is ideal for lightweight model planes and beginner projects.
For larger aircraft builds or structural components, thin corrugated cardboard offers improved rigidity and durability while remaining relatively lightweight.
Q3. How Can You Make a WWII Cardboard Plane?
To build a WWII cardboard aircraft model, start with reference drawings or historical aircraft images to recreate accurate wing and fuselage shapes.
Laser cutting is particularly useful for detailed military aircraft models because it enables precise cuts, engraved markings, and repeatable assembly parts.
Q4. Are Laser-Cut Cardboard Planes Better Than Handmade Ones?
Laser-cut cardboard planes generally offer cleaner edges, more accurate fitting parts, and better repeatability compared with handmade models.
However, traditional handcrafting remains a great option for creative DIY projects, beginner learning, and educational activities.
Q5. Can You Use a Desktop Laser Cutter for Cardboard?
Yes, many desktop laser cutters are suitable for cardboard cutting and engraving. Compact machines are especially popular in EU makerspaces, classrooms, and small creative studios because they save space while still delivering precise results.
Using air assist and smoke purification systems can also improve cutting quality and indoor comfort.
Q6. Why Does Cardboard Burn During Laser Cutting?
Cardboard may burn if the laser power is too high or the cutting speed is too slow. Poor airflow can also increase scorching and smoke buildup.
To reduce burn marks, test your settings first and use airflow support or an air purifier when possible.
Conclusion
Cardboard plane building combines creativity, hands-on learning, and practical design skills. Traditional handcrafting is ideal for beginners and educational activities because it is simple, affordable, and flexible for DIY projects.
Laser cutting provides a more advanced solution with precise cuts, faster production, and the ability to create detailed aircraft components with consistent quality. As compact laser cutters become more widely used across Europe, machines such as the LaserPecker LX2 are making it easier for makerspaces, classrooms, and creative studios to produce high-quality cardboard plane models efficiently.
Choosing the right method depends on your project requirements, skill level, and how detailed you want your aircraft design to be.


